Exposure Triangle Cheat Sheet – Learn Exposure Triangle in Photography
The Exposure triangle in photography is a concept that refers to how the settings of aperture, shutter speed, and ISO work together to affect an image’s exposure. Each setting of the exposure triangle also control key components of the image, including it’s depth of field, sharpness, and clarity. Since it’s one of the fundamental principles you much master to start taking better photos, I’ve created a free Exposure Triangle in Photography Cheat Sheet!
The exposure triangle refers to how a photographer dials settings into his/her camera to properly balance and manipulate the amount of light coming into the camera. When using the exposure triangle, the photographer has two basic goals in mind:
- Achieve a balanced exposure that’s not too much light and not too little light.
- Use the camera settings of aperture, shutter speed, and ISO to create an image with the photographer’s desired artistic feel (i.e. a portrait where the subject is in focus and stands out from the background, a shot that freezes movement, an image that is clear, an image with artistic blur, etc).
Exposure Triangle Cheat Sheet – Learn Exposure Triangle in Photography

Before we dive in, let me quickly introduce myself! If we haven’t crossed paths before in real life or on the internet, I’m Kelley Hoagland. I’m a newborn, heirloom, and family photographer based near Chattanooga, TN, wife, and mother of 3 little girls. I’ve always enjoyed artistic pursuits, but becoming a mother awakened in me a love for photography. I’m passionate about documenting the lives of my family and the families’ of my clients. If we’re kindred spirits in the regard, I’d love to help you grow in your photography skills! Follow along!
Exposure Triangle in Photography
Using the exposure triangle in photography is all about balancing aperture, shutter speed, and ISO so that enough light is let into the camera to create a balanced image without sacrificing depth of field, focus and clarity (unless that’s an intentional choice). An adjustment to any one of the three components of the exposure triangle affects exposure. Therefore, if you have a balanced exposure, but then change one of the components of the exposure triangle, you’ll need to adjust at least one over component in the opposite direction to return to a balanced exposure. Don’t worry! I’ll break it down further in a minute.
First, take a look at the chart below as a review!
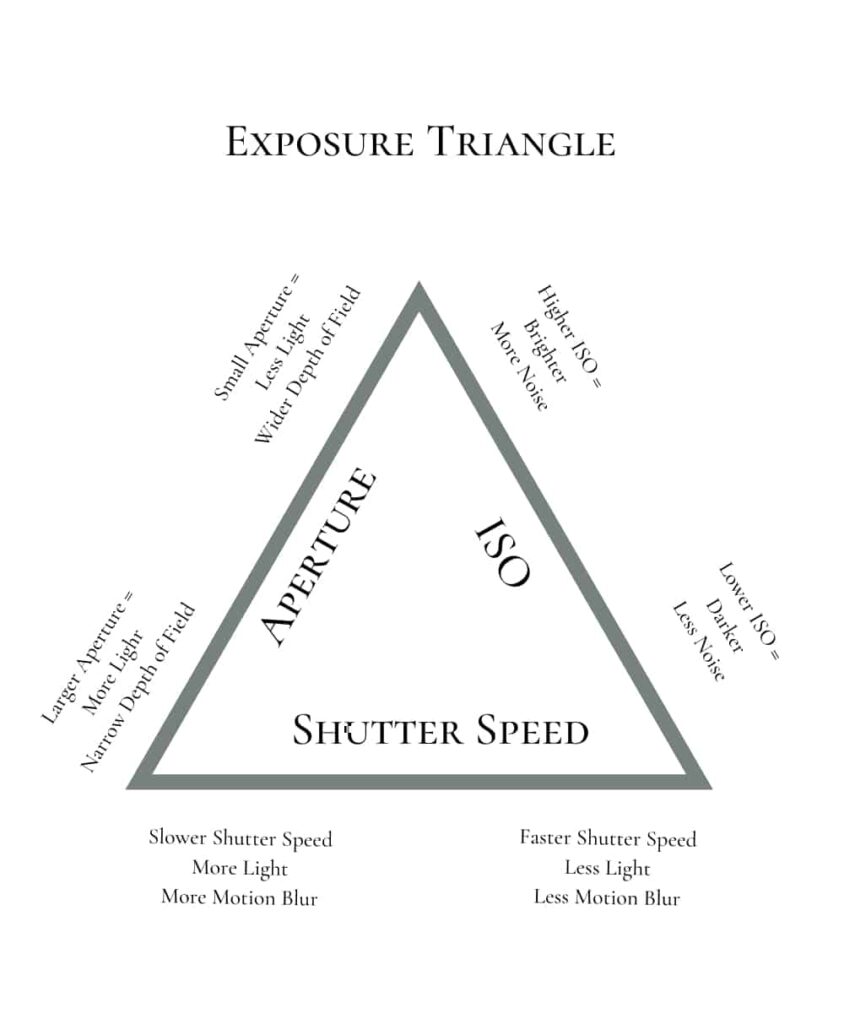
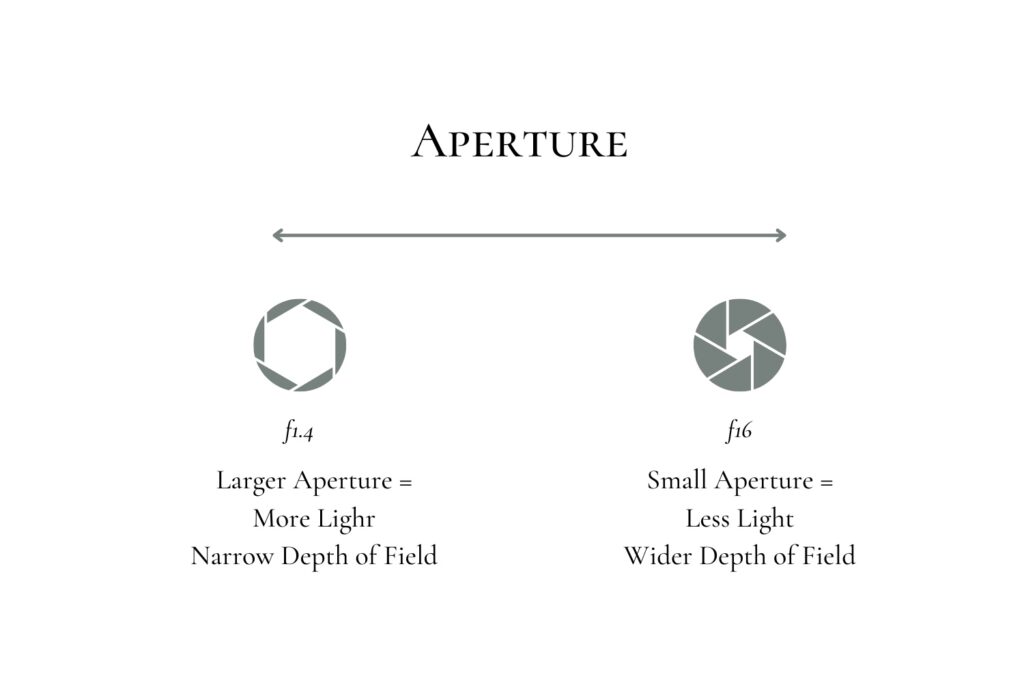
Increasing aperture (moving to a smaller f-stop number like from f4.0 to f2.8) lets in more light, but decreases the depth of field. A decreased depth of field means less of the image will be in focus. Decreasing aperture results in the opposite. Moving from f1.4 to f2.0 with let less light in and increase the depth of field.

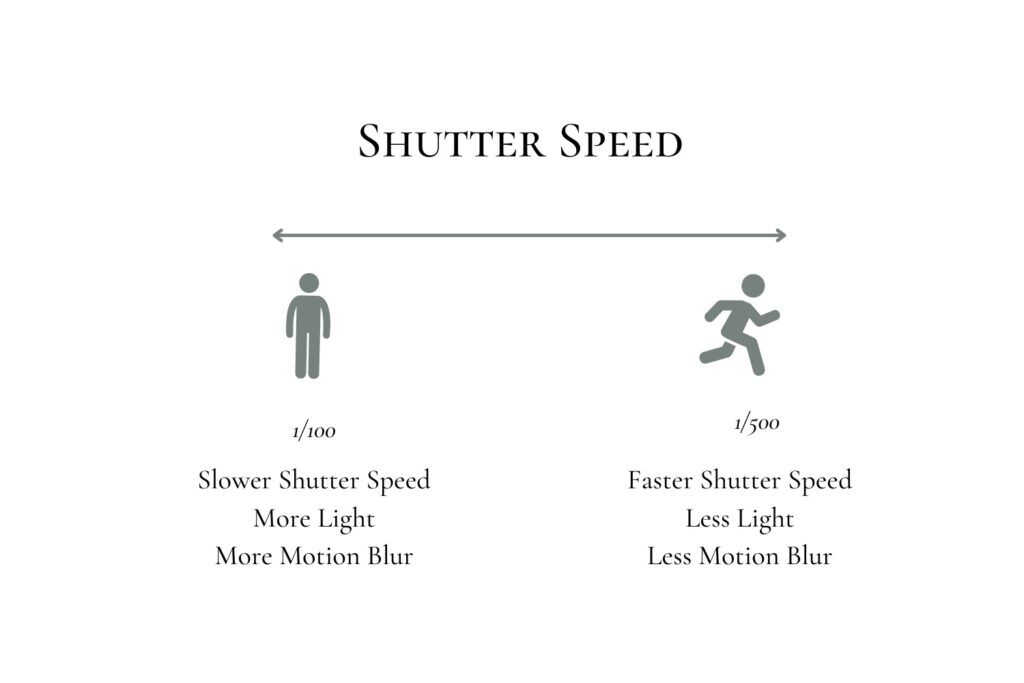
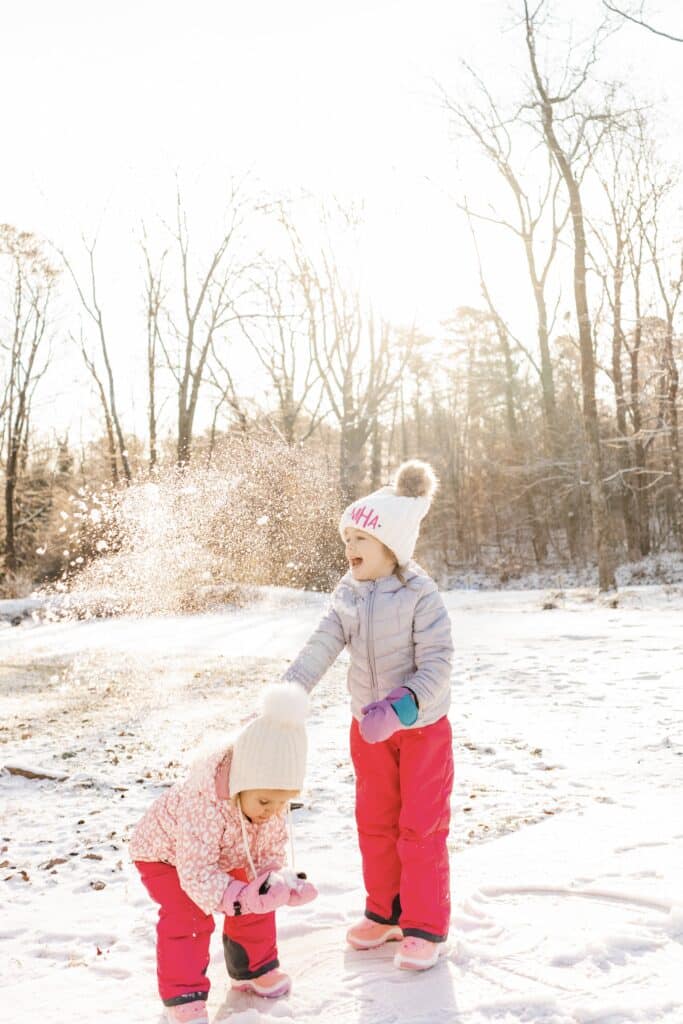
Increasing shutter speed (like moving from 1/200 to 1/500) let less light into the camera, but increases the camera’s ability to stop movement. This results in a sharper image with less likelihood of motion blur. Decreasing the shutter speed (like moving from 1/250 to 1/100) allows more light into the camera, but decreases the camera’s ability to stop movement. If you set the shutter speed to a level that’s too slow, motion blur may occur from your subject’s movement or from camera shake.
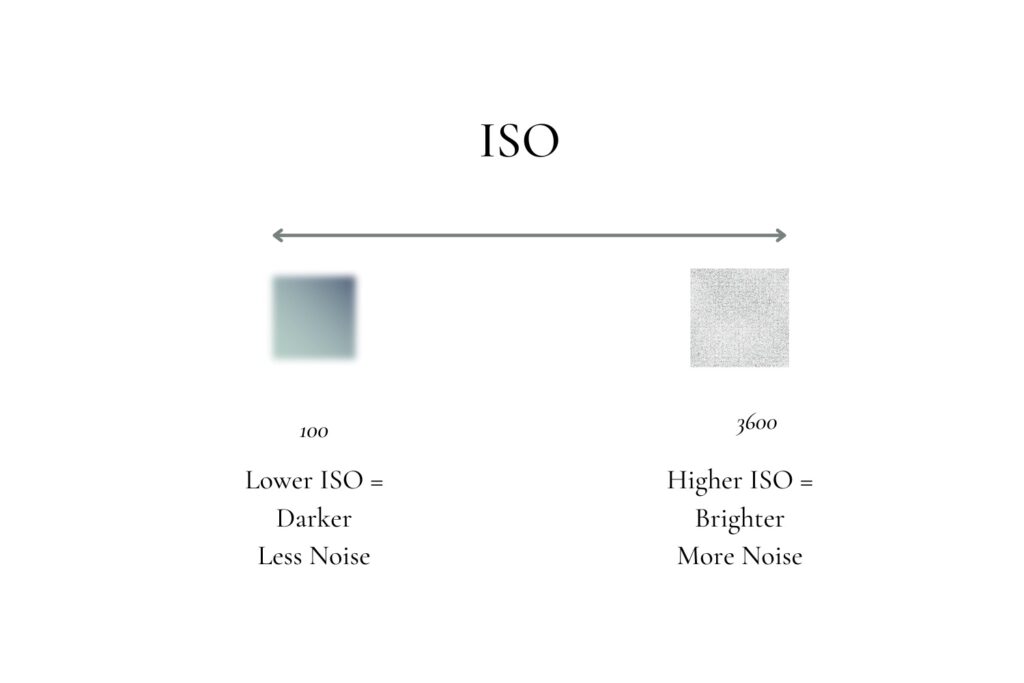
Increasing the digital camera’s ISO (like moving from ISO400 to ISO800), makes the camera sensor more sensitive to light. However, it also increases the grain and noise in the image. Decreasing the digital camera’s ISO (like moving from ISO400 to ISO100), makes the camera sensor less sensitive to light. This also improves image clarity by reducing grain and noise. When shooting film, the ISO is set by the camera stock you choose. For example, Kodak Portra 400 is less sensitive to light than Kodak Portra 800. However, Kodak Portra 400 also produces a clearer, smoother image with a finer grain.
How I Approach the Exposure Triangle
This post contains affiliate links. This means this website may receive compensation if a purchase is made through the link at no extra cost to you.
As I mentioned in my post about exposure in photography, I like to use an incident light meter called the Expodisc. It works in conjunction with my in-camera light meter. I stand where my subject will be standing and point my camera, with the lens covered by the Expodisc, back in the direction where I will be standing to take the photo. This allows the light that will be hitting my subject to filter through the Expodisc to my camera’s sensor. With the lens covered, I start dialing in settings. The goal is to get my in camera light meter to read “+/-0.0”. Once I’ve reached a balanced exposure, I will set my white balance, remove the Expodisc, get in position and begin shooting
Start with Aperture
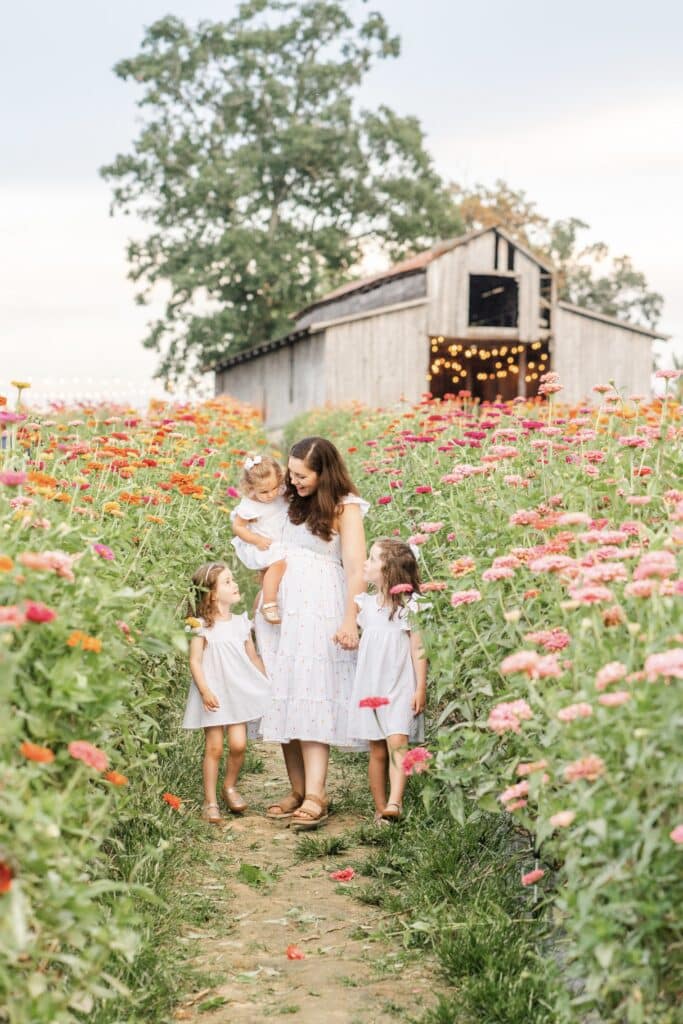
Because I am a portrait photographer, I usually begin with choosing a aperture. For traditional photos, I usually want to choose an aperture that is narrow/small enough to get all of subjects in focus. A simple rule of thumb is to choose an f-stop number that is larger than the number of people I want in focus. I’m photographing a single person, I may choose a wider aperture f-stop like f1.4 or f1.8 if my lens allows. For two people, a aperture of f2.0 or narrower should do the trick! I personally love to have a blurred background. Therefore I will choose the largest aperture possible without sacrificing focus.
Move to Shutter Speed
Next in the exposure triangle, I will adjust my shutter speed. If I am anticipating a lot of movement such as running children or walking people, I will opt for a faster shutter speed of 1/500. Shutter speeds of 1/500 or faster freeze movement. If my subject is mostly sitting or standing still, a slower shutter speed such as 1/250, 1/200 or even 1/100 may suffice. To avoid camera shake, avoid choosing a shutter speed slower than the doubled inverse of the focal length of your lens. (Huh?) I’m using a 50mm lens, I put my camera on a tripod for any shutter speeds slower than 1/100. If using a 85mm lens, I’ll put my camera on a tripod for any shutter speed slower than 1/200. However, if I’m using flash, I can get away with slower shutter speeds. This is because flash helps freeze movement.
Lastly Address ISO and Possibly Revisit Shutter Speed
Once aperture and shutter speed are set, I’ll adjust my ISO as needed. I personally prefer using and ISO 800 or lower on my Sony a7iv. I find that higher ISO settings tend to affect image quality more than I like. You may not mind a little grain and noise. It’s all down to the artist’s preference.
If I find that I need an ISO setting outside of my preferred range, I will first revisit my shutter speed settings. I would decrease my shutter speed to allow in more light so that I could also decrease my ISO. Do you see how these play back and forth with one another?
If I decreased my shutter speed to the slowest setting I was comfortable with for handheld camera use and my ISO is still too high, I would face another decision. I could decrease my shutter speed further and use a tripod (not a great choice for me since I’m usually photographing families with young children). If I’m indoors, I could add supplemental lighting through flash. (I often do this for in home sessions.) Lastly, I could consider adjusting my aperture. Opening the aperture wider lets in more light. However, this could result in a loss of focus on one or more of my subjects.
There is Usually Enough Light When Shooting Outdoors
When taking photos outdoors, it rarely comes to this last step. Unless the sun has already set or it’s an extremely stormy and dark day, there is usually plenty of light to use. Finding enough light indoors can be much more of a challenge, which is why I prefer to create my own light through flash photography.
Light Will Always Be the Most Important Component of the Exposure Triangle in Photography
When you’re first learning, one can easily get caught up in all the camera settings. Don’t forget: While light is not listed on the exposure triangle, it is the most important component in photography. Without good light, it doesn’t really matter what your camera settings are. (Yes, in theory you could use a long exposure in even the darkest of settings. But circumstances where that is practical are rare.) Creating beautiful photography largely depends on understanding how to identify the right light for your purposes. After that first vital step, use the exposure triangle to choose camera settings that will harness it.
Where To Go From Here
Now that you’ve learned the basics of how the exposure triangle works in photography, go out and practice! Photograph family, friends, objects in different types of light. Try out sunrise, sunset, shade, and even the bright, direct sun of midday. Practice dialing in your settings to get a balanced exposure of +/-0.0. Take lots of photos. Pay attention to the ones you like best. What kind of light were they taken in? What were my camera settings? With lots of practice and analysis you will grow to understand basic photography on a much deeper level.
Are you looking for help on this journey of learning photography? You can contact me here. Or join my email list below to learn more about upcoming educational opportunities.
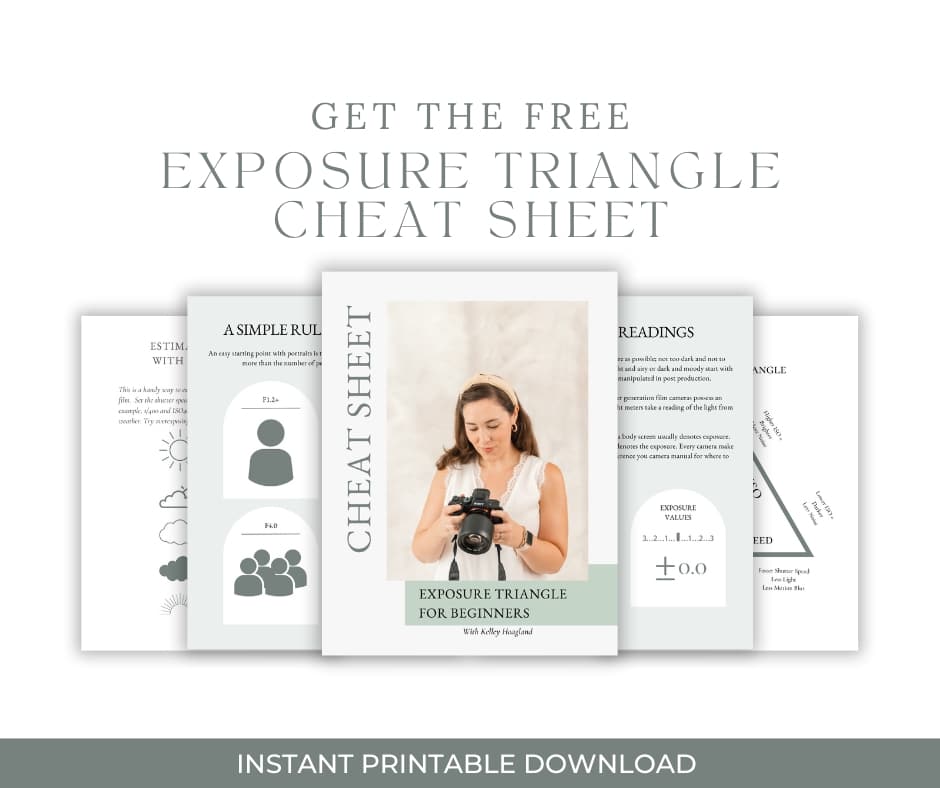
Who doesn’t love a good cheat sheet? If you are in the process of learning photography basics, I have a guide just for you! Download my Exposure Triangle in Photography Cheat Sheet for free. Keep it handy as you practice as a camera setting quick reference guide!
TL/DR: A Exposure Triangle Cheat Sheet is a handy reference sheet that can help you learn the basics of choosing camera settings that control exposure: specifically aperture, shutter speed, and ISO. Each of these settings work together to control key qualities of the images your camera produces.

Why You Need an Exposure Triangle Cheat Sheet
So why do you need the Exposure Triangle Cheat Sheet? Maybe you’re a faster learner than me, but I found the exposure triangle pretty confusing at first. (Cut me some slack. I was also a sleep deprived new mother at the time.) It felt like learning a new language. There were letters and numbers put together (f-stops). Small numbers also meant large and large numbers meant small (aperture). Then let’s throw fractions into the mix (shutter speed)! All of this, not to mention the fact that you have to balance three different elements at once.
Okay, I’m being a little dramatic. However, I still contend that it can be helpful to have a printable exposure triangle cheat sheet to reference as you practice. I hope, with intentional practice, that you will only need this exposure triangle cheat sheet for a short period of time. If you put in the work, thinking through your camera settings will become second nature in no time!
What does this Exposure Triangle Guide Include?
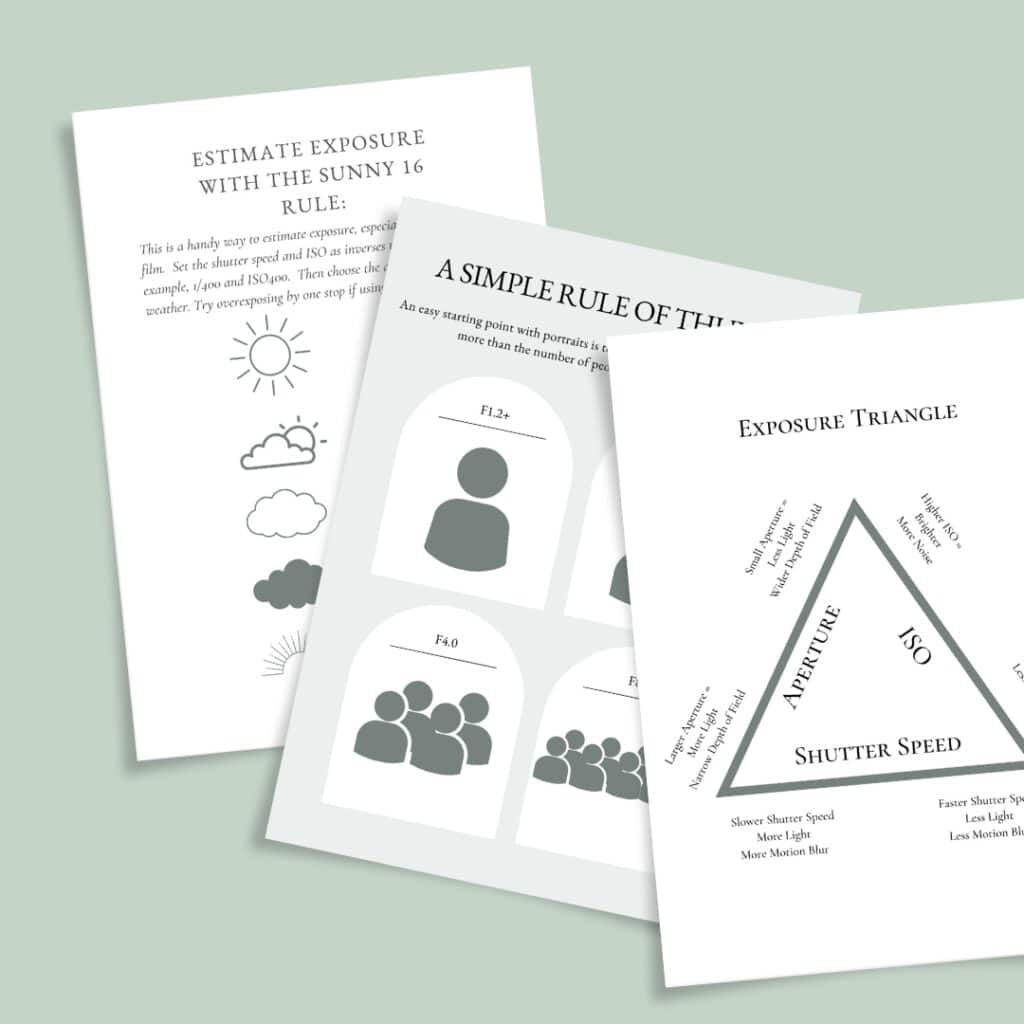
This exposure triangle guide is 20 pages long. It includes brief written reviews of the definitions of photography exposure and the three elements of the exposure triangle, aperture, shutter speed, and ISO. More importantly, it includes quick reference diagrams detailing the functions of each exposure triangle element. The cheat sheet also includes a chart detailing my mental workflow when choosing exposure settings. There is also a summary of how to use the Sunny 16 rule to estimate exposure. There’s plenty of room for notes and questions as you learn to shoot in manual mode!
How to Use This Exposure Triangle Cheat Sheet?
How should you use this exposure triangle guide? I recommend printing it out and storing it with your camera or in your camera bag. Review it before pulling out your camera the first few times your try out shooting in manual mode. As you get more comfortable, still keep it handy for when questions come up!
Most importantly, I’ve included a couple pages for photo notes. Use this part of the worksheet when you review and analyze your favorite images. I strongly believe that taking some time to reflect on what works in your images will help your work improve as you move forward and grow! Believe it or not, there is a science behind creating beautiful, appealing images! A little analysis will go a long way towards tapping into that. I’m actually doing the very same thing as I learn to shoot film!
Get the Free Download Now!
Don’t leave this page without downloading your free Exposure Triangle Cheat Sheet. And don’t forget to let me know how it’s going! Free free to drop me a quick line via email or socials!