How to Use the Godox V1 Flash – Trigger, Sync, and More
Did you just purchase some new photography gear? Did you unbox it and feel a little surge of panic at the look of all the buttons? If you’re looking for tips about how to use the Godox V1 flash, then you’ve come to the right post.
This post contains affiliate links, meaning the website receives a small commission for any purchases made through the link at no extra cost to you.
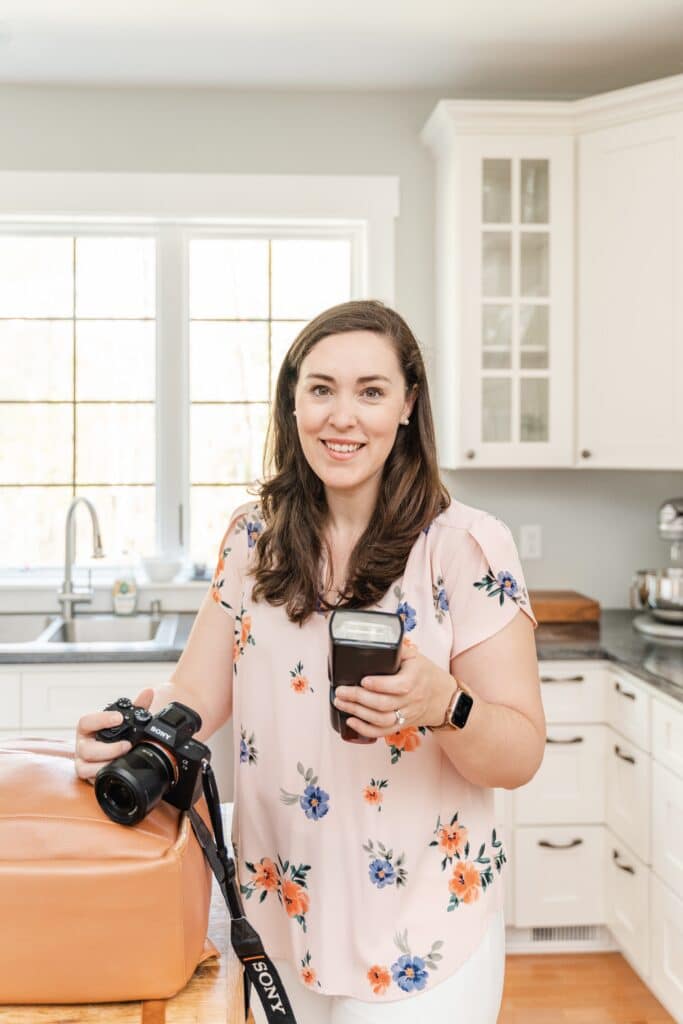
Confession: When I first purchased my Godox V1 speed lights, they stayed in the box for a few months. When I first took one out, charged it up and placed it in my camera hot shoe I had high hopes. I scanned a few online tutorials trying to figure out all the settings. Then I took a few test shots. They looked horrible. The exposure was all wrong. The light looked too harsh. It was bad. So I stuck them in a closet and tried to ignore them until an event, where I knew I would need them, drew nearer.
Flash can be intimidating! Clearly, I’ve since gotten over the hump of being comfortable with using flash for my photography sessions. I actually love using flash with indoors because the light is so predictable. I feel so much more in control. Surprisingly, I even sometimes prefer indoor flash sessions to outdoor sessions because I don’t have to obsess over what the weather will do!
How to Use the Godox V1 Flash Free Mini-Course!
All of this to say, I’ve created the free mini-course I needed when I first purchased my flashes. This free quick start course lasts about 50 minutes and goes through the basics of how to use the Godox V1 flash. When I say basics, I mean, basics. I’ll show you how:
- Turn it on!
- Adjust the flash power
- Explain how to connect to a trigger for off camera flash
- Explain how to use 2 flashes at once
- Provide some helpful tips for modifying your light along the way!
Let me help you get past the initial hump of overwhelm! Sign up for the Free Mini Course above!

How to Sync Godox Flash With Trigger
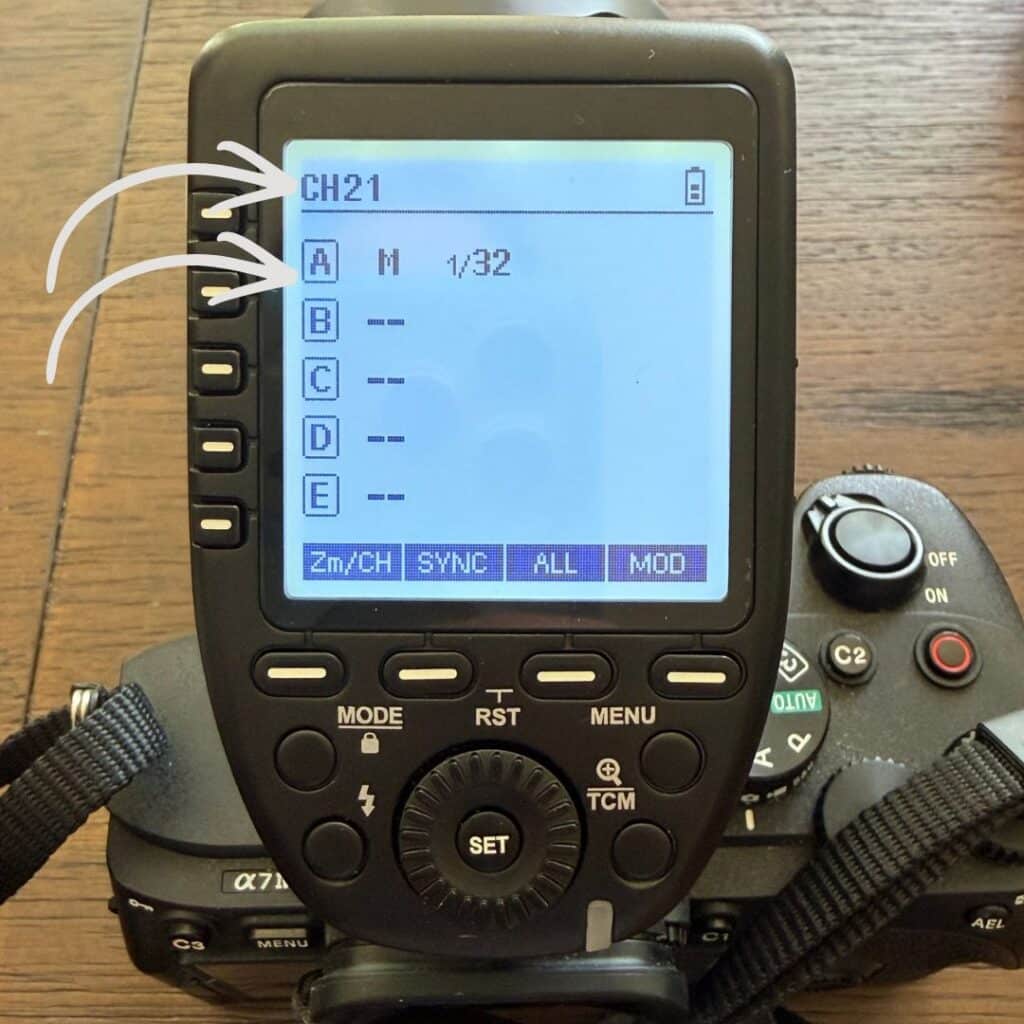
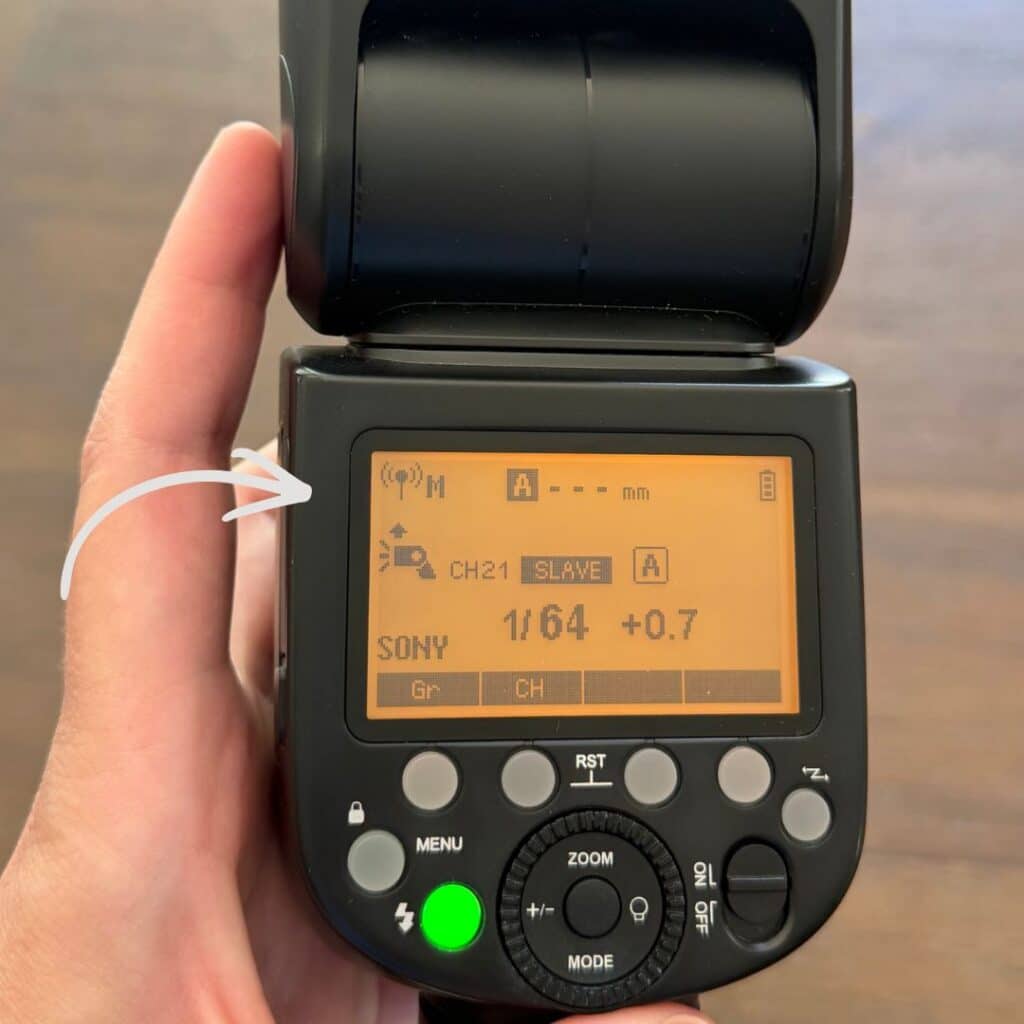
When trying to sync a Godox Flash with a trigger make sure the off camera flash is set to slave/receiver mode. Confirm that the trigger and flash are set to the same channel. Assign a different “group” (denoted by a letter A, B, C, or D) to each individual flash unit.
You Need a Trigger for Off Camera Flash
In order to fully operate flashes off camera, you need a trigger. The trigger connects to the camera through a hot shoe and wirelessly tells the flashes to fire.My personal flash gear list can be viewed by clicking here. I use the Godox XPro II with my Godox V1 speed lights. You must learn how to sync your Godox flash with a trigger in order for off camera flash to work!

Please Note:
When purchasing a trigger or flash that will be used in the hot shoe mount of a camera, make sure to purchase equipment that matches with the camera make. Because I shoot Sony, I purchased a Godox XPRO II S. If shooting Canon, look for the “C”. If shooting Nikon, look for the “N”. Otherwise, the camera can’t communicate with the flash equipment.
Read all the details about the online class here!
How To Sync Godox Flash With Trigger
Here are a few helpful tips to remember when learning to use a Godox trigger for off camera flash:
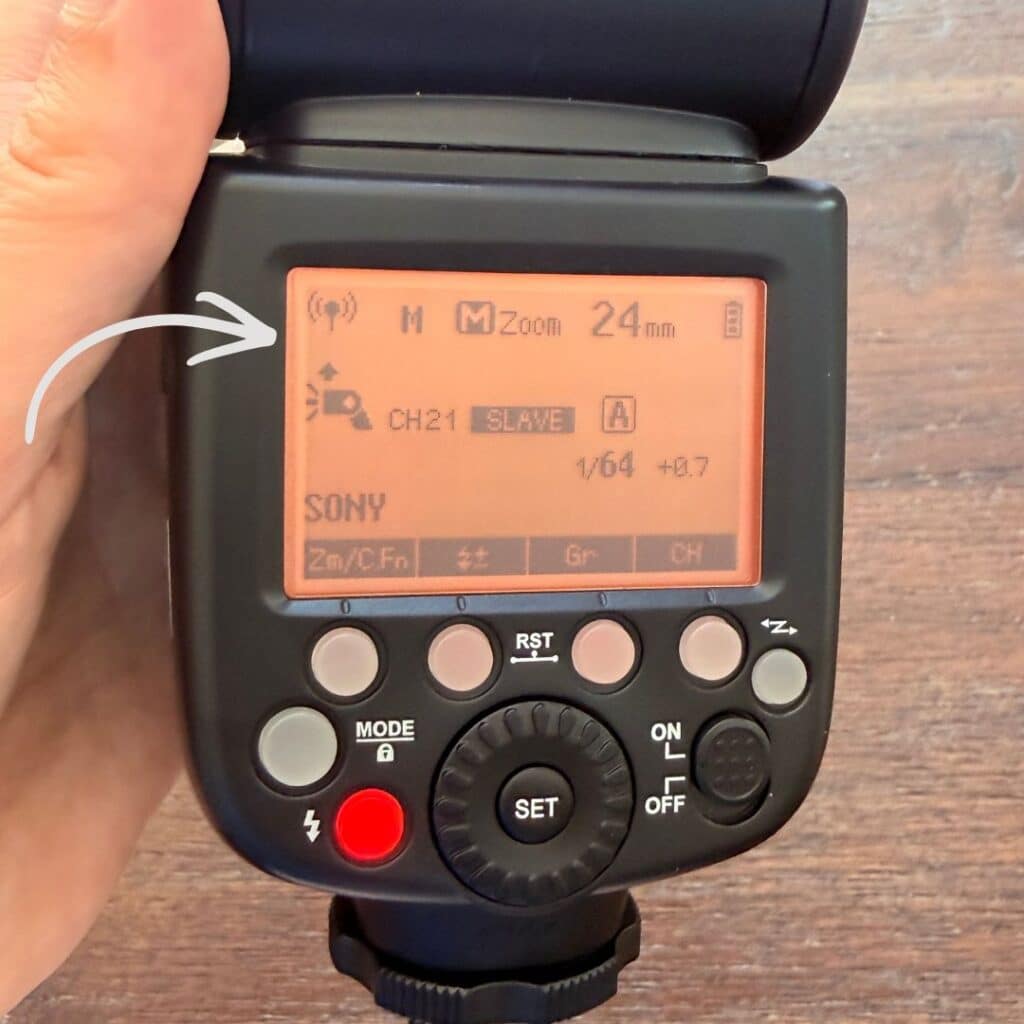
- The off camera speed light must be in “slave” or “receiver” mode in order to be triggered. The screen should turn orange when in this mode. Older Godox flashes are labeled “slave”, while newer models are marked “RX” for receiver.
- The trigger and the flash must be set to the same channel. “Ch” and than a number denotes the channel (i.e. “Ch15). The flash equipments fails to communicate if not set to the same channel. I find it helpful to think of how walkie-talkies must be set on the same channel to work. On the Godox Xpro-II, select menu > select the first menu option, the wireless symbol > select “ch” for channel > and then turn the dial until you have selected the channel number you would like. On the Godox V1, select the button under “ch” > turn the dial until your preferred number is highlighted > press the center button to select.
- Assign a group to each off camera flash. Letters denote the flash group (i.e. A, B, C, D, or E). Turn on the group on the trigger by pressing the button next to the corresponding group letter. Click mode to turn the group on. Keep pressing to shift between TTL and Manual flash. Make sure to assign the speed light to the correct group. Don’t make the mistake of assigning two flashes to the same group letter. One of the flashes will turn to “OFF” as a result.
- Consider changing the flash to a channel different than the default. If photographing an event where another photographer is present, you may accidentally trigger each other’s flashes if using the same channel.
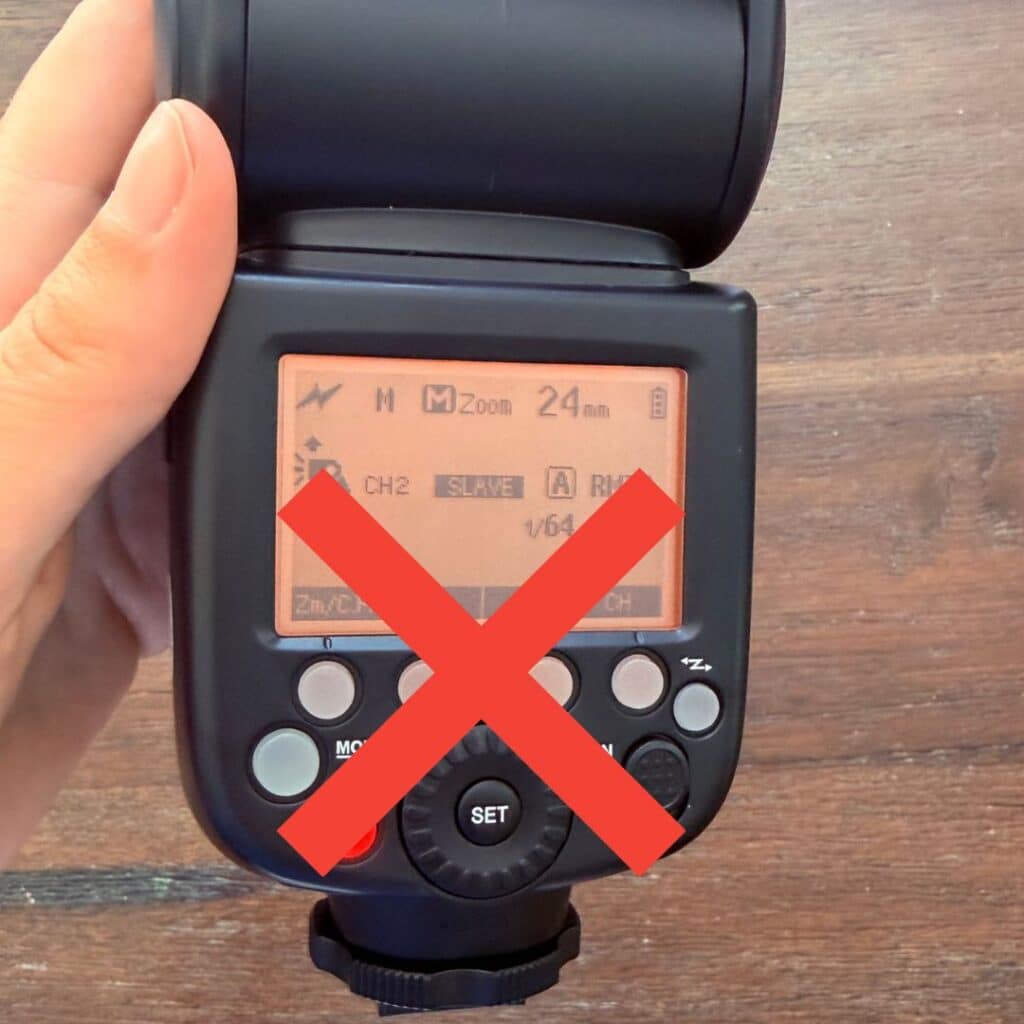
Still Having Trouble Figuring Out How To Sync Godox Flash with Trigger?
Check that your trigger is fully pushed into you camera’s hot shoe! I have often found new hot shoes can be a little stiff at first. While you’re at it, make sure you haven’t tried to attach your trigger backwards. (One of my students accidentally did this when she was trying to mount her flash into a Nikon hotshoe! Whoops!)
How to Use Godox V1 As Trigger
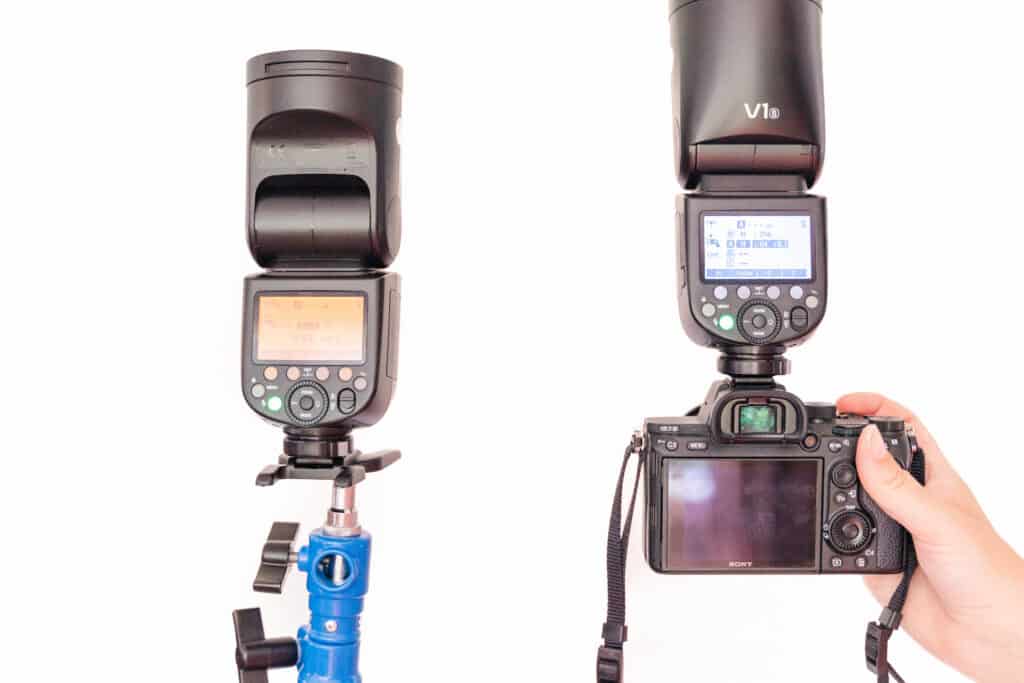
What to do with the Master/Transmitter Flash On Your Camera
- The flash that you slide into the hotshoe on top of your camera is considered the “master” or “transmitter” flash. (NOTE: In newer models of the flash, the terminology has been changed from “master and slave” to “transmitter and receiver”.)
- Make sure it’s set to the “Master/Transmitter” mode. Click the “zig zag” button on the far right of the flash one time to change the mode from on camera to “Master/Transmitter” mode.
- Click the button below “M” on the bottom right to change the Master/Transmitter flash from TTL to M for “manual” if that is your preference. Use the wheel to choose your level of flash power if in manual mode.
- Take note of your channel number. Your channel number will need to match the channel number of your slave/receiver flash.
- Choose a group letter (A,B,C,D,E) for your slave/transmitter flash. Click its corresponding button for the group number to “turn on” transmission to that group. Select TTL or “M” for manual if that’s your preference. Control its power using the wheel.
What to do with the Slave/Receiver Flash Off Camera
- The flash that is off camera is considered the “slave” or “receiver” flash.
- Make sure its set to “slave/transmitter” mode. Click the “zig zag” button on the far right of the flash two times to change the mode from on camera, then, “Master/Transmitter”, then “Slave/Receiver” mode. The screen should turn orange.
- Click mode at the bottom of the wheel to change from TTL to “M” for manual if desired.
- Make sure the slave/receiver’s channel is the same as the master/transmitter flash’s channel. Otherwise they won’t communicate to each other.
- Make sure the slave/receiver’s group letter is the same as the group letter you turned to TTL or Manual on the master/transmitter flash. Note: I’ve found that you can’t have 2 off camera flashes assigned to the same group letter. One will turn itself off automatically.
- The power of this slave/receiver flash will be adjusted on the the master/transmitter flash.
Troubleshooting How to Use the Godox V1 Flash as a Trigger
Make sure the Master/Transmitter flash is fully pushed into the hot shoe and correctly oriented. (One of my students accidentally tried to mount the flash backwards on a Nikon camera. Oops! It certainly won’t work that way!)
If the Slave/Receiver flash isn’t firing, double check that it is set to the same channel as the Master/Transmitter flash and fully awake (instead of in sleep mode). Also ensure that the group assigned to the Slave Receiver flash is turned on on the Master/Transmitter flash!
When to Use the Godox V1 As a Trigger
Now, let me first note that this is not a set up that I use a lot for my in home or indoor lifestyle sessions. I prefer to have my Godox V1 flashes fully off camera so that I can move around without my light moving around with me. A moving light creates varied results because the closer it is to the subject, the brighter the light will be and vice versa.

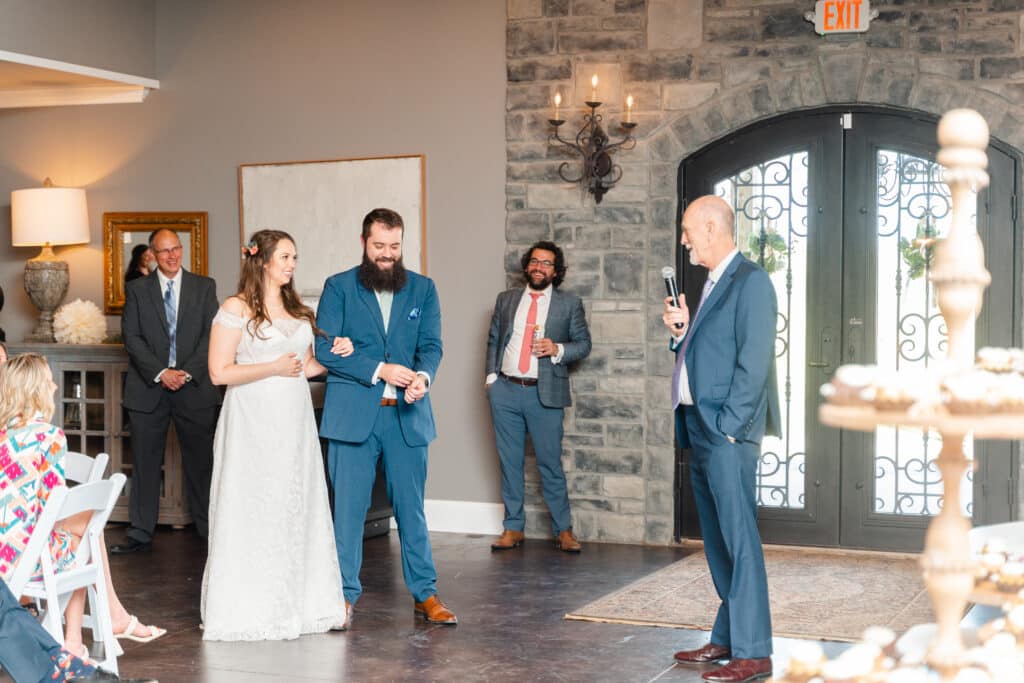
However, I did use this set up more when I was photographing events. When capturing events, I generally worked really large spaces where I had no choice but to move around a lot. Similarly, in these circumstances, I’m less concerned about taking photos that imitate the look of natural light. If it’s a party with a lit up dance floor, I’m okay with my photos looking a little “flashy”. If I was in a large room or trying to capture the dance floor at a reception, I set up one or two flashes off camera for fill or back lighting. My on-camera flash was then used to illuminate my subject.
What If You Don’t Photograph Events?
Nevertheless, even if you aren’t photographing events, knowing how to use Godox V1 as a trigger is a good skill to have in your back pocket. What if your trigger fails during an in-home session? If you run out of batteries for your trigger, what would you do? What if you accidentally leave your trigger at home?
I actually had a situation like this last year. It was a super overcast, rainy day. The room, despite having a good window and light colors was very dark. My plan was to use off camera flash. I had an older trigger that had a plastic hot shoe. When I was setting up in the nursery part of the hotshoe, where it connected to my camera, broke off. Ahhh!! I quietly had a little heart attack. Then I took a deep breath. I decided that if the trigger couldn’t limp along, I would just use one flash on camera to trigger a second flash off camera to fill the room with light.


The moral of the story is: sometimes our best laid plans don’t work out and it’s always helpful to fully understand how your equipment works in case you need to shift to another plan.
There’s Always More to Learn!
If you still have questions after completing the free quick to course about how to use the Godox V1 flash, I have more help to offer. I currently provide a full online course about my approach to using flash for in-home sessions. The In-Home Flash Photography Course is mainly geared to meet the needs of professional lifestyle photographers like myself. However, photographers from other genres, such as branding or commercial photography, may find the information included in that course helpful as well! Watch your inbox after you sign up for the free course! You’ll receive a discount code that’s good through the end of the month!
About Kelley
I’m a believer, wife, mom of three daughters, and family photographer based in the Southeastern US. I actually got my start when I failed to schedule a newborn session for my firstborn. Oops! I took her newborn portraits myself and then decided I should probably learn how to use my camera. Little did I know how this new little hobby would completely change my life. Within 6 years of learning how to use a camera properly, I quit my job in healthcare to pursue my photography business full time.
If you’re looking for help as you navigate beginner photography skills, I’d love to help!

Other Resources to Check Out
Have you got the basics of using your flash down, but are running in to trouble with it not always firing? I have another post meant just for you! Read this article about why your Godox Flash may not be firing.
Related Post: Best Lighting for Indoor Photos

Leave a Reply