Are you already using your camera in manual mode, but still looking for some tips as to how to take better photos in camera? Stick around. This post is for you! I will detailing some small adjustments that can make a HUGE impact on the look of your photographs. If you are specifically looking for help with how to take better photos indoors using flash, click here for more info about my Free Quick-Start Flash Photography Course.
Why Learning How to Take Better Photos In Camera Matters
Getting a photo in-camera that is close to the final result you are aiming for is an important goal. But you may be thinking, “Can’t I just fix it in Lightroom or Photoshop? Does the original RAW image really even matter?” Certainly, Lightroom and Photoshop are wonderful tools that can basically work magic on your images. But editing also takes a lot of time. If you’ve photographed an entire hour long session in less than ideal light with less than ideal camera settings, the editing time will add up. This even comes from a photographer who honestly really enjoys editing. However, I also recognize that there are other things I want to do with my limited work hours. There are other more beneficial ways I can pour into my business than spending hours editing.
When you learn how to take better photos in-camera, only minor tweaks and changes are needed when using editing software. I have a preset I use on all of my images. Because I generally get the image close to perfect in-camera there’s minimal editing that I’m required to do beyond applying the preset. I generally make some adjustments on my exposure (I like my images bright). I may raise the shadows some more. Cropping and straightening is required and then the image is ready for more detailed edits in photoshop. For example, I would rather spend my time editing a child’s runny nose than fussing over whether the white balance is correct. All in all, learning how to take better photos saves me time.
One Main Goal is Consistency
If you have been around the online photography education scene much, you have probably heard the buzzword “consistency”. The argument goes that customers want to know what they will be getting when they book with you. They expect their photos to look a lot like the work you’ve displayed in your portfolio. To give you a real world example: I expect my Chick-fil-A chicken sandwich to look and taste the same when I stop in Birmingham on my way to the beach as it does when I purchase one in my hometown of Chattanooga. Think about your photography work in this way. Are you putting consistent images out into the world? Would someone know that it’s your work just by seeing it?
If the photography work you fill your website portfolio or Instagram with is not consistent in style and quality, a potential customer may feel hesitant to book with you. Will the images they receive be bright and clear like the outdoor session you just posted? Or will the images be shadowy and moody like the indoor session you just posted? Maybe they like your work when the images are warm, but not the work where your images are a touch cool in their white balance.


Lots of factors affect the “feel” of your photography work.
If you are interested in achieving a light and airy style like mine, check out this post that details some of the components to consider. Identifying ideal light, types of backgrounds, posing, and preferred camera settings can go a long way towards creating consistent photography work. But what if you haven’t figured out your preferences in these areas? I’ll be going into some concrete tips in the section below. However, for now, pull up some of your favorite past images and analyze them:
- What time of day where they taken at? What was the light like?
- What colors in this image resonate with you?
- What do you like about the posing?
- What type of background is featured?
1) Find (or Create) The Right Light
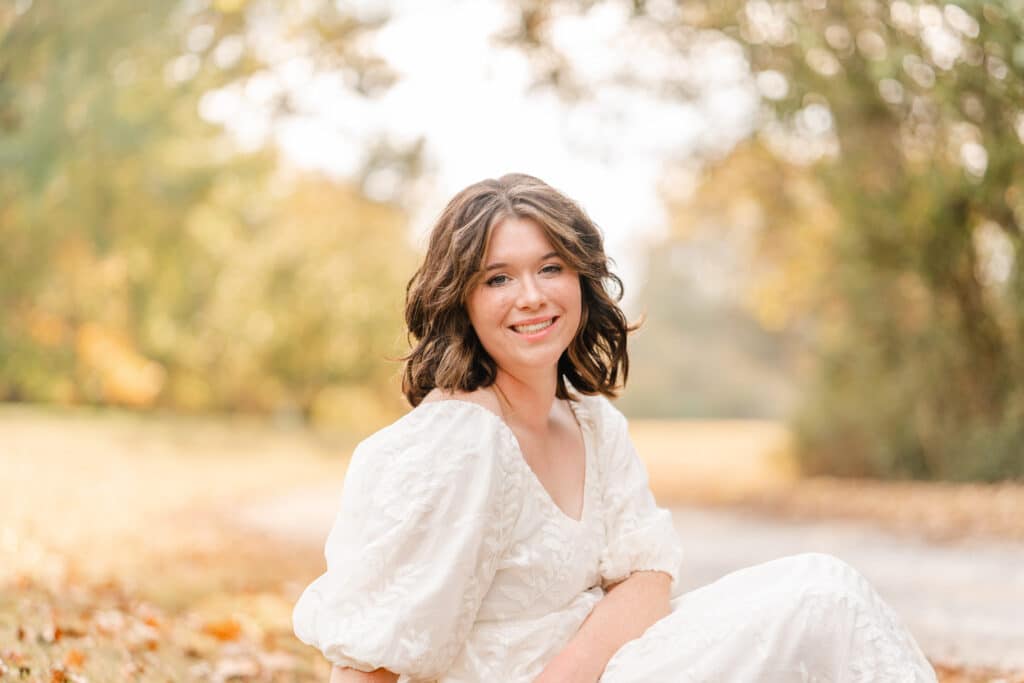
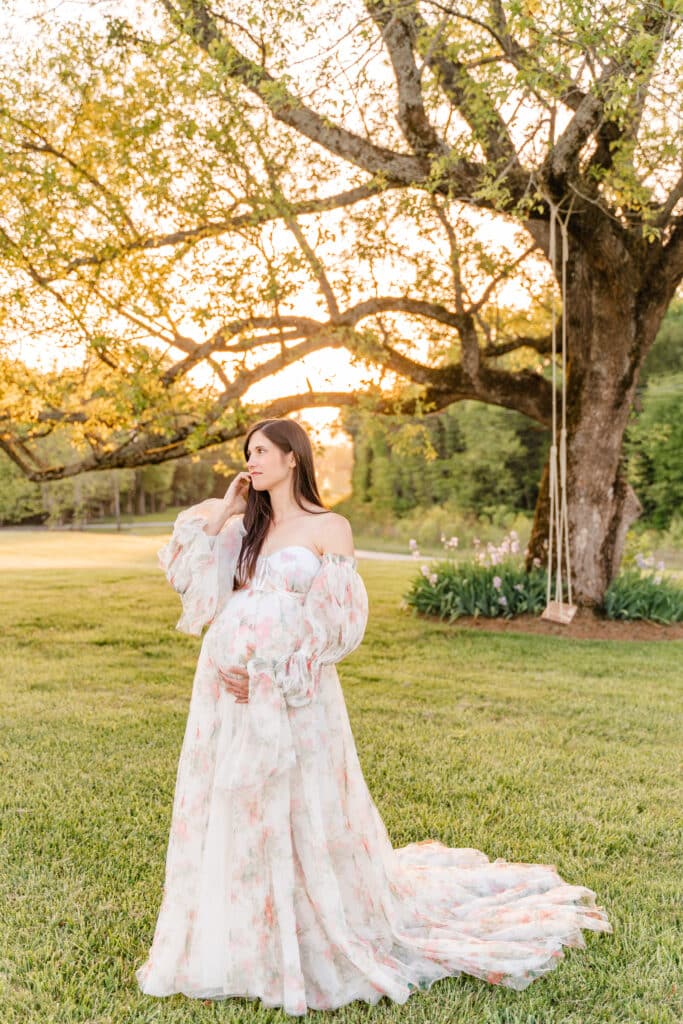
The time of day has a huge impact on the quality of light. One way that I initially learned how to take better photos was by identifying my preferred time of day for outdoor photography. I personally love the even, glowy light that comes from using backlighting at sunset on a sunny day. Therefore, when scheduling outdoor portrait sessions, I always schedule during the hour before sunset.
However, life does not always go as planned. Sometimes sunset isn’t the best time for my clients. This is especially true in the summer when my families with young children can’t stay out past 9PM. If an earlier session is needed, I use locations where I can find open shade paired with a naturally reflective surface (think stone, sand or concrete that will bounce neutral light back into my subjects’ faces). If the weather doesn’t cooperate and the sky is overcast, I move my sessions earlier and turn my subject to face the sun, which is diffused by clouds.
When shooting outside of my preferred “golden hour” sunset, I am careful to compare my open shade or cloudy images to my standard work. Sometimes I have to adjust the greens or white balance from these sessions in order for my overall work to look cohesive. If find comparing my images by pulling a golden hour image into my Lightroom catalogue and then using the side by side reference view (shift + R) to be the easiest method of achieving this.

How to Take Better Photos Indoors
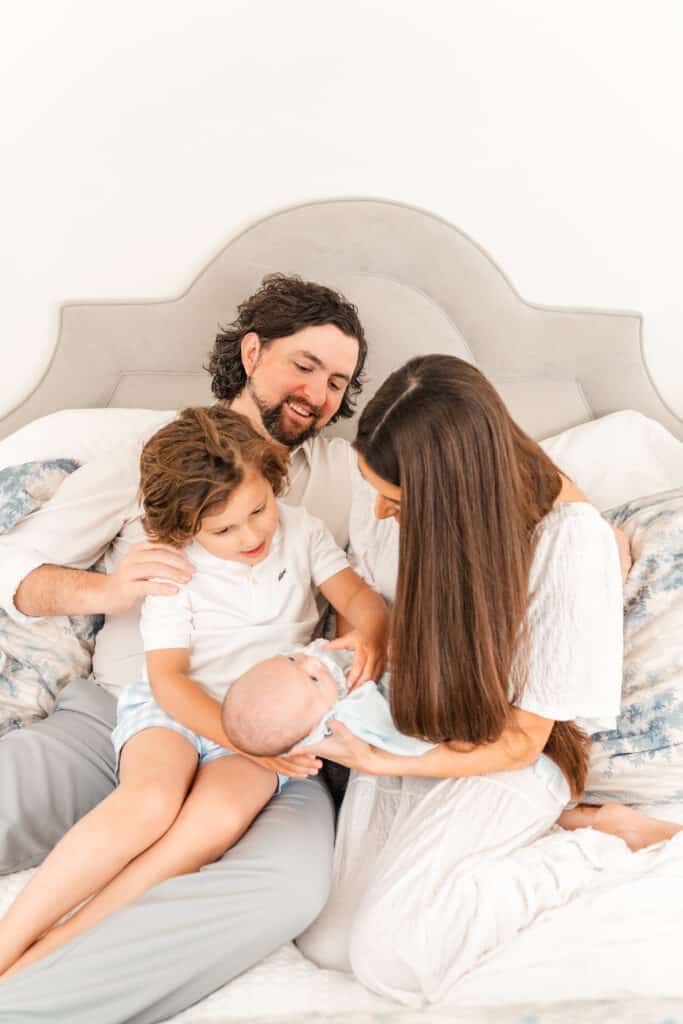
When shooting indoors, I used to struggle with feeling like I didn’t have enough light. My indoor work was shadowy and grainy compared to my bright, crisp outdoor work. Using flash made all the difference in my indoor work. With artificial light, I can control the direction and intensity of the light. This freed me to photograph practically anywhere indoors. To learn more about my method of in-home flash photography, click here.
2) Meter Your Light
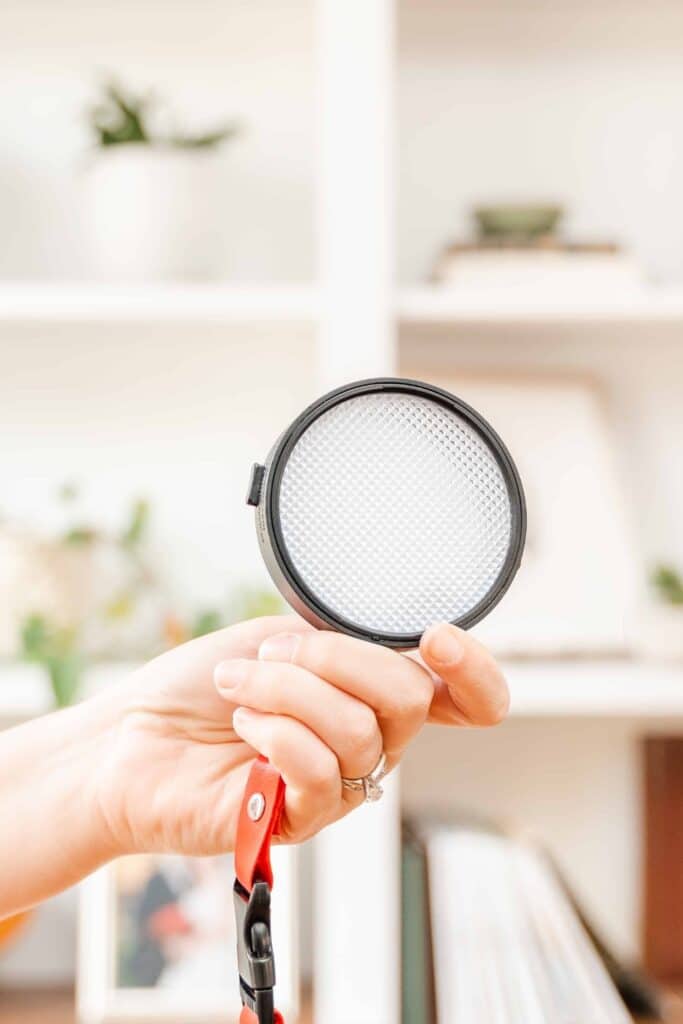
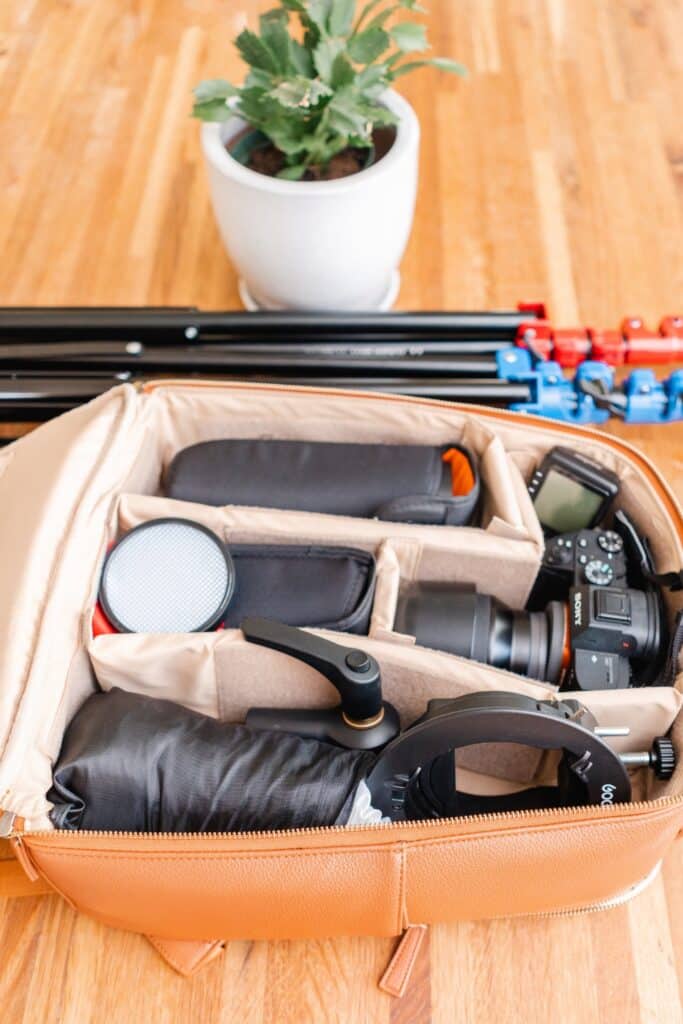
I used to rely on my in-camera spot meter to dial in my exposure. This led to a lot of inconsistent exposures. That led to extra hours of editing. I would highly recommend using an external tool to help you meter the light before dialing in your exposure. Incident light meters are an option, but they do tend to be pricey. I personally have opted for using the Expodisc. You can see the equipment I typically use here. The Expodisc works with the my in-camera light meter by filtering the incident light when placed over the lens. I typically still increase my exposure in post production editing, but this tool achieves a pretty balanced exposure in-camera. As a bonus, the Expodisc is portable and more affordable than electronic incident light meters.
3) Manually Set Your White Balance to Take Better Photos
Do not under-estimate the power of white balance. It greatly impacts the feel and style of your images. I personally prefer a slightly warmer white balance. You may prefer a cooler white balance. Let your style dictate the decision, not your camera. I would argue that leaving your camera on auto white balance is a mistake that will lead to inconsistent results. The last thing you want is for some of your images to look cool while others look warm.
Instead of relying on your camera to decide your white balance, I would recommend either using Kelvin or the Expodisc. Kelvin is a scale measuring color temperature of light. First consider the type of light you are photographing in (i.e. sunlight, sunset, shade, etc). Many Kelvin charts can be found with a quick google search. Dial in the value the corresponds with the type of light you are using. For example, cloudy daylight has a kelvin around 6000K.
I personally prefer to set my white balance using the Expodisc after I have dialed in my exposure. I simply access the white balance menu on my Sony a7IV and cue my camera to set a custom white balance. This is done while my lens is still covered with the Expodisc. Having a consistent, custom white balance set based on the ambient light has done wonders for my work!
4) Study and Compare your Work
No one is ever finished learning. That’s one of the things I love about art! There’s always something new to try. You can always improve. Take the time to analyze your work. What about an image do you love? What’s distracting to your eye? Why did you love the images from one session more than another? Picking up on these differences can help you produce better work in the future.
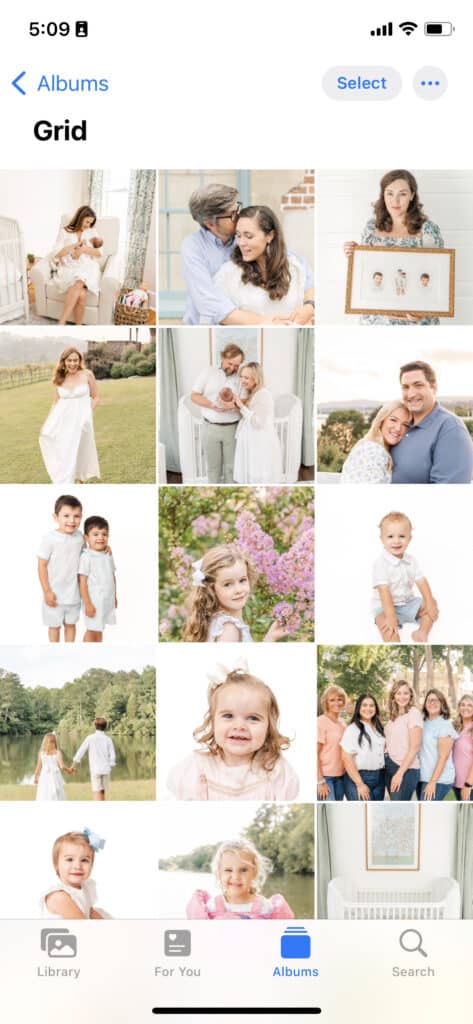
For better or worse, the Instagram grid provides a quick glance at your work if your are a professional photographer. I realize that there are scheduling apps available that allow you to preview your grid before posting. However, I have found that I’m just as happy keeping a dedicated “album” in my camera roll that copies my Instagram feed. In this album, I can try out image pairings before posting to make sure that my overall grid continues to look cohesive and consistent.
I’ve also found that having this small “snap shot” of my portfolio can be very helpful as a reference. When I feel like my white balance is slightly off or the skin tones aren’t quite right, I will move one of the images from the session to this album on my phone. When surrounding an image I’m working on with my other work, I find I can more easily spot the issue. With a quick glance, I can tell if the image is too dark, too bright, too cool, too warm, too orange, too yellow, etc. Try out this trick and see if it helps with the consistency of your edits.
I hope you have found this post helpful in your “how to take better photos” journey. To learn more about working with me as a photography client, click here. Want to learn my method for using flash for better in-home photos? Click here!
Be the first to comment