How to Fix Grainy Photos – A Photographer’s Tips
Wondering how to fix a grainy photo? Maybe you took a photo is less than an ideal amount of light. Or maybe your settings were just off. Now you’ve ended up with a photo you like, except for the distracting digital grain and noise. How can you fix it?
This post contains affiliate links. This means this website may receive compensation if a purchase is made through the link at no extra cost to you.
TL/DR: How to Fix Grainy Photos
When trying to fix grainy photos you’ve already taken, Topaz Photo is an excellent tool for salvaging the clarity of your image. In Lightroom it is worth trying the “Denoise Tool”, which will fix some of the grain in your photo. Also adjusting the images “Luminance” in Lightroom (but be careful because adding too much “Luminance” can make your image look fake and plastic).
If your images are consistently turning out grainy, it’s time to examine your camera settings. You may be using an ISO setting that is too high. (This may be especially true if your camera is set to “auto” and it’s choosing the settings for you!) If you are consistently finding yourself in situations where there isn’t a lot of light, it may be time to learn how to use a flash for supplemental light so that you can avoid those high ISO settings. .

What This Post Will Cover About Grainy Photos In Depth:
In this post, I’ll be discussing how to make a photo less grainy with my favorite tools, as well as how to prevent the noise in the first place!
We have to acknowledge that personal preference plays a role when it comes to the sharpness and clarity of photographs. Some photographers love the look of emphasized grain in film photography. I personally would argue that the grain or noise that occurs in digital photography due to high ISO or low light conditions is less appealing than true film photography grain.
I personally would rather take a sharp digital image and then add grain via a an editing preset to mimics film photography. All this to say, this post will be specifically referring to the non-aesthetic grain and noise the can occur in digital photography. Film photography grain is determined by the film stock you use and the development process.
About the Photographer
If we haven’t met yet, my name is Kelley Hoagland! I’m a wife, mom of 3, and professional family photographer near Chattanooga, TN. When I was learning photography and growing a business, I found in-home sessions to be the most challenging. Not all homes had adequate natural light for ideal camera settings. I made my fair share of mistakes and produced plenty of grainy photos until I learned how to use flash.
Sometimes, I still slip up and end up with grainly photos. In that case, I rely on Topaz Photo to help clean up my images.

How to Make A Photo Less Grainy- How to Fix It After You’ve Taken It
Let’s cut to the chase. You may have stumbled upon this post because you’ve already taken the photo and now you need to fix it! I’ve been there.
Topaz
My favorite tool for making a photo less grainy is Topaz Photo! It integrates with Lightroom (where I do the majority of my photo editing.) If you have a subscription, you can open an image in Topaz from within Lightroom. I click File > Plugin Extras > Process with Topaz Photo AI. I then click “edit a copy”. This opens up my image in the Topaz interface.

Once in the Topaz interface, you can remove noise, sharpen your image, recover out of focus faces, and enhance the image’s resolution.
When I want to make a photo less grainy, I typically work within the “Remove Noise” function. Within this function you can choose between “normal” and strong” and also adjust the overall strength. Here I always take the most conservative approach, usually opting for normal. I often find that if you are too liberal with the settings, you image may look plastic and unnatural.
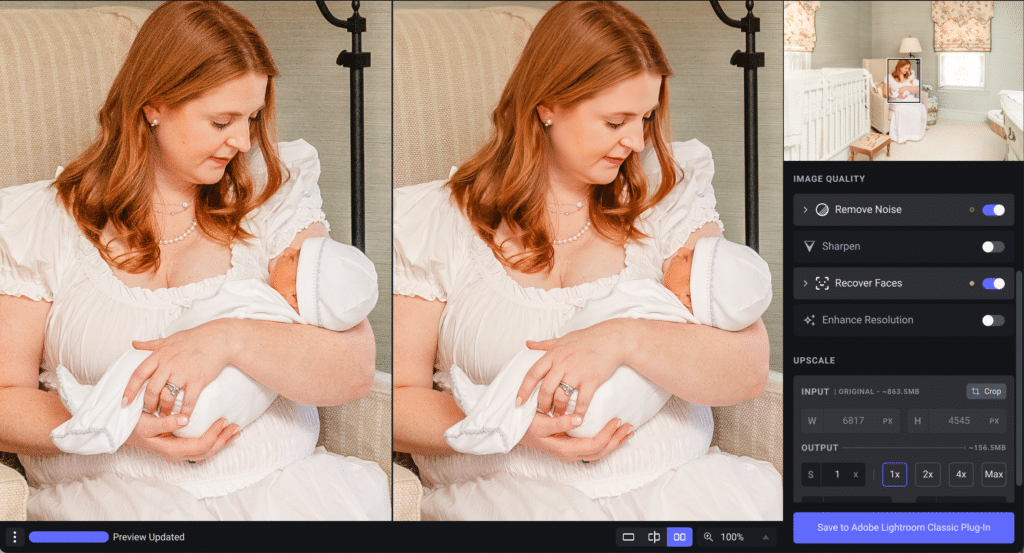

As you can see, with a few quick tweaks in Topaz, the image looks smoother and sharper.
Do Note: if you open an image that you’ve edited in Lightroom into Topaz, the color correction you’ve already completed won’t “stick”. The image that will be saved back to Lightroom will look more like your original RAW image.
I prefer to make color corrections in Lightroom, complete adjustments in Photoshop, and save that image back to Lightroom before opening it in Topaz.


Lightroom
It is possible to make a photo less grainy within Lightroom. (If you are trying to fix grainy photos on you iPhone, this function is available on the paid Mobile Lightroom app as well!)
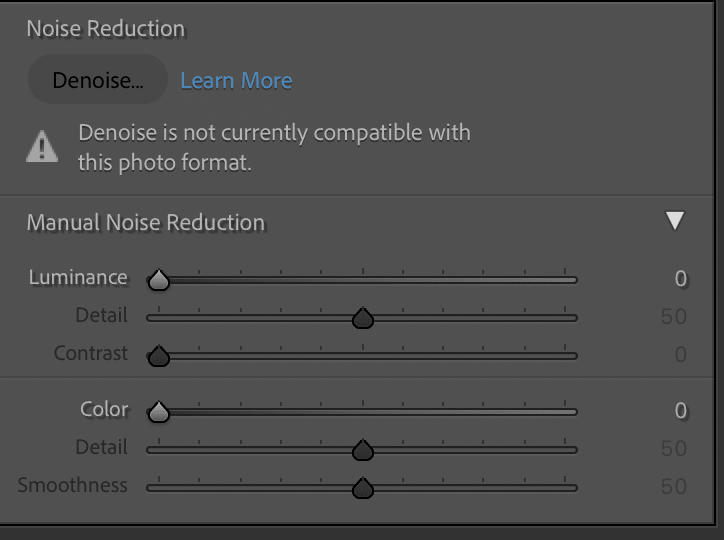
I personally have not used this function very much. You can manually adjust the noise by using the “Luminance” function. I personally have found that if you bump the “Luminanc” setting too high, the image will begin to look “plastic” and fake.
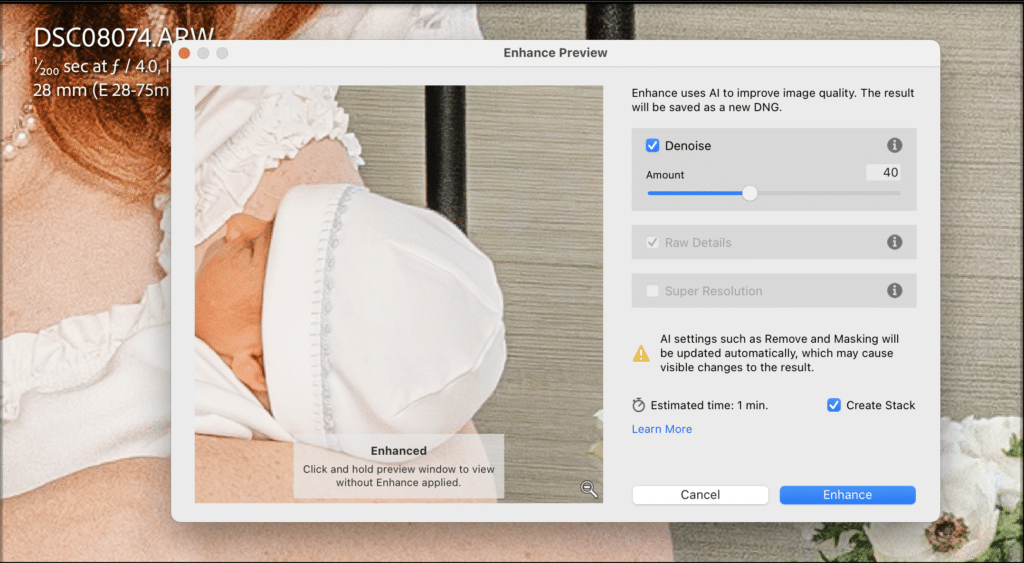
Lightroom also has a new “Denoise” function that can be useful for making a photo less grainy. However, you must use this function before you open an image in Photoshop. If you make Photoshop edits and then save the image back to Lighroom, the Denoise function will not work!
Personally, I do prefer the results I get from Topaz Photo for the task of fixing grainy photos. However, you may be just as happy with the results you can get in Lightroom if this is the only function you need. The ability to recover focus on faces in blurry photos makes the cost of Topaz worth it for me!
How to Make A Photo Less Grainy Before You Even Take It!
I wouldn’t feel like I had truly done my duty if I had not discussed how to make a photo less grainy before you even take it! This is certainly the ideal that we are going for.
It’s great to have tools that can help us every once in a while when the lighting conditions were particularly challenging. However, these edits do take extra time. No one wants to have to correct the grain in every individual photo they take! (Note: I am specifically talking about digital photography in this post. In film photography, grain is determined by the film stock that you choose. Higher ISO films like Portra 800, for example, have more grain compared to lower ISO films like Portra 100.)
ISO
If your photos consistently have a lot of noise and grain, it’s time to take a look at your ISO settings. As you may remember from learning the Exposure Triangle, a higher ISO makes your camera sensor more sensitive to light, which increases the light captured by the camera.
However, higher ISO settings also result in more grain and noise in your image. When your images are consistently looking grainy or noisy, it may be that you are using an ISO that is too high.
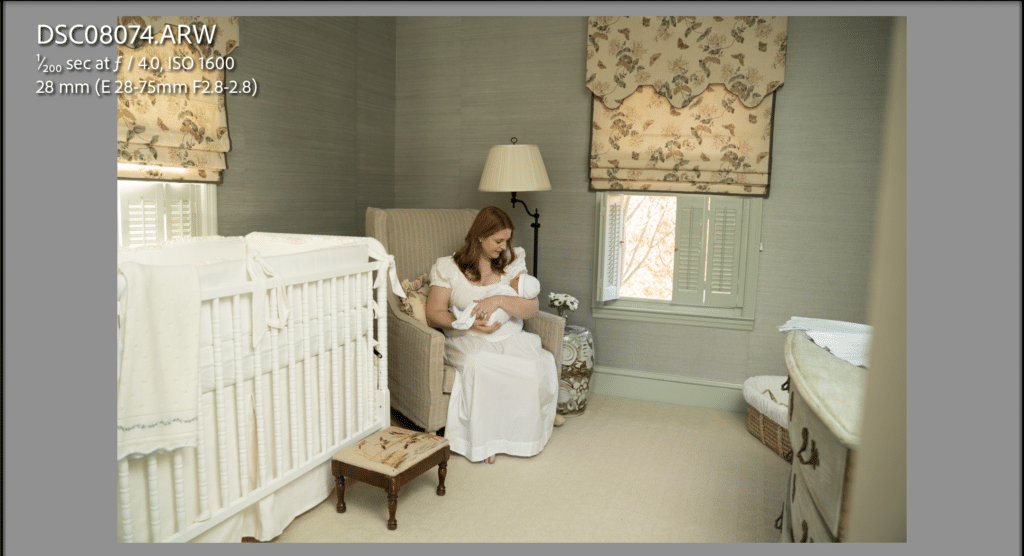
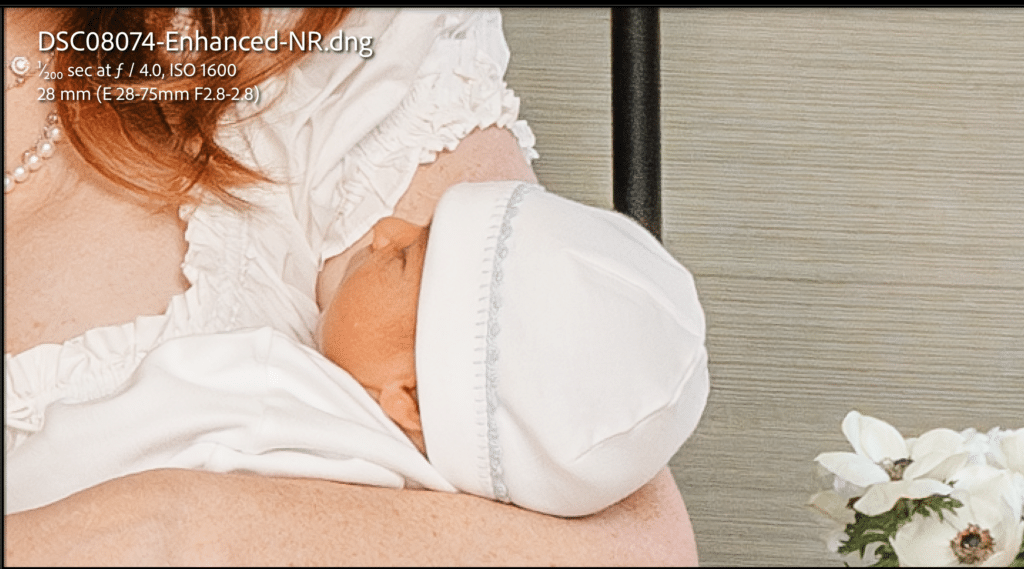
If you’re using your camera in “auto”, it may be that your camera is choosing a high ISO. You can click the “info” button on your image on your iPhone, you’ll find the camera settings of aperture, shutter speed, and ISO listed. If you right click an image file on your computer and select “get info”, you can also find your camera settings.
I most frequently shoot using the Sony a7iv. I personally find that my images start to look noisy when my ISO is set above 800. Increasing the exposure and shadows in post-production (i.e. Lightroom) exaggerates the grain and noise. Therefore, even if I intentionally underexpose the image (let in too little light), the grain/noise will become more apparent when I try to fix the exposure (lighten the image) in Lightroom editing.
If you are still trying to figure out the Exposure Triangle and what settings to use, check out my Beginner Photography Course!

Read more about what’s included in the course here!
Find Better Light
What’s causing such a high ISO camera setting, that’s then causing grainy photos? It may be that you’re trying to take photos in locations where there isn’t enough light. Just light paint is a painters primary medium, light is a photographer’s primary medium. If there’s not enough light, your camera is going to have to compensate by using a High ISO.
So what can you do about it? Opt for taking pictures outside or closer to windows where there is plenty of natural light.
See if you can adjust your other camera settings to allow for a lower ISO. Open up your aperture (the hole in your lens) wider to let in as much light possible. Try a slower shutter speed in order to expose your sensor to more light. If you have to take photos in low light (like at night), you may want to opt for placing your camera on a tripod so that you use a really slow shutter speed without losing focus and blurring the image due to unintentional camera shake (because you can’t hold the camera as still as a tripod.)
Use Flash
You may be thinking, “that’s all well and good, but what about low light indoor session when I can’t always stay glued to the windows?” I struggled with this for years and got burned on a few sessions, having to do re-shoots because of horrible photos taken on bad weather days. I got tired of stressing over how much light there was for my in-home sessions and decided it was time to learn how to use flash.
Using flash during low light conditions allows you to use a lower ISO, resulting in brighter, sharper images. Now that I know how to use flash during my in-home sessions, it’s fairly rare that I have to correct grain and noise in my images.
If you’re looking for some help in the process of learning flash photography for in home settings, I have created some resources for you! Check out my flash photography course for indoor sessions (designed for photographers who know how to shoot in manual mode- meaning you choose your aperture, shutter speed, and ISO yourself.)

Conclusion: How To Make A Photo Less Grainy
I hope you’ve found this post helpful in answering the question of how to make a photo less grainy. It’s of course always best to prevent a grainy, noisy photo in the first place by choosing correct camera settings (ISO). In some low light situations, this may require you to bring in supplemental lighting with flash. However, when your best efforts result in a noisy photo, there are tools out there that can help you correct the image such as Topaz and Lightroom!
Learn How to Edit People Out of a Photo with Photoshop
View Kelley’s Beginner Photoshop Course