During last week’s post of No Fear Flash, I explored the first component of the exposure triangle, aperture. This week I’ll take a closer look at shutter speed and the role it plays. When learning to take indoor flash photos, it is vital that you have a foundational understanding of how each camera setting affects the overall exposure. If you take a test shot and don’t like the results, this knowledge will guide the problem solving process. This post will help dissect the relationship between shutter speed and flash.
This post contains affiliate links.
Get the FREE Quick-Start Flash Course
Shutter speed and natural light
When taking a natural light photo, the shutter speed dictates how quickly the shutter opens and closes. A fast shutter (i.e. 1/1000) speed allows in less light in, resulting in a darker exposure. A slow shutter speed (i.e. 1/100) allows the shutter to remain open longer, allowing more light into the lens, resulting in a brighter exposure. Shutter speed also dictates the camera’s ability to capture movement. With a slow shutter speed (i.e. 1/100) if the subject is moving, blur or loss of focus is likely to occur. Higher shutter speeds (i.e. 1/1000) more effectively “freeze” a moving subject, resulting in a crisp, focused photograph.
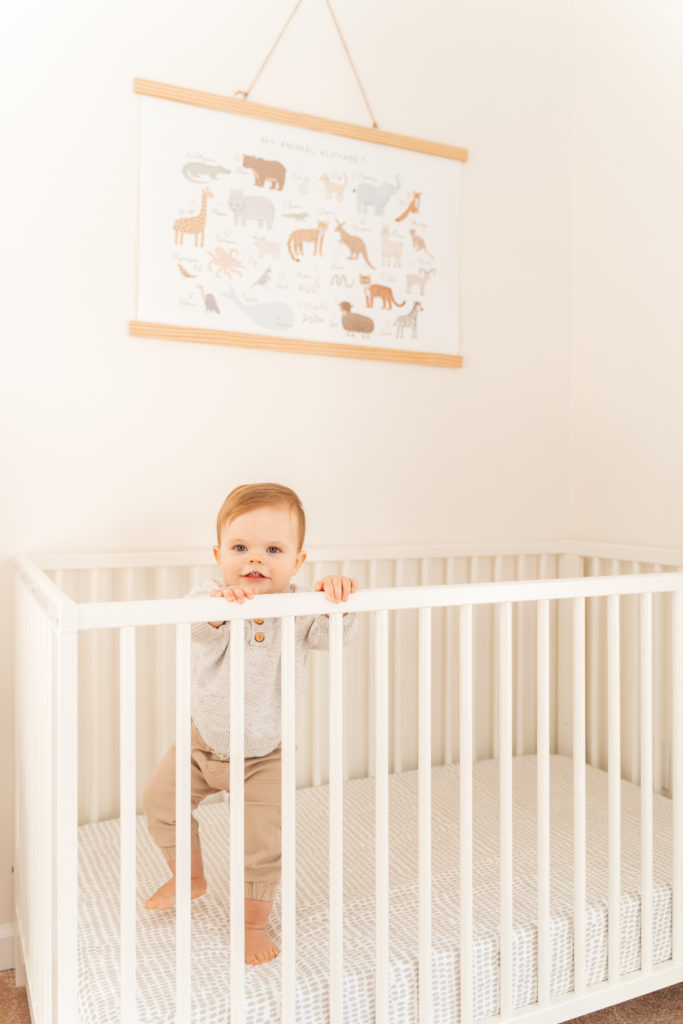
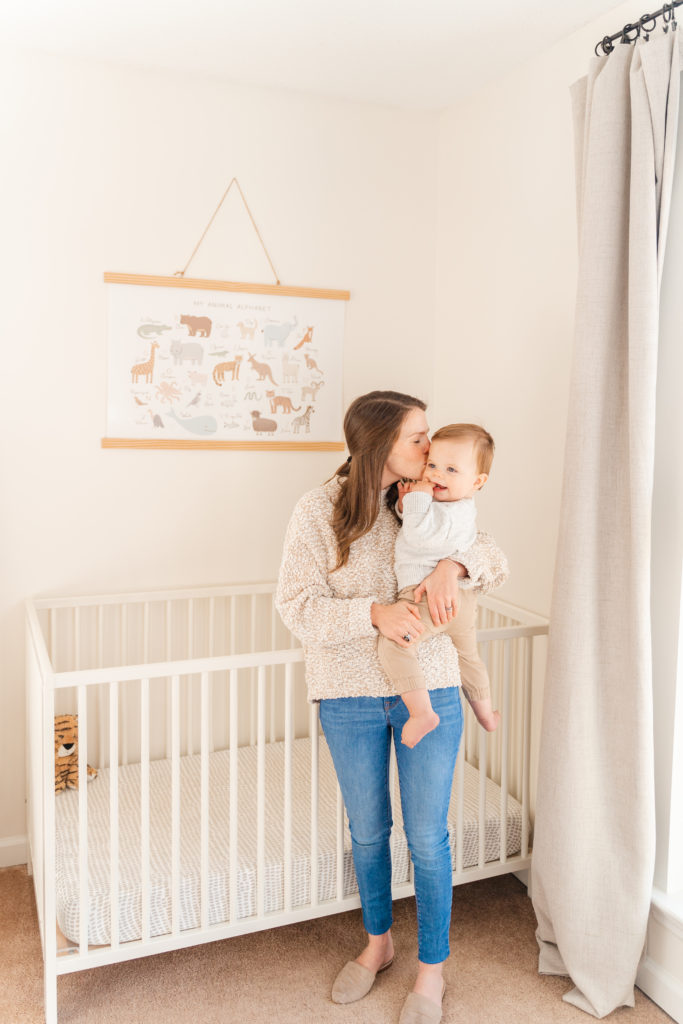
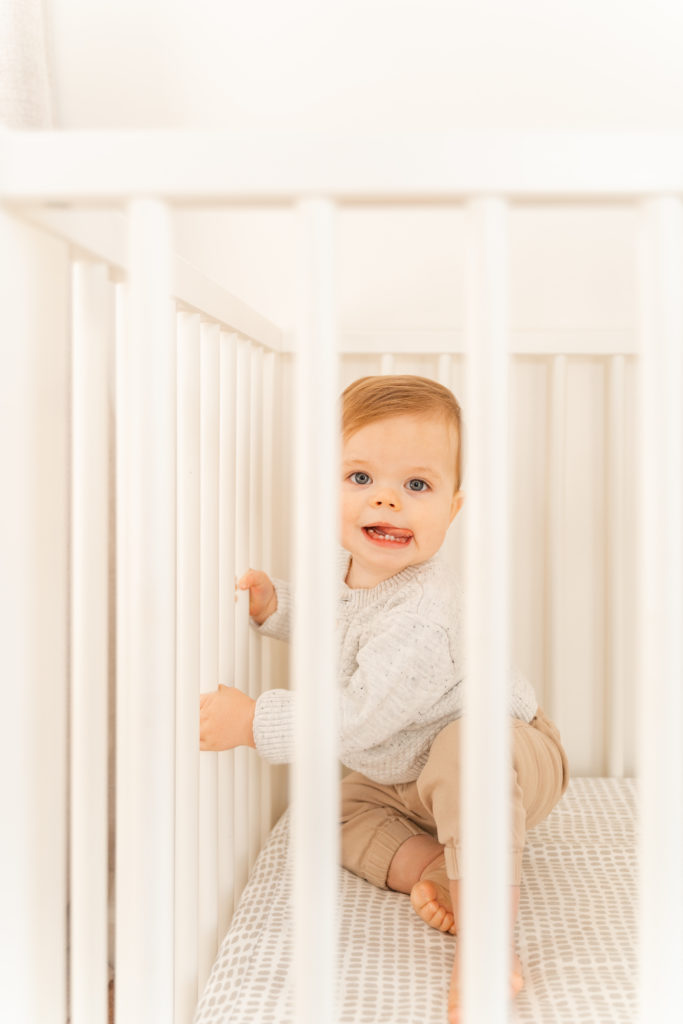
Shutter Speed and Flash
When adding flash into the equation, finding out the flash sync speed of your individual camera model is very important. The sync speed is the highest shutter speed at which your camera can use flash. My camera model, the Sony A7iii, has a maximum sync speed of 1/250. (Here’s a link to my camera: https://amzn.to/3OdRsmy). My camera actually won’t allow me to fire the shutter when set faster than the sync speed if the flash or trigger are in the camera’s hot shoe. Some cameras do not have this built in limit. In that case, if you try to take a photo with a shutter speed faster than the sync speed (i.e. 1/300 or faster), the result will be black band distortions in the image.
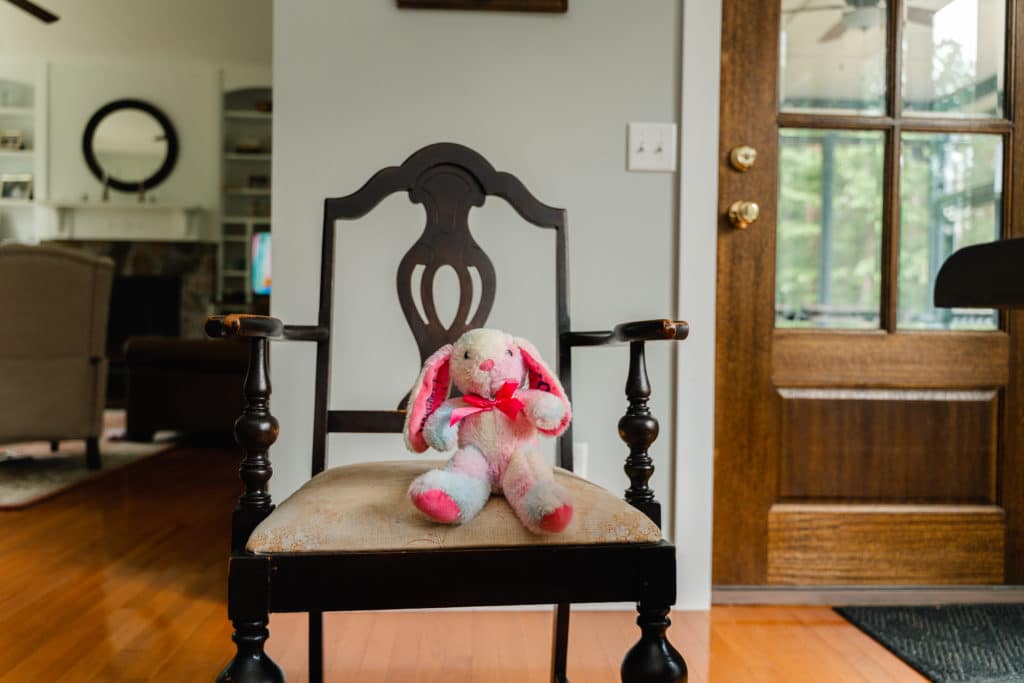
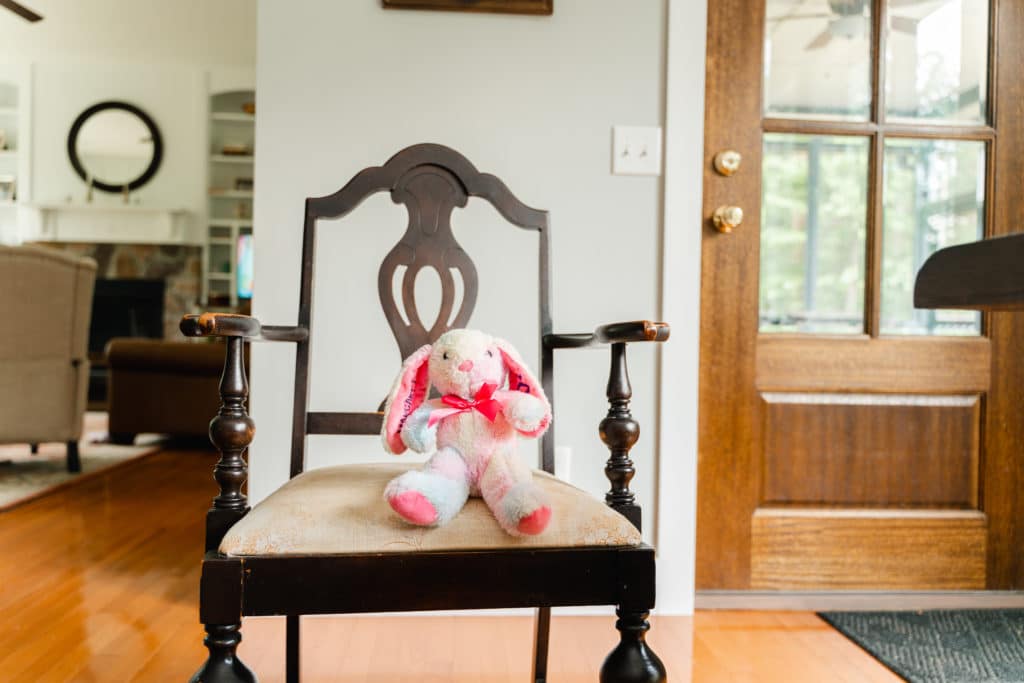
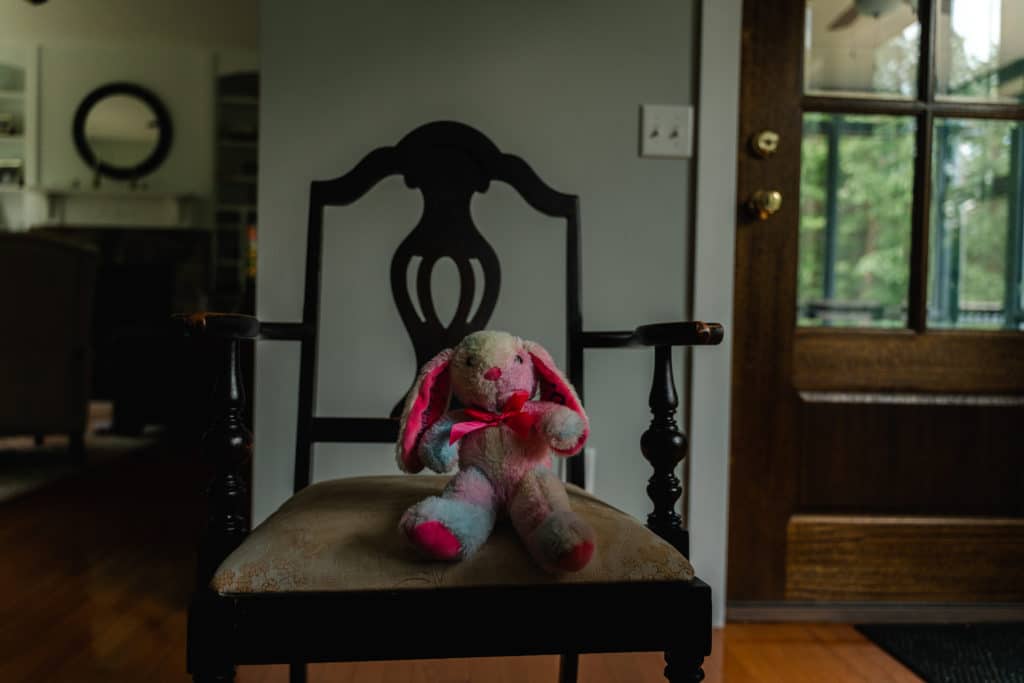
While dialing in settings for indoor flash photos, shutter speed affects the exposure of the ambient light (the light already present in the room around your subject). Interestingly, when adding flash, you have more freedom to use slower shutter speeds without the fear of blur because the short duration of the flash freezes movement. If you are wanting to let in pretty, natural ambient light in the room, you can lower your shutter speed. If you wish to reduce the amount of ambient light in the background, you can increase your shutter speed.
Your Homework:
Okay! As I’ve said all along, “Practice makes proficient!” Put your flash in your camera’s hot shoe and dial in these settings: Aperture f2.8, ISO 400, Flash power of 1/32 or 1/64. (If this is too bright, try lowering your flash power to 1/128.) Now play with your shutter speed. Take a range of test shots of an object starting with 1/250 and slowly decreasing your shutter speed to 1/50. Note how the changes in setting affect (or don’t affect) the light around your subject as well as the light on your subject. (Spoiler: Shutter speed does not affect the exposure of your subject.)
To receive these education posts right in your inbox, subscribe below!
Be the first to comment