Indoor Flash Photography Settings – Aperture
In this post I’m going to be sharing how I approach choosing an aperture when dialing in indoor flash photography settings! But before we dive in, let me first remind you of how proper indoor flash photography settings and techniques can take your work to the next level!
Discover how to take better indoor portraits with flash, so you can create more consistent work without stressing over the available light.
Relying solely on natural light for you your indoor photography sessions is a recipe for major stress:
- Frequent rescheduling due to bad weather
- Trying to salvage grainy photos with hours of editing
- Placing your subjects based mainly on the location of windows
- Emotional breakdowns homes with low light
Learn to use your flash! I promise it doesn’t have to be hard.
- Stop stressing over bad weather days
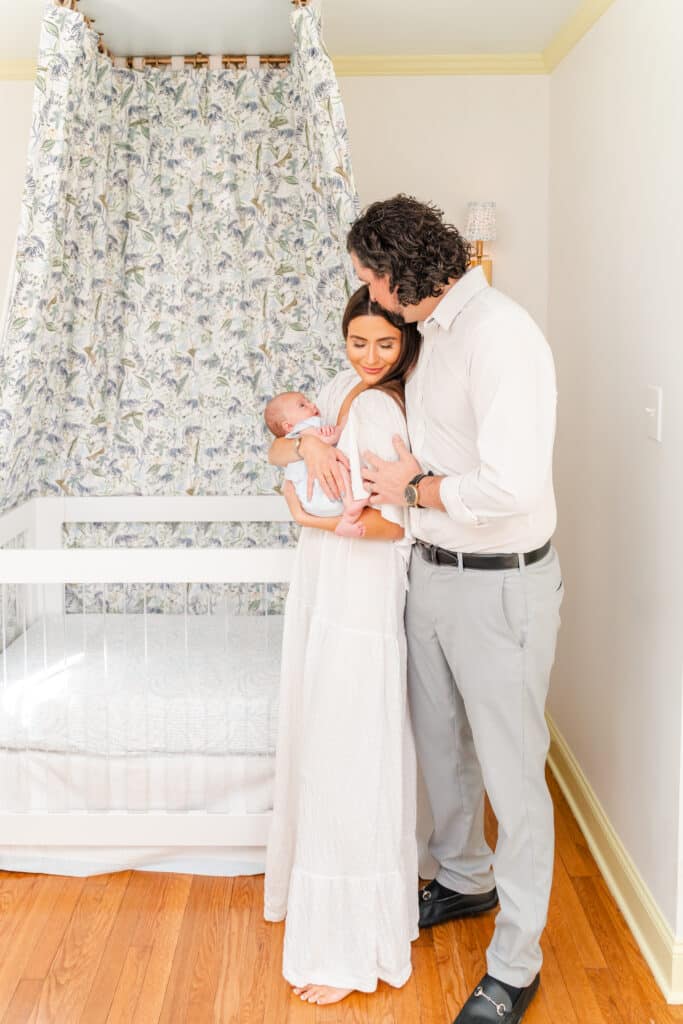
- Take full advantage of your clients’ beautiful homes
- Create sharp, scroll stopping indoor portraits
- Start your in-home sessions with confidence

Want to get started, but not sure how to figure out your exposure? Check out the Free Course below!
Let’s Start with Aperture!
During last week’s post of No Fear Flash, I stressed the importance of digging in and learning flash photography for your indoor sessions. This week, I’m taking a look at our first component of the exposure triangle, aperture, and discussing how flash affects it. When learning indoor flash photography, it is vital that you have a foundational understanding of how each camera setting affects your overall exposure. If you take a test shot and don’t like the results, this knowledge will guide the problem solving process. This post will help dissect the relationship between aperture and flash.
If you’re looking for a resource to help you pull it all together, check out my flash photography education page!


Aperture in Natural Light Photography
When shooting manually, aperture is a member of the exposure triangle, affecting the brightness of your photo. Aperture also dictates the depth of field in a photograph, meaning how much of your photograph is in focus. A wide aperture (i.e. f1.8 or f2.0) physically opens up the hole in your lens, allowing in more light in for a brighter exposure. That wide aperture also results in a narrower depth of field, meaning less of your image will be in focus. If you think of your photograph as a block of cheese, a wider aperture results in a thinner slice.
A narrow aperture (i.e. f8 or f16) physically closes the hole in your lens, letting in less light and making the overall exposure darker. A narrow aperture results in a wider depth of field, meaning more of your image will be in focus. If you go back to that block of cheese, a narrow aperture results in a thicker slice.
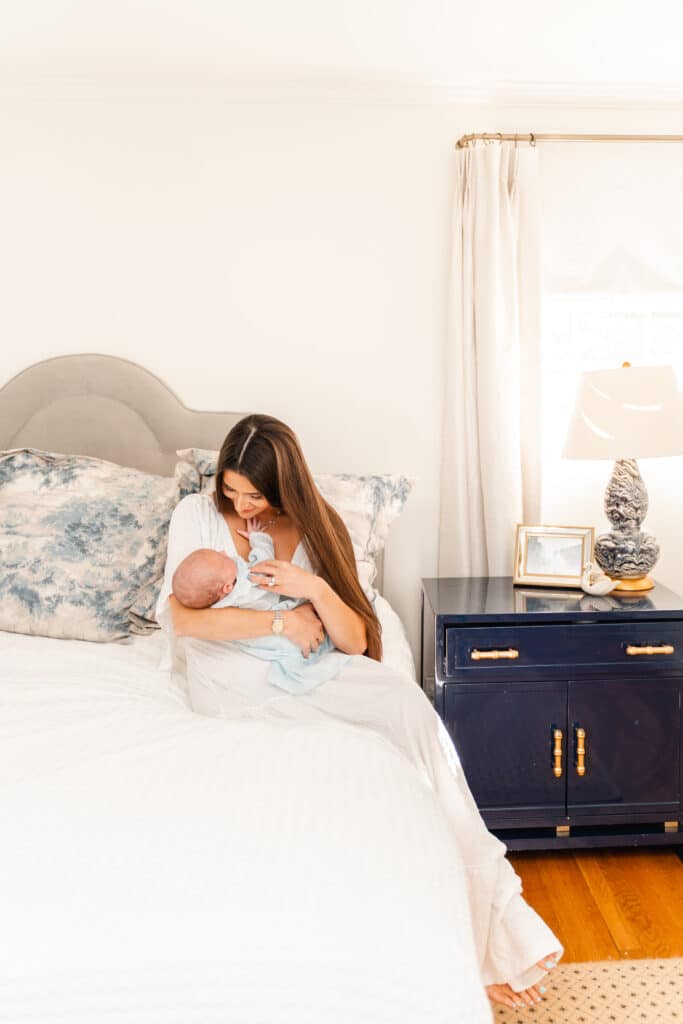
As a portrait, photographer, when adjusting my exposure, aperture is the the setting I address first. I prefer for my subject to stand out from the background. Therefore, I use a wide aperture (i.e. usually f1.8-f2.8) to surround my subject with bokeh (a blurred background).
Aperture in Indoor Flash Photography
When adding flash to your photograph, aperture plays a key role. With indoor flash photography, aperture and flash power are directly correlated. The wider the opening in your lens, the more of the flashes light your camera will detect. However, since I’m often shooting in open rooms, I like to think of aperture as primarily affecting the overall brightness of the subject. This isn’t 100% accurate, but when adjusting settings, I find it helpful to think of aperture and my subject’s exposure as being correlated.
A wide aperture (i.e. f1.8-f2.8) generally is going to allow more of the light into your lens, resulting in a brighter subject (and overall exposure). Narrow apertures (i.e. f8 or f16) will generally allow less light into your lens, resulting in a darker subject (and overall exposure).
This post contains affiliate links. This means this website may receive compensation if a purchase is made through the link at no extra cost to you.
Aperture Homework:
My resounding theme for this blog series is: “Practice makes proficient!” So I have some homework for you. Get out your flash, put it in your hot shoe, put your flash in manual mode and play with your aperture. (Here’s a link to the flash I use: https://amzn.to/3L3eF9b) Yes, I realize that we’ve not even addressed power settings or modifying the light. I actually usually avoid on-camera flash. You probably aren’t going to love these photos and they aren’t going to win you any awards. That’s not the point of this exercise! We are purely trying to understand the role aperture plays in indoor flash photography.
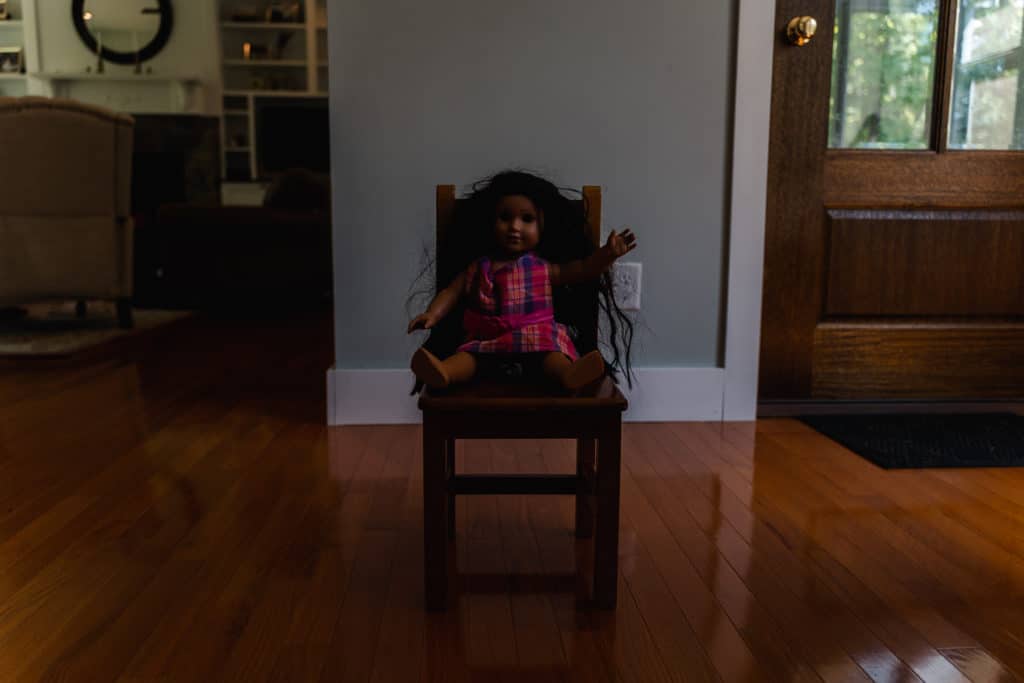
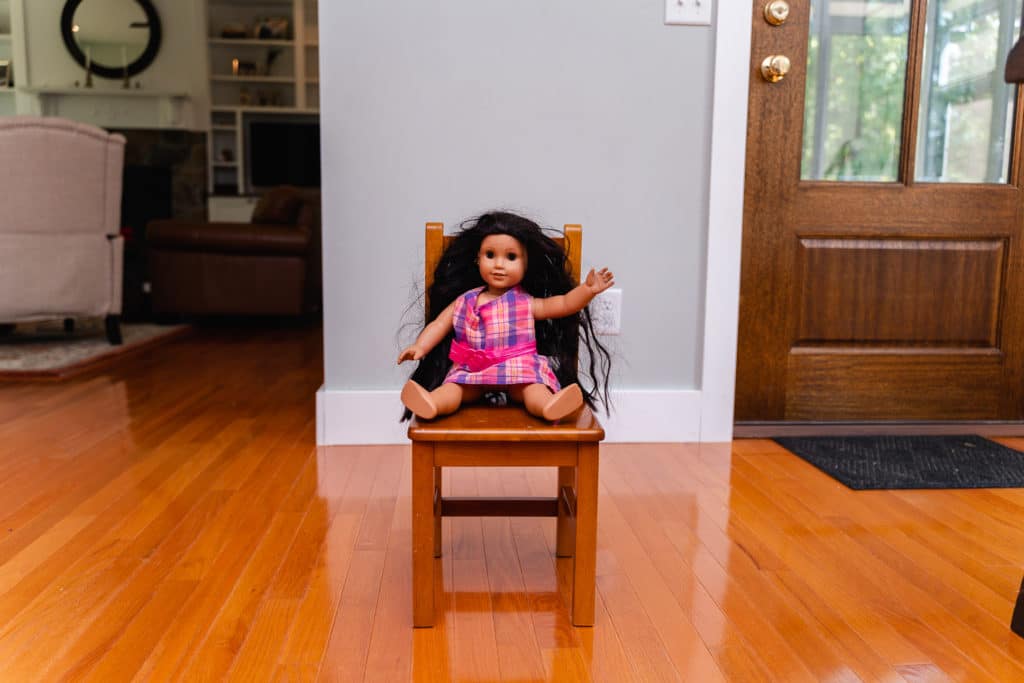
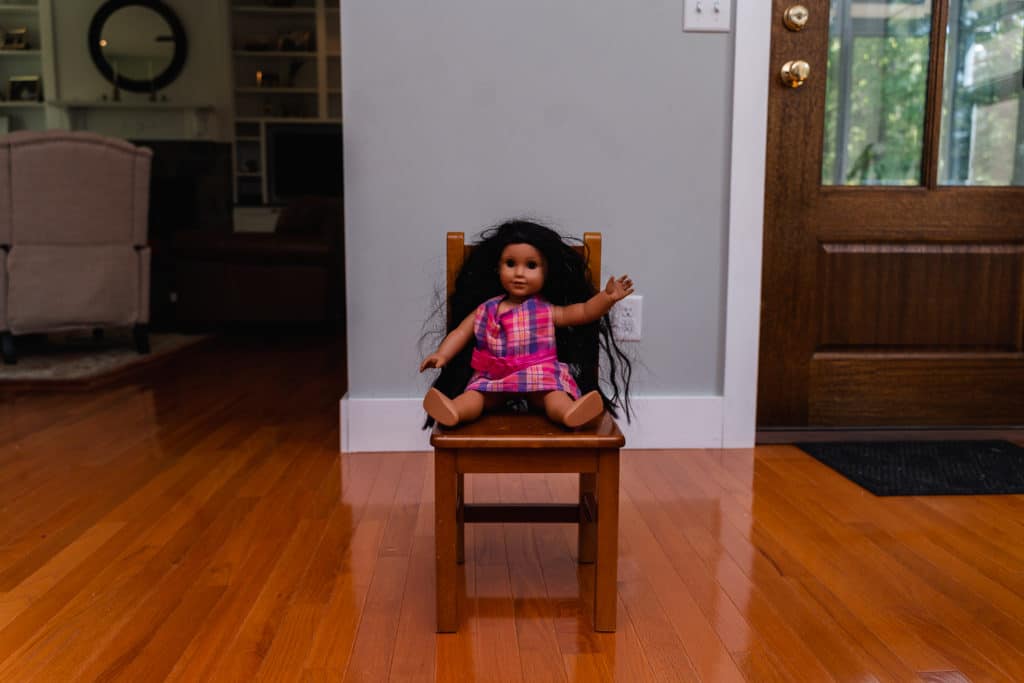
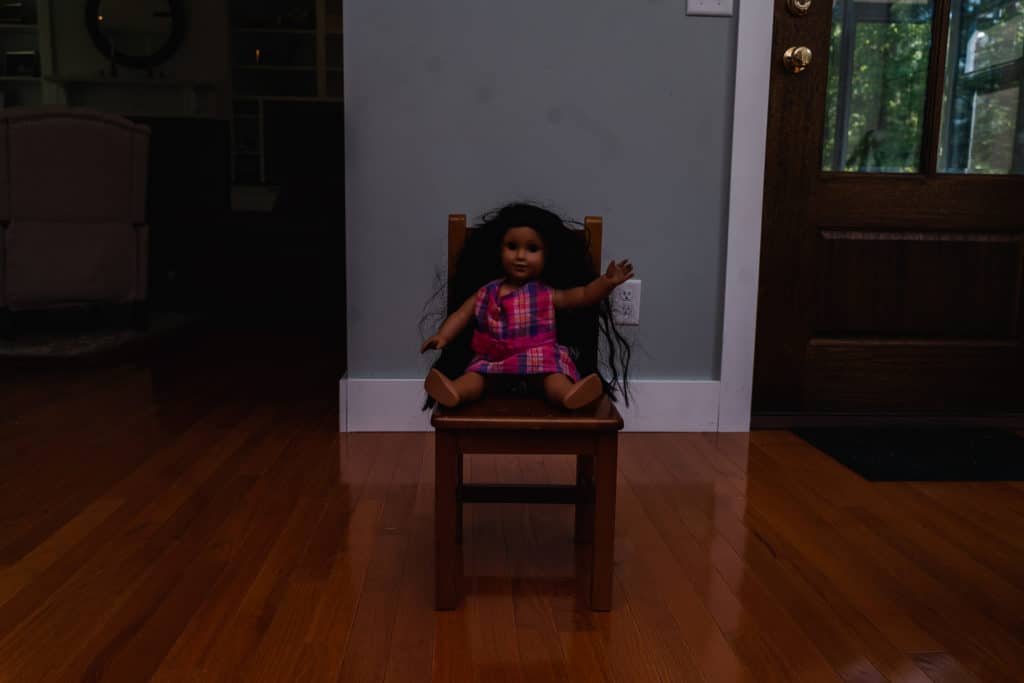
Try dialing in these settings: Shutter speed 1/200, ISO 200, flash power 1/4-1/32. You may have to adjust your flash setting up and down depending on the ambient light in the room. Once you are getting close to a correct exposure, leave it alone and only adjust your aperture. (These settings are not my generally recommendation. They are purely for this learning exercise.) Now take pictures of an object, altering nothing but your aperture each time, observing the results.
Note: If you don’t know how to put your flash in manual mode, look up some tutorials for your flash model on youtube. “TTL” stands for “Through The Lens” and is basically the “auto” mode of flash.
My Results:
See more of Kelley’s In-Home Photography work here!
Pssst! Are you a business owner who was thinking about trying to figure out product photography, but now just wants to outsource brand photography? Let’s talk!
Ready to learn flash for your in-home sessions? Get the FREE Course!
Related Post: Best Lighting for Indoor Photos