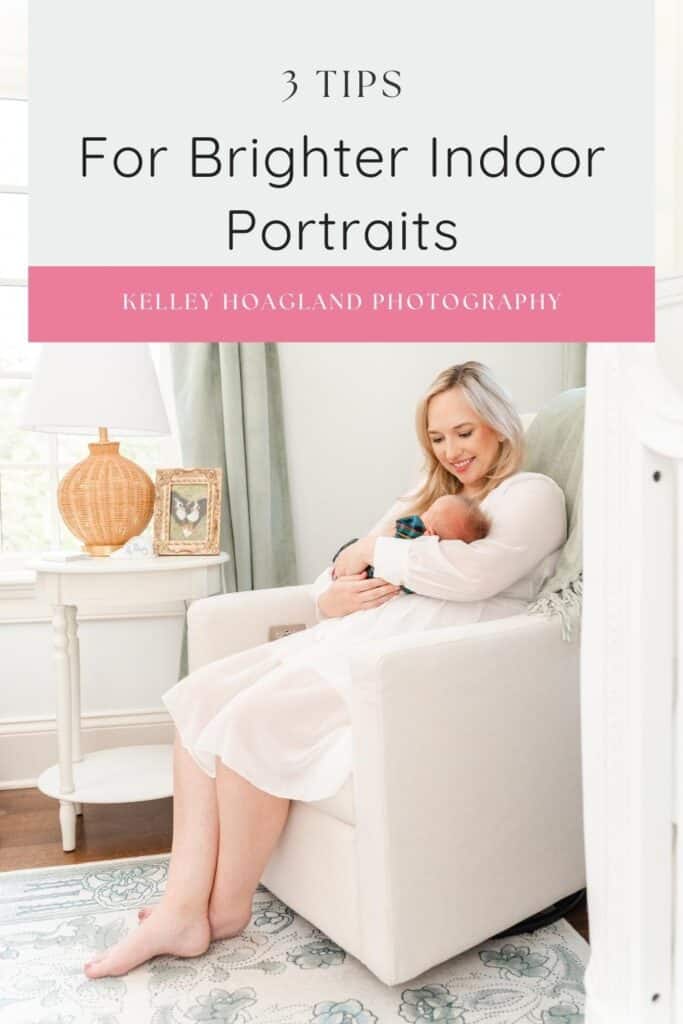
Hey Photographer! Do you love the bright, neutral look but wonder how to take light and airy indoor photos? Lighting for indoor photo sessions can be tricky. In this blog post I’m going to share 3 tips that have really helped make my indoor work more consistent and bright. Curious about my work? Check out my indoor family photography work in my portfolio and instagram grid to get an idea of my results.


1) Wardrobe Matters
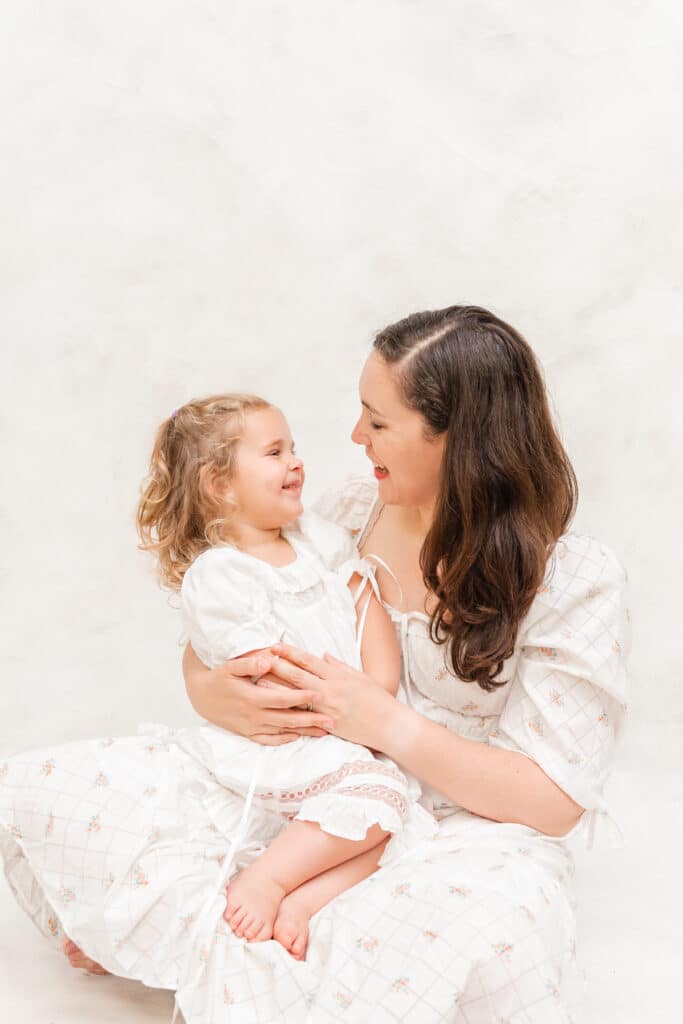
What your subjects wear has a huge impact on the feel of your portraits. Think about it: their clothing takes up a large amount of the frame, depending on how close up or far away the composition of the image. Clothing that is dark in color will automatically make the entire photo feel less light. In contrast, whites, pastels, and creams have assist with reflecting light and generally make the image feel brighter!

When I started taking more initiative in really guiding my clients in planning their wardrobe, my work changed and grew much more consistent in style and brightness. This was especially true of my indoor images. I consistently guide my clients towards colors that are in line with my photography style. This process of educating my clients on recommended wardrobe actually start during the initial contact call before they have even booked me. I’ve also started a client closet in partnership with a local boutique in order to make the process even easier for my clients.

Will I still photograph clients who prefer bold or dark colors? Of course! But I am clear with them that the resulting images may not perfectly line up with my typical portfolio. Having trouble getting clients to comply with a style guide? Consider scheduling some styled sessions or even taking portraits of family where you fully control the styling. The more you fill your portfolio with images in line with your desired tone and feel, the more you will attract clients with whom these images resonate.
2) Background Also Matters
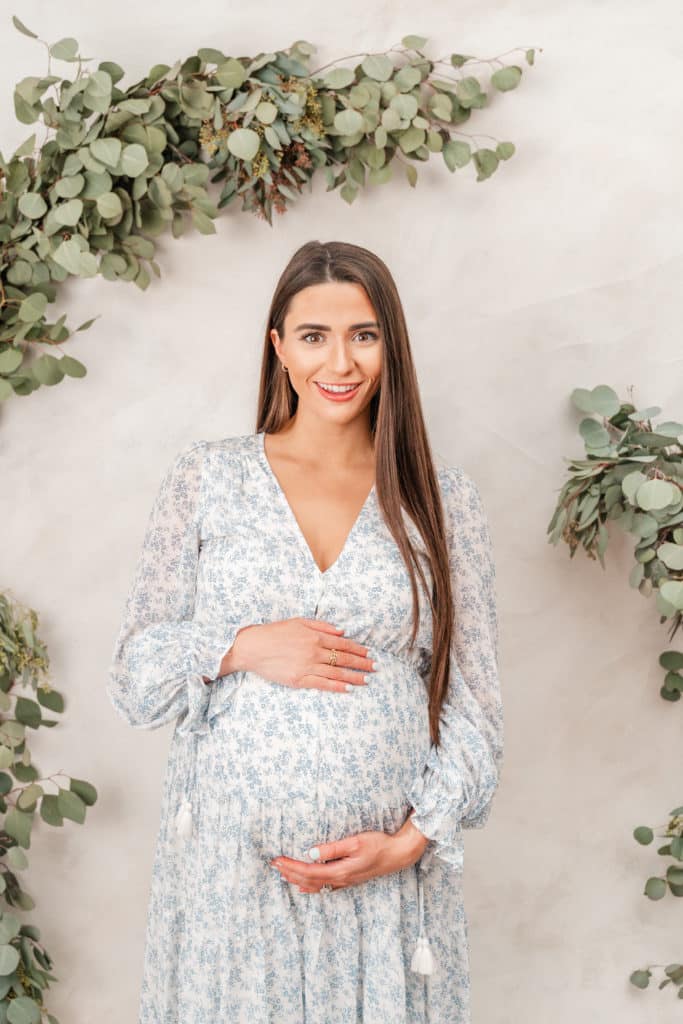
Just as the color of wardrobe matters, so too the wall color and fabrics in the room impact how light and airy your indoor photos appear. Light colored fabrics and walls will assist with reflecting available light. When touring a client’s house, I will encourage them to utilize rooms with lighter colored decor, even if the natural light in that room is not as strong as in rooms with darker walls and fabrics. Again, if you take an image in front of a black wall or dense forest no amount of editing can make the image feel as light and bright as an image taken in front of a white wall or open sky.


What if a client’s decor is bold or rich in color? Can you still achieve light and airy indoor photos? In such cases, I strongly encourage the client to incorporate more neutral, light wardrobe to help provide balance. As I mentioned with wardrobe, I generally start discussing home decor and colors before a client even books a session with me. I never want a client to expect a certain result that I can’t deliver.
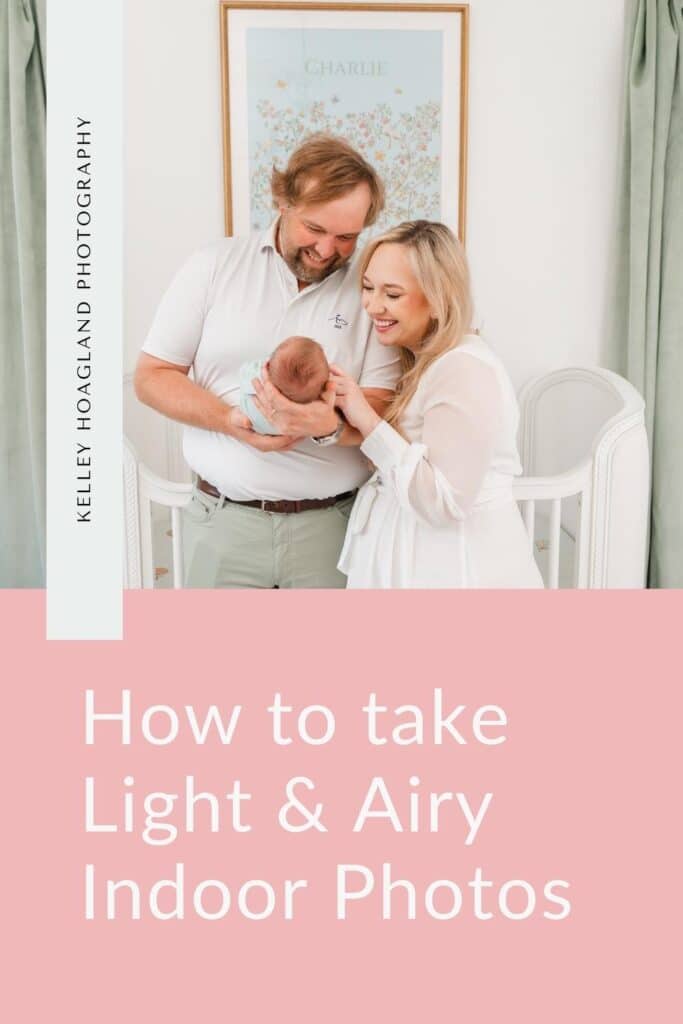
3) I use Flash to Create Light and Airy Indoor Photos
As I mentioned in the previous section, I will choose a room with light colored walls and decor every time, even if the natural light is limited. This is because I use flash during all of my in-home sessions. The amount of natural light in my clients home honestly used to really stress me out! I often got frustrated with the shadowy, grainy quality of my indoor photos. Even if all of the perfect “light and airy” elements were in place I didn’t like the look of my images when I had to crank up my ISO to 1000 or higher.
After being “burned” by bad weather and low lighting a few too many times, I started incorporating flash into all of my in-home sessions. Believe it or not, flash does not have to look “flashy” when done properly. Most of my clients don’t even realize that my images use flash until I start prepping them for my arrival. Every image in the post incorporated flash.
With flash, I love being able to fully take control of the amount of light in the room and adjust its direction. I also love not having to stress about the size and placement of windows or the weather on our session day. I bring the sunshine with me!
Curious about flash, but not sure where to start? I’ve put together some educational resources to help other photographers who want to use flash to take light and airy indoor photos. Click below to access my FREE Quick Start Flash Course. If you are totally new to flash, it includes an introduction to the basic settings to get you started. It also includes info about my full In-Home Flash Photography Course.
BONUS TIP: Turn off overhead lights!
Even if you’re relying on ambient light in the room and not using flash, please PLEASE turn off the overhead lights and lamps in the room. The lights typically have a noticeably different color temperature than natural light. Leaving them on can result in wonky, yellow or orange skin tones. Do yourself a favor and turn off those lights. (Unless, of course, there is zero natural light in the room. In that case I will leave on one light that is not directly next to my subject and use flash with settings that will minimize ambient light.)
I hope you’ve found these tips helpful for taking better light and airy indoor photos! Feel free to comment below with specific questions!


Be the first to comment