Definition of Aperture In Photography
Did you find this post in a search for the definition of aperture in photography? If you are a new photographer trying to make sense of the exposure triangle and manual mode, you’ve come to the right place! In this post, I will be diving into the definition of aperture for photographers. specifically, we’ll consider how this setting affects the exposure (i.e. brightness/darkness) and feel of your photos.

In a more general sense, aperture is defined “as an opening or open space; a hole.“ When specifically considering a definition of aperture in photography, aperture refers to the opening in a photographic lens that lets light into the camera. Have you ever looked into your lens from the front of the camera? Have you noted the small hole behind the glass? Did you see how the hole changed in size as your f-stop changed? That’s aperture!
This post contains affiliate links
Definition of Aperture in Photography
Photography is all about light! It doesn’t matter whether you a using a film or digital camera. Your camera requires light to pass through the lens, and hit the sensor or film, in order to make a photograph. Aperture, denoted by an f-stop (i.e. f2.8, f8.0, f16, etc) correlates to the size of the hole in your lens that is letting in light. The larger the hole, the more light that will hit your sensor or film. The smaller the hole, the less light that will hit your sensor or film.
Aperture in Photography and Exposure
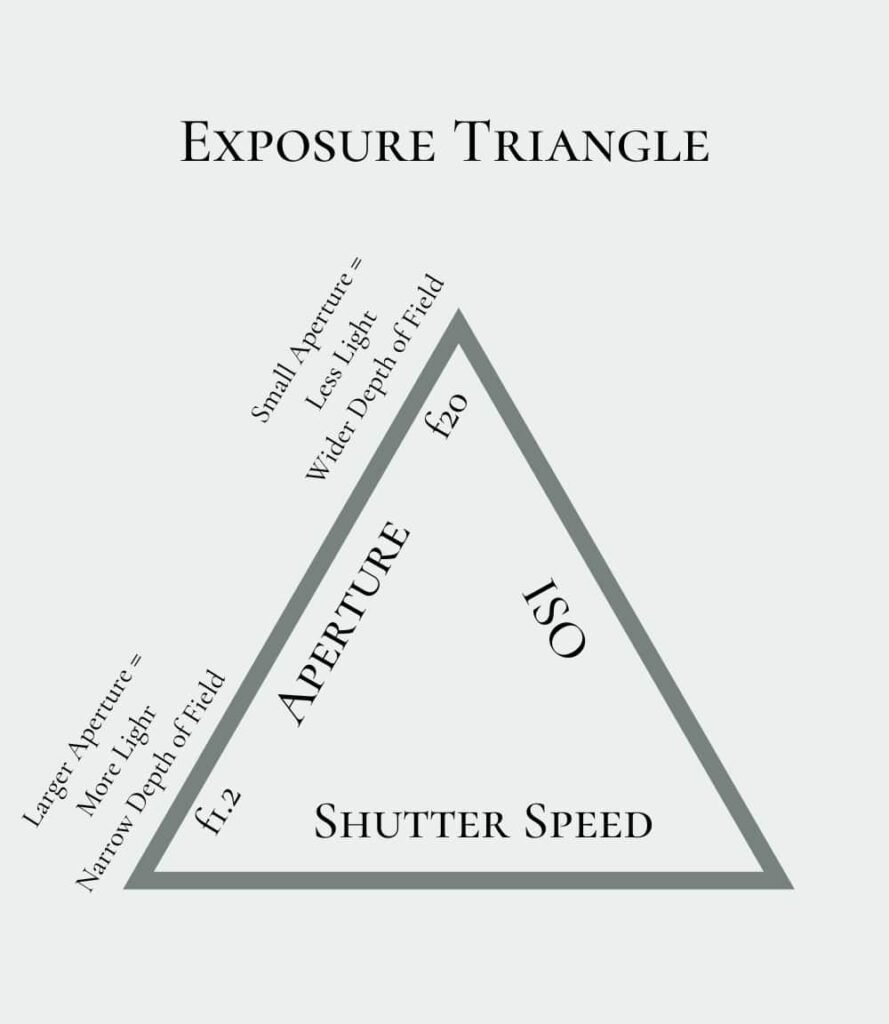
Aperture is a member of the exposure triangle, along with shutter speed and ISO. When using a camera, the photographer must balance settings between these three components of the exposure triangle in order to produce an image that is properly exposed (i.e. not too bright and not too dark), in focus, and clear.
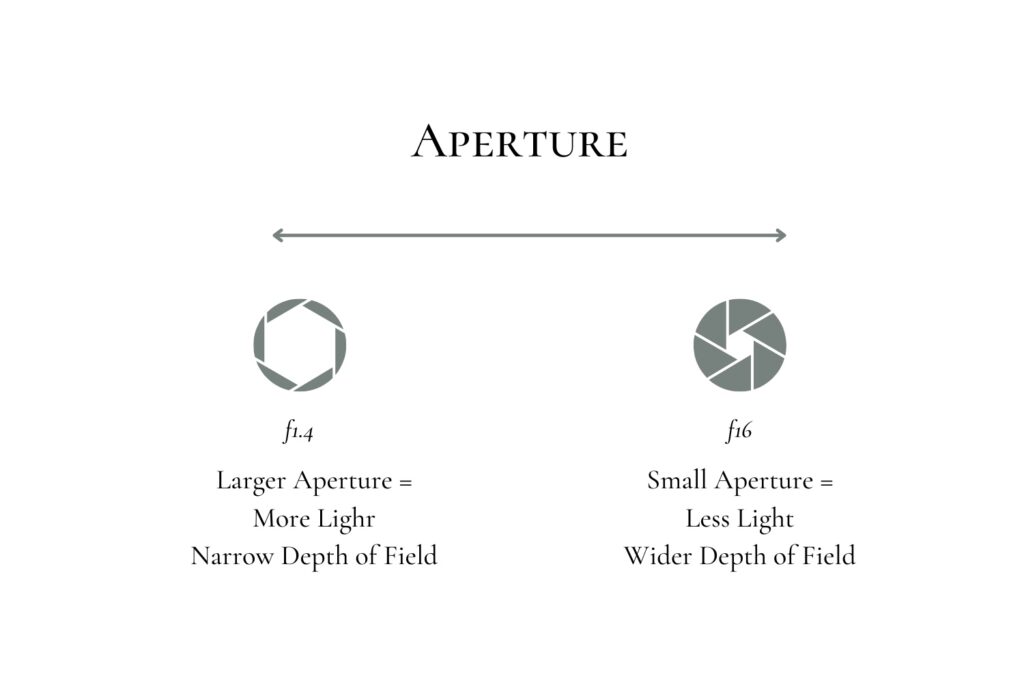
When I was first learning how to use a camera, I found the measurement of aperture to be kind of confusing. As I mentioned above, the number value of aperture is know as an “f-stop”. A “small” f-stop number such as f1.4 or f2.0 means the lens is “wide open” and letting in a lot of light. Despite being a “small number” it actually denotes a “large aperture”. Making your aperture larger will make your image brighter. A “large” f-stop number such as f16 or f20 means the lens’ opening is small and letting in less light. Despite being a “large number”, it’s actually a “small aperture.” Making your aperture smaller will make your image darker. I promise it will make more sense and become automatic the more you practice!
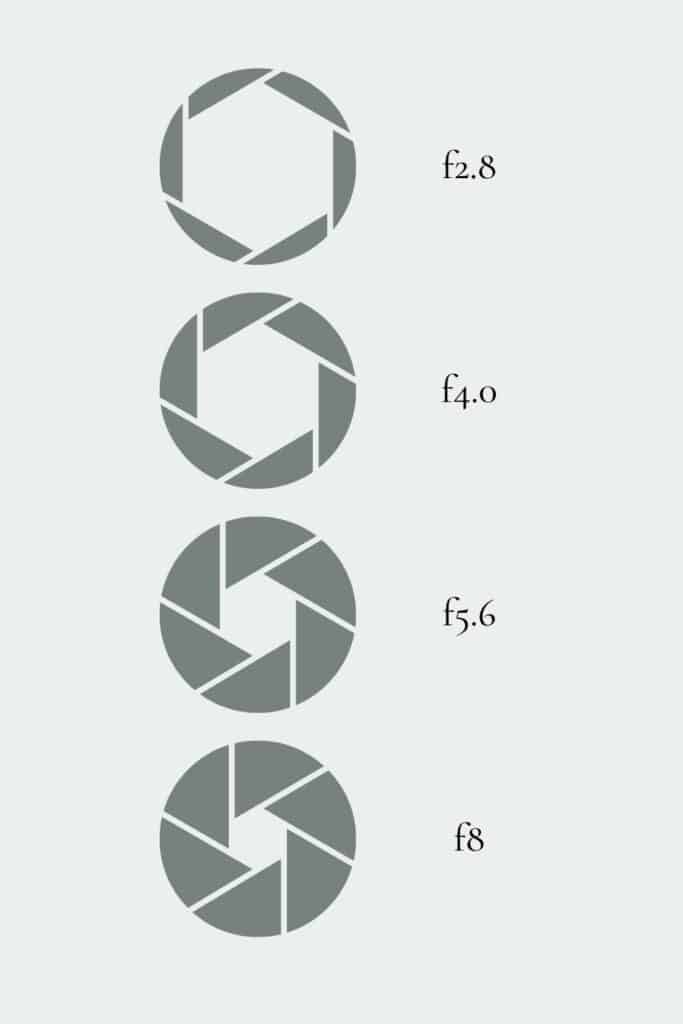
“Full stops” refer to adjustments in aperture that either double or halve the amount of light entering a lens. f1.8, f2.8, f4.0, f5.6, f8.0, f11, f/6, f22, f32, f64 are all full stops. If you change your aperture from f2.8 to f4.0 allows half as much light in. Changing your setting from f5.6 to f4.0 double the amount of light allowed in. Modern digital cameras have aperture or f-stop settings in between these full stops. Personally, I saw no benefit of memorizing these full stops until I started using an older film camera and often found myself estimating settings rather than using the untrustworthy internal light meter.
Aperture in Photography and Depth of Field
Here’s where things get a little more complicated. While each component of the exposure triangle (aperture, shutter speed, and ISO) impact the exposure of your image, they each also have a second function. Aperture also controls what is known as the “depth of field” in your photograph. Depth of field refers to how much of your photograph is in focus.
Definition of Aperture: Large Aperture
As explained in the last section, a large, wide open aperture (i.e. f1.8 or f2.0) physically opens up the hole in your lens and allows more light in for a brighter exposure. That large aperture also results in a narrower “depth of field”. This means that less of your image will be in perfectly in focus. If you think of your photograph as a 3D block of cheese, a larger aperture in photography creates in a thinner slice of cheese.
Practically speaking, let’s say you are photographing someone with a large aperture of f1.2. If the person you are photographing is standing at a 45 degree angle to your camera, one eye may be sharply in focus while their other eye may be slightly out of focus. This is because the depth of field is not wide enough to perfectly capture both eyes since they are differing distances from the camera.
Definition for Aperture: Small Aperture
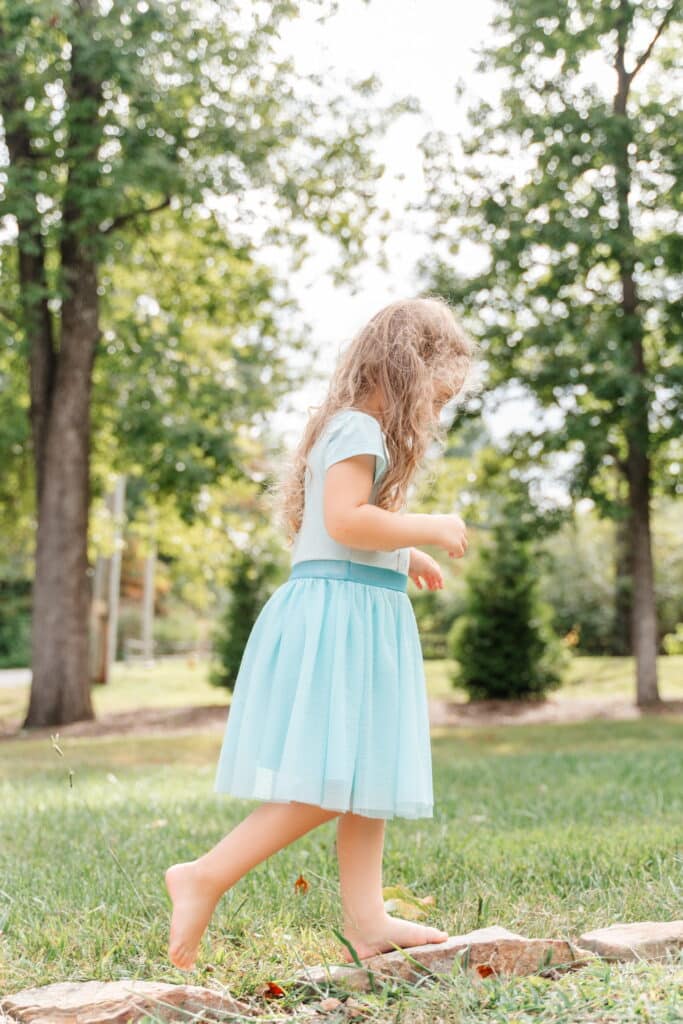
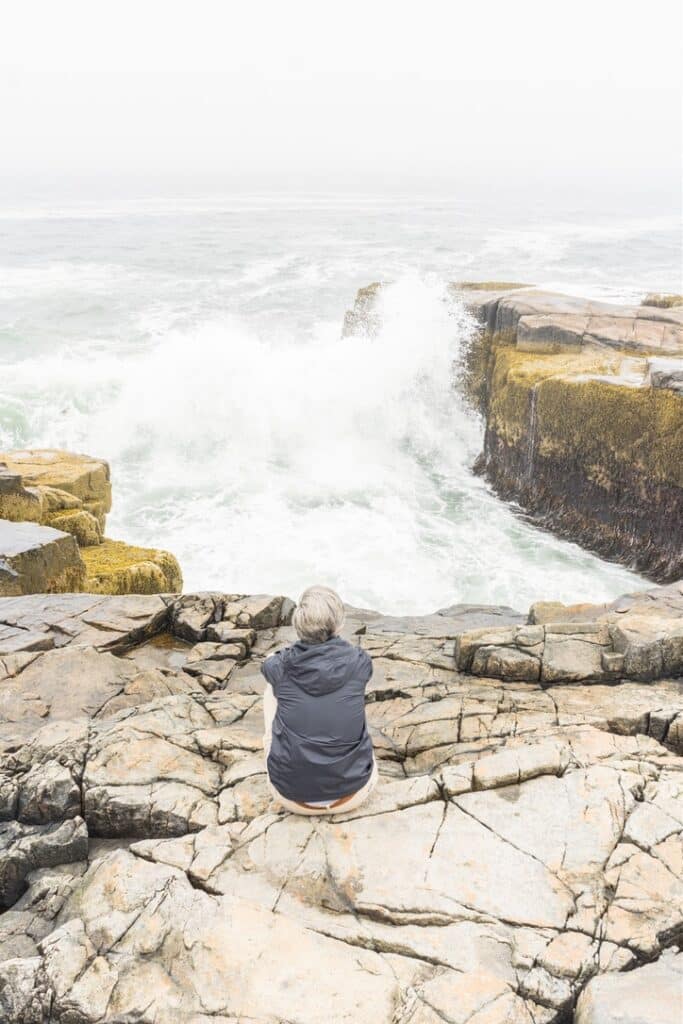
A smaller aperture (i.e. f8 or f16) physically closes the hole in your lens. As explained in the previous section, this lets in less light and makes the overall exposure darker. However, a smaller aperture results in a wider “depth of field”. This meaning more of the image will be in sharply in focus. If we return to that block of cheese example, a smaller aperture in photography will result in a thicker slice.
Practically speaking, let’s return to the same subject from the example of a large aperture. If the person you are photographing is turned towards the camera at a 45 degree angle you will get a different result when using a large aperture of f8. His or her entire face will likely be sharply in focus because of the wider depth of field.
My Preferred Aperture Settings
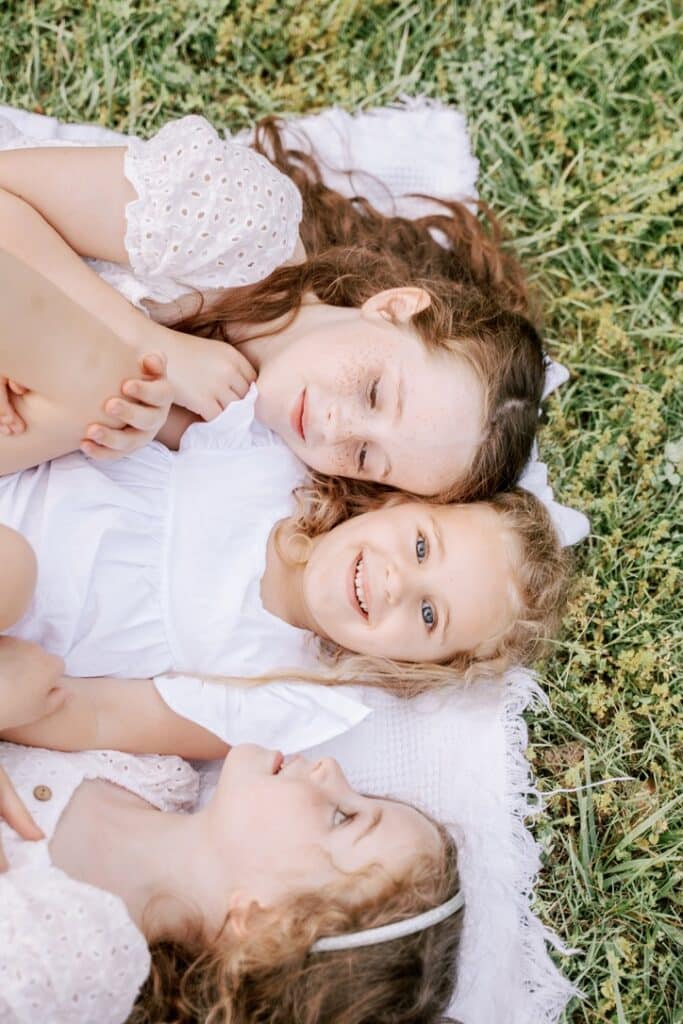
As a portrait photographer, aperture is the exposure settings I choose first. I choose it before I dial in my shutter speed and ISO. This is because aperture can have the largest stylistic impact on your photos. When I am creating a portrait, I typically want the person I’m photographing to draw the viewers eye first. I like for my subject to stand out from the background. This is largely achieved by using a larger aperture, such as f1.2-f2.8 if I’m photographing a single person.
“Bokeh” is created when the subject of a photograph is in focus while the background is out of focus. The bokeh effect can be even more pronounced if there is distance between the subject of the photograph and the background. For example, a grove of trees in the background of a photograph will be more out of focus and create better bokeh if they are further away from the subject.
My choice of aperture setting will change depending on my number of subjects or the look I’m trying to achieve:
- For a single subject, I typically keep my aperture between f1.2-f4.0. My choice may depend on the look I’m trying to achieve.
- When photographing a small group of people (like a family) who are largely arranged in the same plane, I will use an aperture of f4.0-f5.6
- For a very large group of people, such as an extended family or office staff photo, I will use an aperture of f8.0-f16. This will ensure everyone is in focus.
- When photographing a product for a business, I will use an aperture of around f8.0. I choose this smaller aperture to ensure that all the details of the item are clearly in focus.
- When traveling, I may opt for an aperture of f8-f16+. I’ll use a smaller aperture especially if it’s a bright, sunny day. Smaller apertures are ideal if I want to more fully capture a scenic view along with my subject.
An easy starting point with portraits is to use an f-stop number that is equal to or slightly more than the number of people you are photographing. (i.e. f2.8 for 2 people, f4.0 for 4 people, f5.6 for 5 people, etc.)
Remember, aperture settings will affect the overall exposure. Keep the definition for aperture in photography, and its two actions, in mind when changing settings. The shutter speed and ISO will require adjustment to compensate for changes you make to your aperture.


How to Change Your Aperture Setting
Trying to figure out how to change your aperture setting? Every make and model of camera is a little different. My best advice would be to look up the manual for your specific make and model. Most modern digital cameras are equipped with dials or wheels that are dedicated to this function. On my Sony a7IV and Sony a7III there were two dials on the camera body. I am able to assign one to control shutter speed and one to control aperture. On the Canon Rebel, you may be required to hold down the AV button while turning the main dial in order to change the aperture. Some Nikon models also require the holding of the “E” button while turning the main dial.
On some older camera models and manual lenses, you change your aperture setting by turning a ring on the lens itself. This ring is know as an aperture ring. This set up is less common, but I have encountered on my old Pentax 645ii film camera.
The range of your aperture settings is dictated by your lens, not by your camera body. If you’re ready about my photography journey in this earlier post, you may recall that I was initially frustrated with the quality of my photographs after initially learning how to shoot in manual. This was largely because I was using a “kit lens” with a very limited aperture range. It shot at range of only f3.5-5.6.
When purchasing a lens, pay attention to the focal length and aperture. The focal length will be indicated in “mm” (i.e. 50 mm, 85mm, 24-75mm, etc). The widest aperture will be denoted by an f-stop. For example, I often us a Tamron 24mm-7mm, f2.8 zoom lens. This means that the widest aperture setting I can use with this lens is f2.8. I also own a Sony Zeiss 85mm, f1.8 prime lens. The largest aperture setting I can use with that lens is f1.8. Generally, lenses with very large aperture settings such as f1.2 or f1.4 are more expensive than lenses with more limited settings.
How to know what aperture setting you used
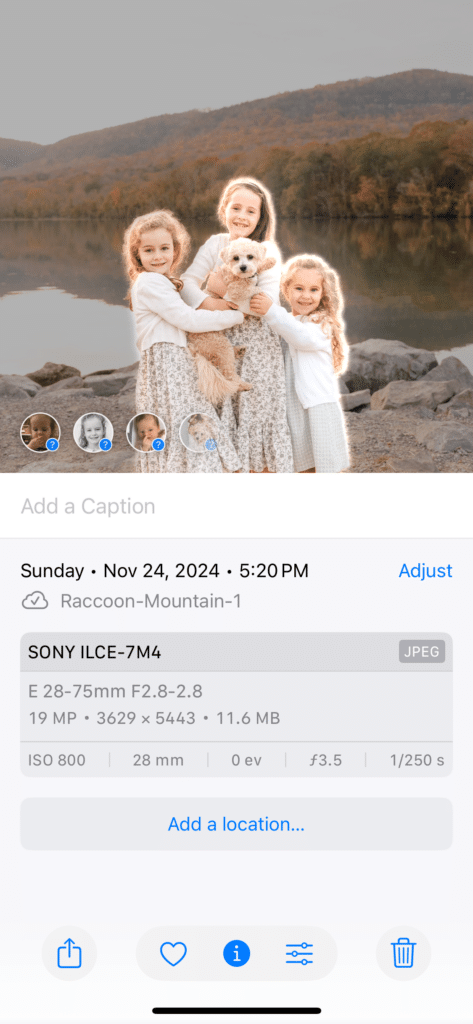
Have you ever taken a photo and then thought, I wonder what settings I used? With digital cameras, there are usually several ways to find this info! If the image is still on an SD card, pop it into your camera. Push the “view” button and then click the “display” button on your camera until that information appears on the screen! Again, these settings will vary depending on your camera made and model.
If the image is stored on your computer or hard drive as a jpeg, you can still access this information. On a mac, right click the image file and then click “get info”. Under the “more info” tab you can view several of the setting used.
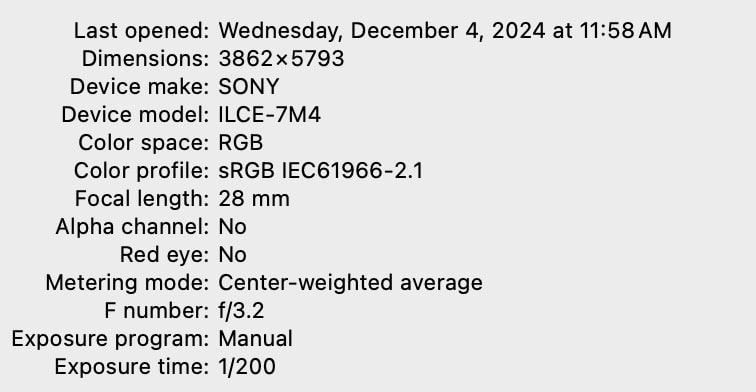
In the Photos app, this information can similarly be access. Click on the image. Push the “i” info button and the camera settings will be displayed.
What questions do you have about the definition of Aperture in photography?
I hope you have found this deep dive into the definition of aperture in photography helpful! As mentioned, aperture is, in my humble opinion, one of the most important camera settings. It has the power to fundamentally impact the style of your photograph. What questions have sprung to mind as you learn about aperture settings? Feel free to contact me via email or sign up for my email list below!