Sunny 16 Rule In Photography
Have you heard of the Sunny 16 Rule in photography? It’s a simple way to estimate your camera exposure settings using day light when you don’t have a light meter or when your in camera light meter can’t be trusted.
This post contains affiliate links. This means this website may receive compensation if a purchase is made through the link at no extra cost to you.
If you’ve been following along with my recent posts, you’ll know that I typically usually use the Expodisc in conjunction with my in camera light meter to measure for a correct exposure. However, sometimes my go-to approach doesn’t work. Enter the Sunny 16 Rule.
What Is The Sunny 16 Rule?
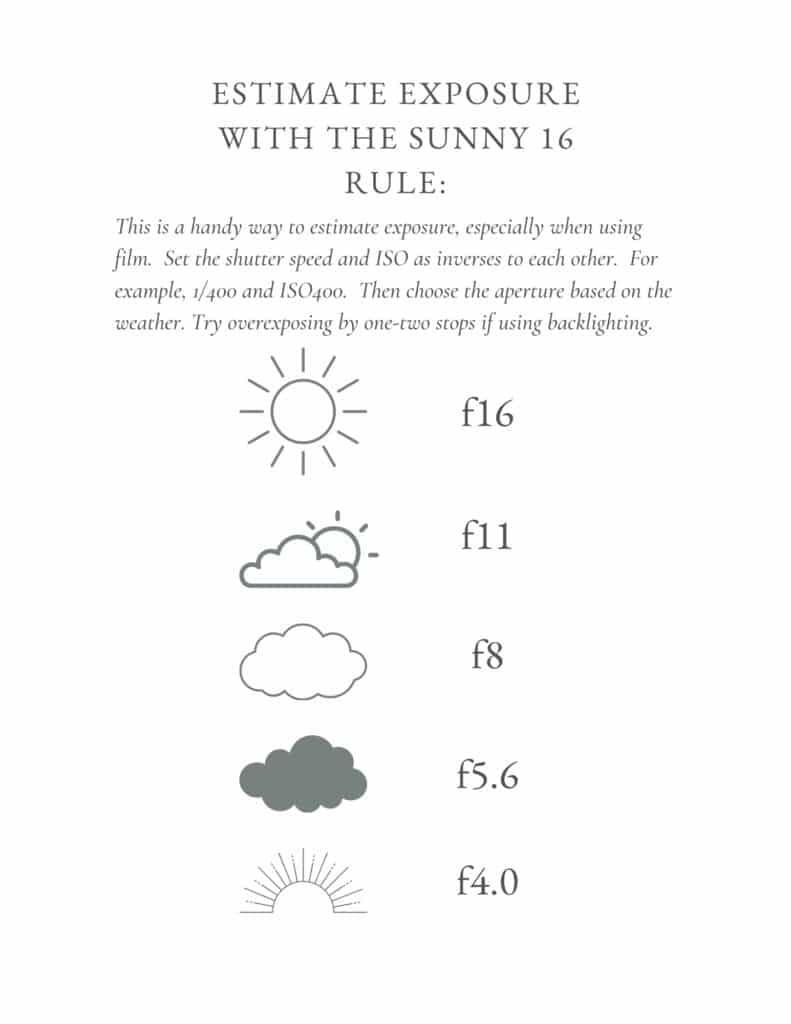
In this basic rule, you choose your exposure settings based on the lighting conditions. If it is a clear, bright, sunny day, the photographer should set the camera’s aperture to f16. Then, the ISO and Shutter Speed should be set as reciprocal values of each other. Huh? Remember, when using film, the ISO is dictated by the film stock. If I’m shooting Kodak Portra 400, then my ISO is 400. Therefore, using the Sunny 16 rule, my shutter speeds should be set to 1/400. (ISOX = Shutter Speed 1/X).
If your camera doesn’t shoot at that exact shutter speed, choose the closets value. For example, my Pentax 645 only shoots at full stops. Therefore, for an ISO400, a shutter speed of 1/500 would work. If I was being careful to over-expose my film, a shutter speed of 1/250 would be even better.
What If It Isn’t Sunny?
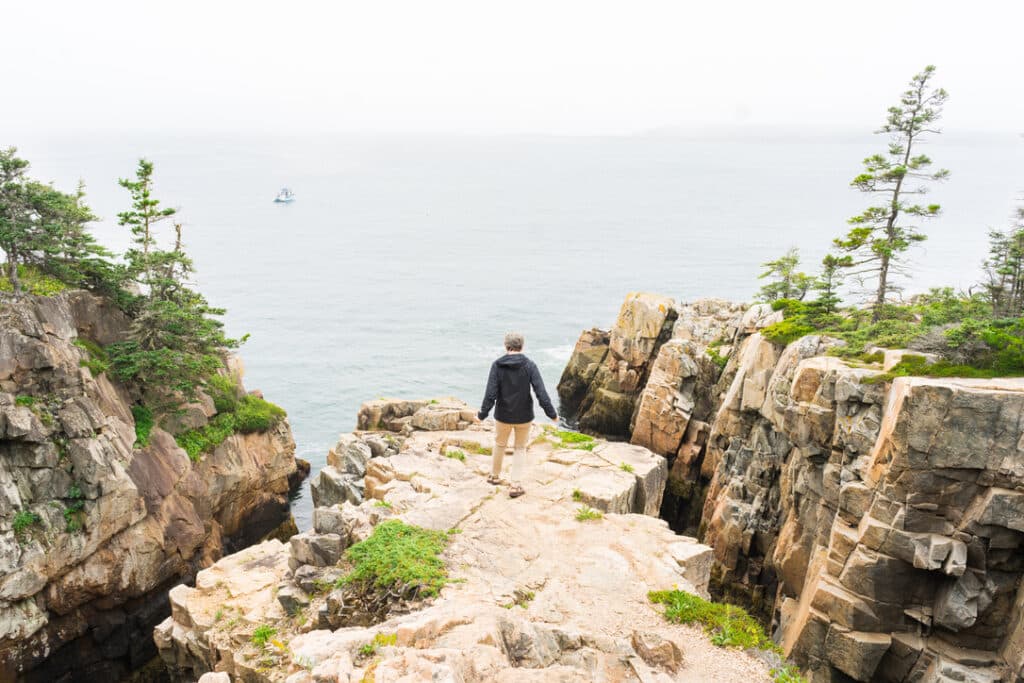
Sure, this is a helpful starting point if it’s a sunny afternoon, but what do you do if the clouds roll in? Following this rule, adjust the camera aperture according to the weather conditions while keeping the ISO and shutter speed the same.
| Weather Conditions | Aperture |
| Full Sun on Snow or Sand (reflective surface) | f22 |
| Clear and Sunny | f16 |
| Slightly Overcast | f11 |
| Overcast | f8 |
| Very Overcast | f5.6 |
| Golden Hour/Open Shade | f4.0 |
Keep in mind, these values assume the photographer is shooting in direct light. As a portrait photographer, I typically try to backlight my subject, even when the sun is high in the sky. (I will break this rule when traveling and trying to capture a family member in front of a specific background. Sunglasses are handy to hide their squinting eyes.) When using back-lighting, the aperture needs to be increased by 2 stops. Here’s an example. If it’s a sunny day and I’m using backlighting, an aperture of f8.0 would be needed instead of f16. With back-lighting, my subjects face and body are slightly in shadow. Since I don’t want them to be underexposed, I need to compensate by opening up the aperture more.

What If I Want to Use a Different Aperture?
“Okay”, you may be thinking. “This is all well and good, but I thought you said you liked to choose your aperture first as a portrait photographer.” Touché! I did say that. You can still choose your preferred aperture with a little backwards math, especially if you’ve memorized the full stops of photography.
| Aperture Full Stops | Shutter Speed Full Stops | ISO Full Stops |
| f1.4 | 1/60 | 6400 |
| f2.0 | 1/125 | 3200 |
| f2.8 | 1/250 | 1600 |
| f4.0 | 1/500 | 800 |
| f5.6 | 1/1000 | 400 |
| f8.0 | 1/2000 | 200 |
| f11 | 1/4000 | 100 |
| f16 | 1/8000 | 50 |
| f22 |
These are the full stops in photography for each camera setting. Movement between them either doubles the amount of light or halves the amount of light. For example, moving from f4.0 to f2.8 doubles the amount of light let into your camera. Moving from a shutter speed of 1/500 to 1/250 cuts the amount of light in half.
Remember, the exposure triangle is a 3-way balancing act! If you change one setting, at least one other setting must also change to compensate and maintain a balanced exposure. In film photography, this is a little easier. The film stock locks in the ISO.
Some Examples:
Let’s try an example. Let’s say it’s a cloudy day and I’m photographing my 3 daughters and husband (4 people). Per the Sunny 16 Rule, my aperture should be set at f5.6 on a cloudy day. Let’s say I’m using a film stock with an ISO of 400. I choose to set my shutter speed at 1/500 (since it’s the closest to 1/400). However, I’d rather use an aperture of f4.0 for a little more bokeh/narrower depth of field. Because I would be opening up my aperture by one stop (letting more light in), I’ll need to compensate the increasing my shutter speed (to let less light in). To compensate and balance the exposure with that f4.0 aperture, I would increase my shutter speed by 1 stop to 1/1000. Does that make sense?
Here’s another example. Let’s say I’m photographing my 3 kids, my husband, and his parents in open shade. That’s a total of 6 people. Per the rule, the aperture should be set at f4.0 for the shade. Let’s say I had my ISO set at 400 and my shutter speed set at 1/500 (the closest full stop to 1/400). However, I’m concerned I won’t get everyone in focus with that aperture. I would rather use f8.0, which would decrease the exposure by 2 stops. In this case I could slow my shutter speed by 2 stops, letting in more light at 1/125. If using a digital camera, I could decide to increase my ISO by 2 stops to compensate instead. In that case I would move the ISO from 400 to 1600.
You just have to know the math! If you increase the light 1 stop with aperture, decrease it by 1 stop in shutter speed OR ISO.
When I Use The Sunny 16 Rule
I’ll be honest, while I prefer using the Expodisc, I do put a lot of faith in my in camera light meter and the live view on the Sony a7iv. Therefore, I don’t typically use the Sunny 16 Rule when shooting portrait sessions with my digital camera. I find the Sunny 16 Rule to be most helpful when shooting film and travel snapshots.
When shooting film, there is a good deal of wiggle room. One doesn’t have to nail the exposure perfectly for beautiful results, as long as the photographer errs on the side of over-exposure. I’m not positive that my film cameras’ light meters actually work. Both cameras are over 20 years old. With the cost of film and development being rather high, I’d rather not take the chance of relying on their aged light meters. It’s easy enough to estimate my exposure using this rule. When using a digital camera, I prefer to be more precise. This precision saves me hours of editing, especially if skin tones are involved.
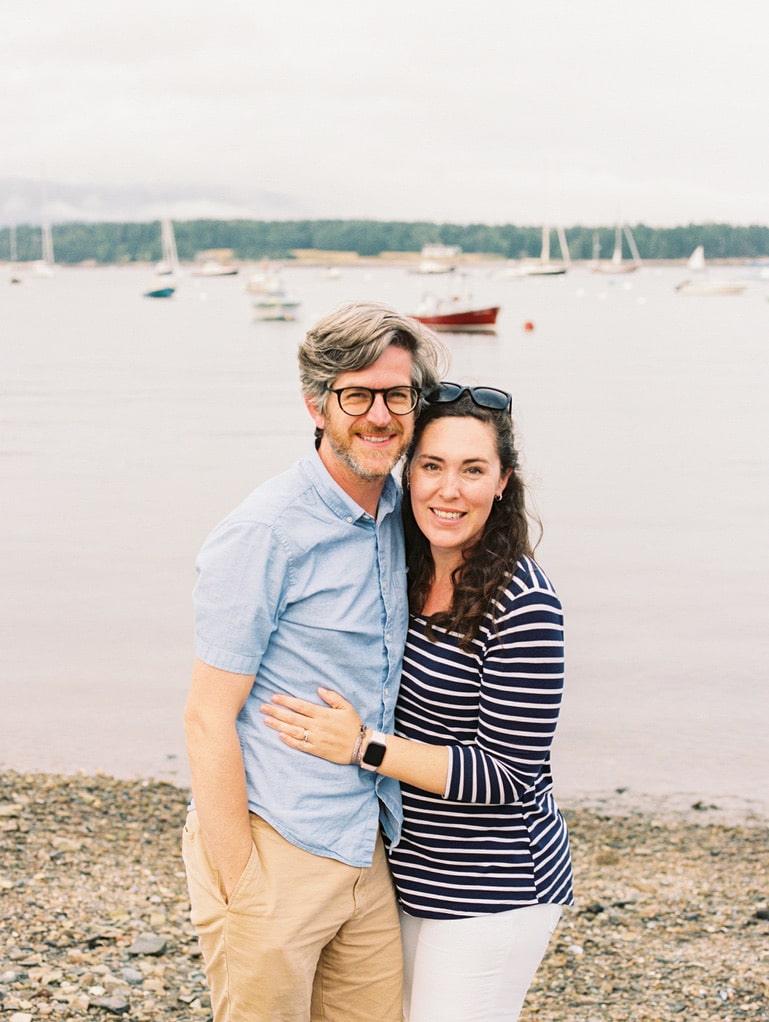
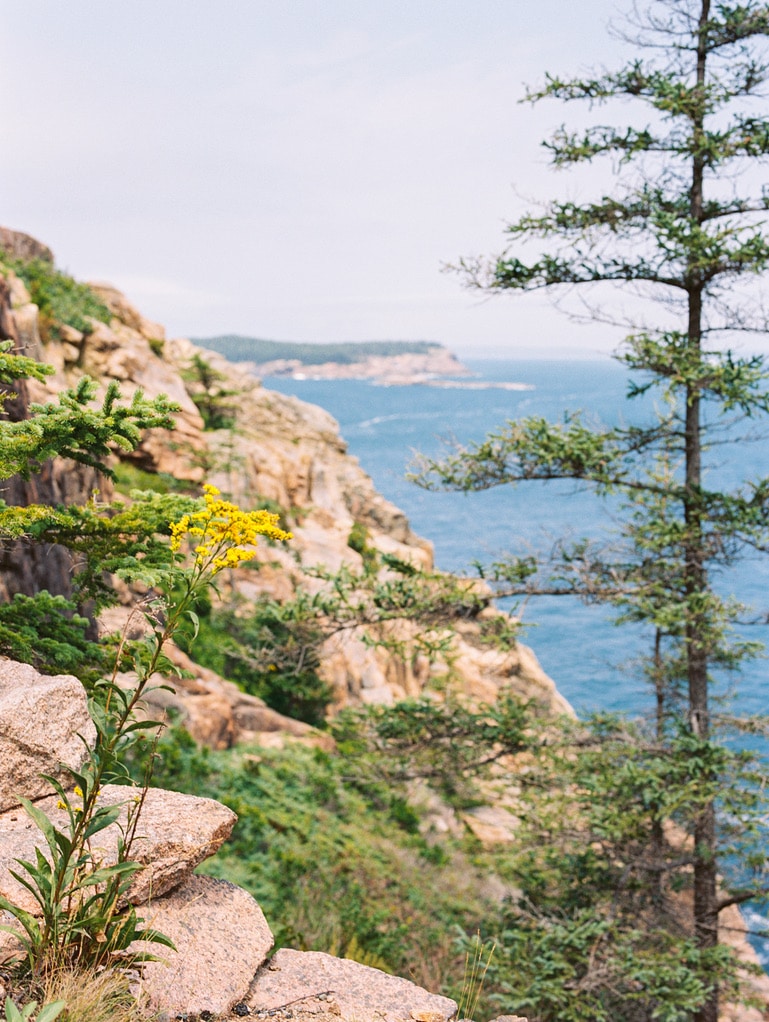
I also love this rule when taking travel snapshots, like when we took a trip to Maine. When traveling with my family, I like to travel light, knowing I’ll be holding all the other things. I don’t want to add any extra equipment to that scenario, even if it’s just an Expodisc. I also don’t always have the time to leisurely meter and choose settings. On top of that, I often find myself using my camera in lighting scenarios that wouldn’t be my top choice for a portrait session when traveling. Therefore, this rule provides a quick and easy way to estimate exposure on the go. At the very least, it can serve as a starting point that then gets adjusted per the feedback from my in camera light meter.

Try It Out!
I hope you’ve found this explanation of the Sunny 16 Rule in photography helpful! Go experiment and try it out. See if it helps you when you encounter tricky lighting scenarios. Questions? Feel free to reach out! Don’t forget to snag your copy of my free Exposure Triangle Cheat Sheet!
