Photography Lessons Online – Learn to Use Your Camera – $39
I imagine you found this page about taking photography lessons online because you’ve either decided to start your photography journey or you’re looking for ways to improve your skills. Yay! I’m excited for the experience of learning and growth that you are pursuing!
However, making sense of all of your camera settings can be quite daunting and time consuming. This is where people often get stuck.
So many buttons. So little time to figure out how they all work.

The Common Story of The Unused Camera
It’s a common story: Your purchase a nice, new camera with visions of taking beautiful photos of your family, pets, or vacations. Perhaps you have dreams of starting a new artistic hobby.
You take your new camera out for a spin and the photos turn out…fine.
To be totally honest, they don’t look quite as good as you expected. You know there are probably settings on this fancy new camera that could make a difference. However you don’t know where to start and you’re not up for hours of googling at the moment. It’s all a bit overwhelming. Your cell phone camera, on the other hand, is simple and takes “good enough” photos.
And so you reach for your camera less and less.
Your new camera gets put away in a cabinet or on a high self where it collects dust (along with your dreams of beautiful images). When you notice it months or years later, you’re filled with a sense of guilt for the money you wasted on this camera you never use. You wonder how much you could see it for on Facebook Marketplace.
Why Learn From Photography Lessons Online?
Think I’m being melodramatic? Well, I’m actually pulling from recent conversations that I had with a few of my friends. One of them sent me a picture of her barely used, 8 year old camera and asked me how much I thought she could get for it on Facebook.
But the truth is that you are more than capable of learning the basics of photography! I promise, it’s not rocket science. The problem lies in blindly googling tips and then getting overwhelmed with scattered, disorganized results.
Also, I’ve often found that you don’t know what you don’t know. Not knowing what to even search for can leave gaps in your learning that make everything even more confusing!
This is why I’ve put together photography lessons online made for the photographer who is just getting started. It covers the foundational basics to get you started!
Enter taking photography lessons online to save the day!
You need a program that provides you with a foundational introduction to the basics of photography.
Sure the thought of joining an in-person photography class sounds nice, but what if you don’t have time for that in your schedule right now? (Admittedly, I did take my first photography class in person at a local community college. But a weekly class that stretched over a couple months wouldn’t be as workable for my schedule in this season of life.) What if no one is teaching one in your town or city anytime soon?
Here lies the beauty of taking photography lessons online:
- You can learn at your own pace. You aren’t going to be left behind as the rest of the class moves forward if you’re still working on a particular concept. Similarly, you aren’t going to miss anything important if you have to take a break or a life event derails your schedule. My photography lessons online will be waiting for your return and you can jump right back into where you left off!
- Online photography lessons make it easy for you to learn at a time that’s convenient for you! Have 15 minutes while you’re waiting to pick you kids up from soccer? You can be developing what I like to call your “photography brain”. Because the videos are online, you can pull them up anywhere and anytime; learning little by little. I intentionally made efforts to keep most of the videos around 15 minutes or less (with a few exceptions-sorry about that!), so that you could easily learn in bite-sized chunks.
- Online education allows you to revisit the information until you master it. Learning photography certainly takes hands on practice. I won’t pretend like this isn’t a big part of the process. But with photography lessons online, you can learn about a concept, try it out, practice and then watch the video or read the handout again to bring clarity to questions you encountered during practice.

Wondering what my photography class for beginners covers?
So what specifically do my photography lessons online cover anyways?
Well I’m glad you asked! This starter course covers the very basics of how to use a camera and general photography concepts. My goal was to keep it very beginner friendly so that you can take the info and run in lots of different directions with it.
- Wanting to learn photography so that you can take better photos of your family or pets? These lessons will help you get started.
- Dreaming of taking better vacation photos? You’re still in the right place!
- Considering starting photography as a new hobby? If your end-game plan is to take landscape photos or delve into micro photography, the introductory info in these lessons will also help you if you’re at the start of your journey.
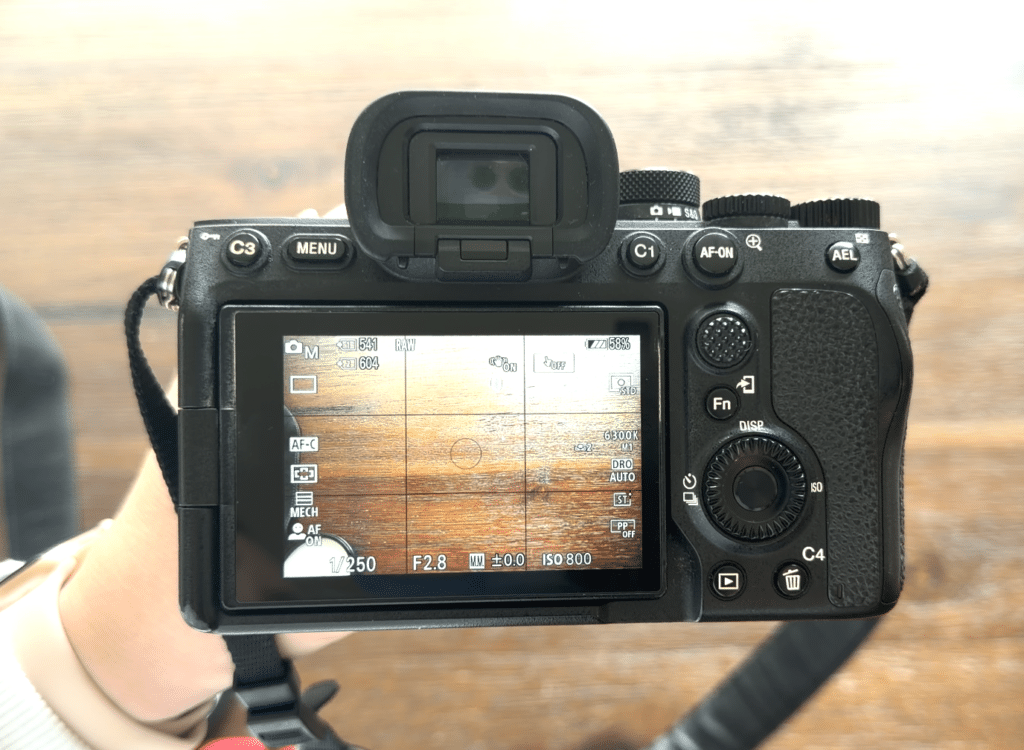
Section 1: Exposure

In the very first section of these photography lessons, we’ll discuss exposure. Exposure is all about letting the right amount of light into your camera so that you make an image that’s not too light and not too dark. Sounds simple, right? But the slightly complicated thing about exposure is that the setting that control it (aperture, shutter speed, and ISO) happen to be multitaskers. This means that the exposure settings control other aspects of your photograph that need to be cosidered.
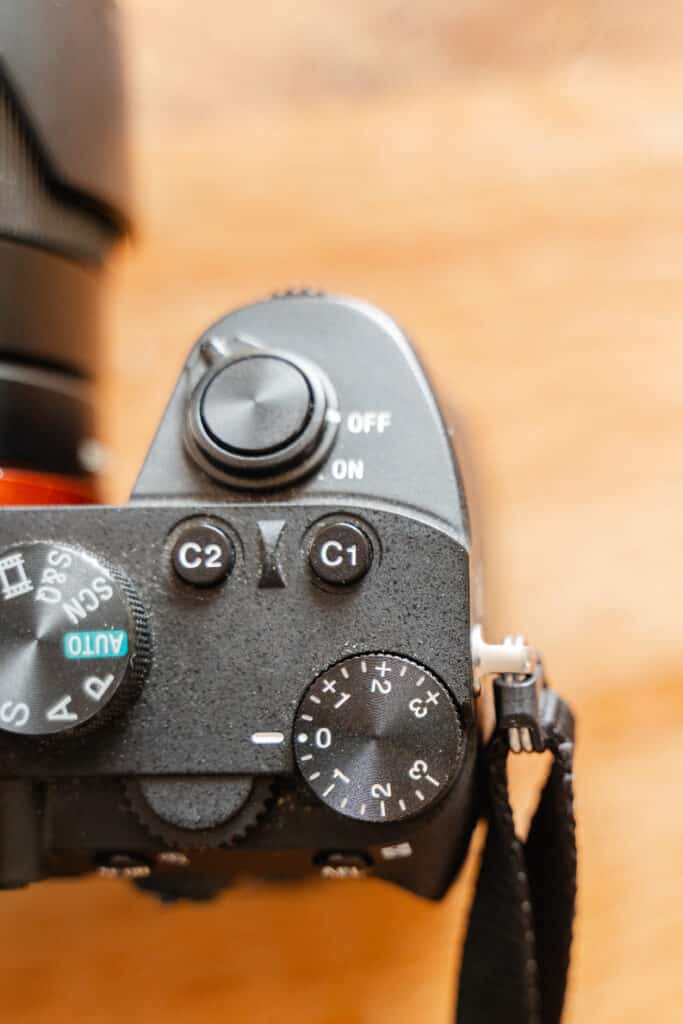
Section 2: Additional Settings

Once we’ve covered exposure in depth, we’ll move on to discussing other important cameras settings. White balance affects the colors in your photos. We don’t want your images to look too warm or too cool. Learning to set a white balance gives you control over that. You also need how to take photos that are in focus. There happen to be a few different options when it comes to focusing your camera. Lastly, we’ll discuss different types of lenses and how the length of your lens (aka “focal length”) affects the look of your images.
Section 3: Light
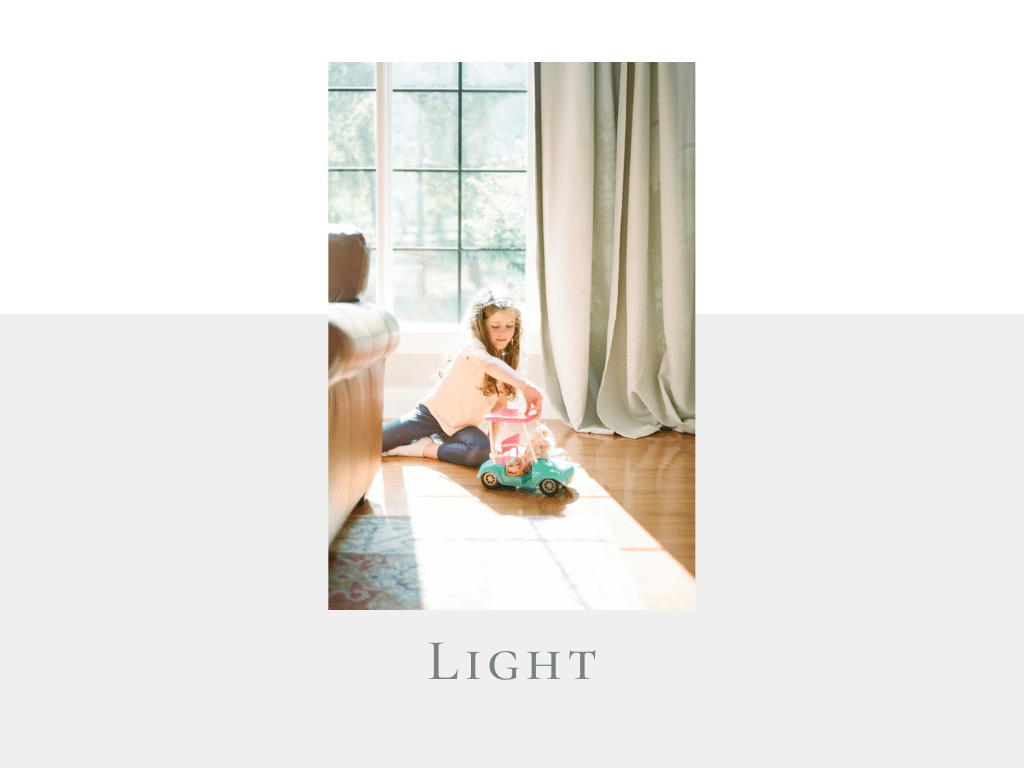
Light is a HUGE piece of photography. Just like paint is what a painter spreads and controls with a brush, light is the primary medium a photographer which is captured and manipulated by a camera! Therefore, no introduction to photography would be complete without discussing the very basics of different types of light and how they can be used in photography! I’ll share examples of poor uses of light and good uses of light.
Section 4: Editing & Developing
Okay You’ve taken your photos. What do you do with them now? Did you know that most photographers edit their images? Even the ones that look natural and unedited? This section provides an introduction to one of the most common editing softwares: Lightroom. If you’ve chosen to practice with film, this section will give you some pointers for where to get the film developed!
Section 6: Composition
In photography “composition” refers to how visual elements (think people, trees, roads, paths, objects, etc) are arranged in the image. Did you know that there are principles you can follow that will help you create a photos that is more pleasing to look at? Just as these principles apply to interior and graphic design, they also apply to photography!
Section 7: Appendix
The appendix is where you’ll find additional information. Currently this section includes some extended demonstrations such as how to use a special light meter and how to load film into different types of cameras. This section may grow in the future in response to student’s questions and requests!
Have questions about my Photography Lessons Online? Don’t hesitate to reach out and ask!
How are the online photography lessons taught?
I designed my online photography lessons with tight schedules in mind. A combination of demonstration videos, voice over slides (that you can listen to while folding the laundry if you’re like me), quick reference sheets, and printable checklists to keep you on task make up the lessons. The modules can be accessed at any time after purchase and will be available to you for the lifetime of the course.
Don’t forget, though; hands on practice is still vital for mastery. You must spend time physically exploring and practicing with your camera. There’s no replacement for practice! While this learning is intentionally designed to be easily accessed and consumed on your phone or computer, you must put in the work outside of the structured lessons.
Believe me. When you start, handling your camera will feel clunky and awkward. However, with time and frequent practice, your muscle memory will kick in. If you put in the work, changing settings will begin to feel second nature. This will free up your mind to focus on other pieces of photography like choosing pretty light and looking for interesting compositions.
All of this to say, watching and reading the lessons will only get you so far. Intentional practice, squeezed into your schedule as often as you can, will lead to better mastery of these photography basics.

How long will it take me to get through the information?
Since this is a self-paced course, that’s honestly a little hard to answer. You could binge everything on a Saturday. However, I don’t recommend doing that. You’re going to have the best results if you take it slow and practice along the way!
The video portions of this learning program will take a little over 4.5 hours to watch. (Although, I reserve the right to add on videos to better answer student questions as the arise.) Some information is also presented through handouts.
While a few of the videos are closer to 30 minutes in length, I strove to keep most videos short. Most range between 5-15 minutes. I aimed to make them easy to watch while killing a little time (i.e. waiting for an appointment or unloading the dishwasher).
But remember! It’s not all about relaxing and consuming information. When learning photography, you will progress the fastest when applying and practicing the information I teach. Finally analyze your results looking for what worked and what didn’t. (Honestly, the experimenting, practicing, and playing are where the fun and magic happen once you get comfortable handling our camera!)


I’m Curious: What Starter Cameras Do You Recommend?
This section includes affiliate links, meaning I receive a small commission for any products purchased through my link.
You definitely need to have a camera as you go through the photography lessons online.
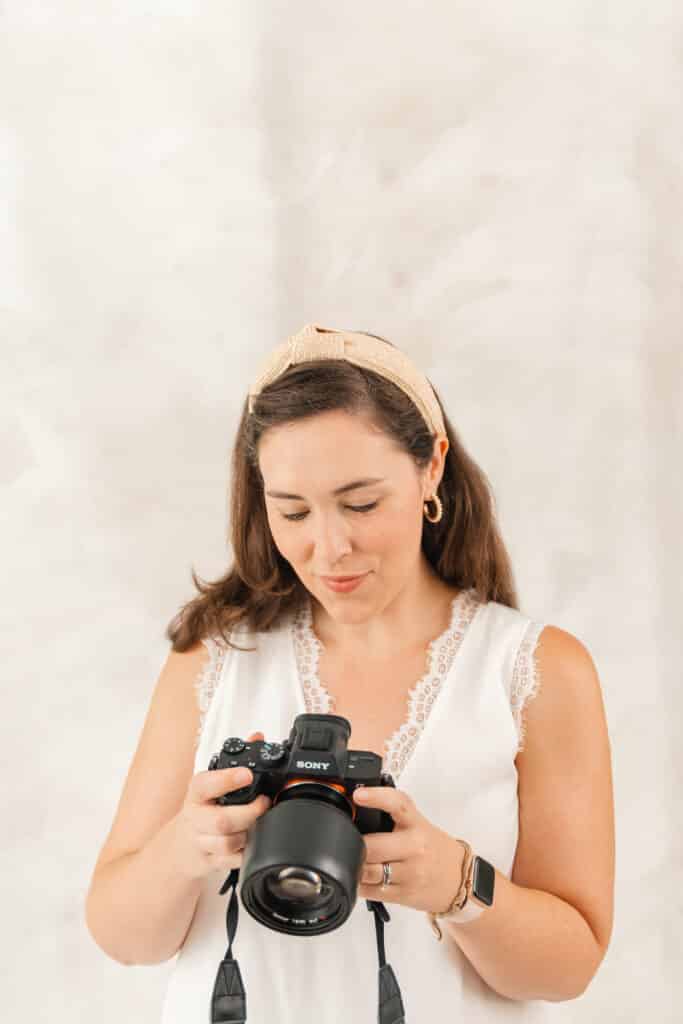
I’ll be honest, I’m a Sony girl. The last 3 professional camera’s I’ve owned are Sony, so that’s going to impact my answer here. (Other photographers may prefer Canon, Nikon, Fuji etc.)
If you’re just getting started, I love Sony’s a6000 crop sensor cameras like the Sony a6400! This is what I recommend to my friends. It’s so compact and portable, making you more likely to take it on outings and practice your photography. Instead of buying a bundle that includes a lens, I would recommend splurging for the Sigma 18-50mm F2.8 or the Sony 50 mm (if you’re most interested in portraits and really want that creamy background blur) lenses for superior image quality.
Other popular picks include: (Note: Some of these will come bundled with a lens, aka a “kit lens”. These lenses usually aren’t the highest quality, so you may need to upgrade to a better lens later to achieve the image quality you’re dreaming of!)
Want to Read More About My Beginner’s Online Photography Lesson? Read This Post.
See All Of My Photography Courses