How to Use the ExpoDisc (Reviews 2.0 vs V3)
Are you wondering how to use the ExpoDisc? You’ve come to the right post! This little tool has become one of my favorite pieces of photography equipment over the years. I use it during every session. Seriously, I’m pretty sure I would cry if I forgot to bring it along when using my digital camera. In this post I will explain:
This post contains affiliate links. This means this website may receive compensation if a purchase is made through the link at no extra cost to you.
- Why I have been using the ExpoDisc since 2019
- How to use it for metering and setting white balance in natural light
- This review compares the new ExpoDisc V3 with the ExpoDisc 2.0.

Why I Use the ExpoDisc
If you’ve read many of my educational blog posts or watched any of my courses, you know that I’m a big fan of manually choosing camera settings. While our cameras have advanced technology that can do amazing things, they still can’t compete with your human brain. You are smarter than your camera. You have the ability to analyze the whole picture and an artistic vision that your camera doesn’t possess.
Lessons Learned
I first discovered the ExpoDisc 2.0 in 2019, very early on in my photography journey. I was tired of my auto white balance settings being “off”. Surely there was a way to set it more consistently and correctly? That’s when I found the ExpoDisc.
Initially, I didn’t exactly use it correctly. Oops! I set my exposure using my in-camera spot meter and then used the disc to set my custom white balance. While this approach generally improved my white balance, my work was still a little all over the place in terms of its consistency.
It was about 6 months later when I learned that for best results, one should use the ExpoDisc as an incident light meter to dial in exposure settings before setting an auto white balance. (That should have been obvious to me with the name starting with “expo”. Palm to forehead.) This better understanding was a game changer! The consistency of my work’s brightness and color rose to a new level.

Why I use the ExpoDisc Today
Setting a Consistent Exposure
The ExpoDisc is an incident light meter. This means that it helps your camera read the intensity of the light that is falling on your subject. When using your in-camera light meter, one usually points the camera lens at the subject. The camera light meter then measures the light bouncing off of your subject back towards the camera.
Unfortunately, you camera can be easily fooled. Let’s pretend you’re photographing a newborn session in a nursery. Three of the four walls are white. The fourth wall is painted navy as an accent. Let’s say you start photographing the family in front of a white wall. Then you shift your angle so that the navy wall is now taking up most of the frame behind them. Even though the amount of light in the room hitting your subjects has not changed, if you camera is in auto, it may now think the room is suddenly darker and try to increase the image exposure to compensate. This would result in over-exposed skin tones.
As you will see in my section below about how to use the ExpoDisc, when using it to meter light, you position your camera lens so that it faces the light that will be illuminating your subject. It allows you make decisions manually about the exposure based on the light hitting your subject. This results in a more accurate exposure for skin tones and an overall more consistent results.

Setting a Custom White Balance
When striving to start a photography business, developing a personal style that you can re-create consistently is key. Ideally, when people see a photo, you want them to know it was taken by you without even having to ask! On a more practical level, clients need to know that they will receive what they are expecting when working with you. If your photography is inconsistent and all over the place, potential clients may hesitate to book with you. Having a portfolio with inconsistent white balance can be very noticeable and instills uncertainty. I hope this doesn’t sound mean, but poor white balance is a telling sign of a beginner photographer.
The ExpoDisc allows photographers to manually set a custom white balance that generally results in work with a more consistent, natural feel. While this is great from a marketing perspective, it also helps cut down significantly on editing! And who doesn’t want to spend less time editing?
When using consistent lighting (I like to stick to golden hour or open shade outside with a good natural reflector OR flash indoors), I often don’t need to touch my white balance or spend precious time color correcting. Skin tones and colors look natural. I apply my usual preset. Instead of spending lots of time correcting the tones in my image, I make minor tweaks to exposure and shadows. This allows me to spend more or of my editing time on detailed edits that elevate my images.
How to Use the ExpoDisc
Now that we’ve established why I love using the ExpoDisc, let’s discuss how to use the ExpoDisc.
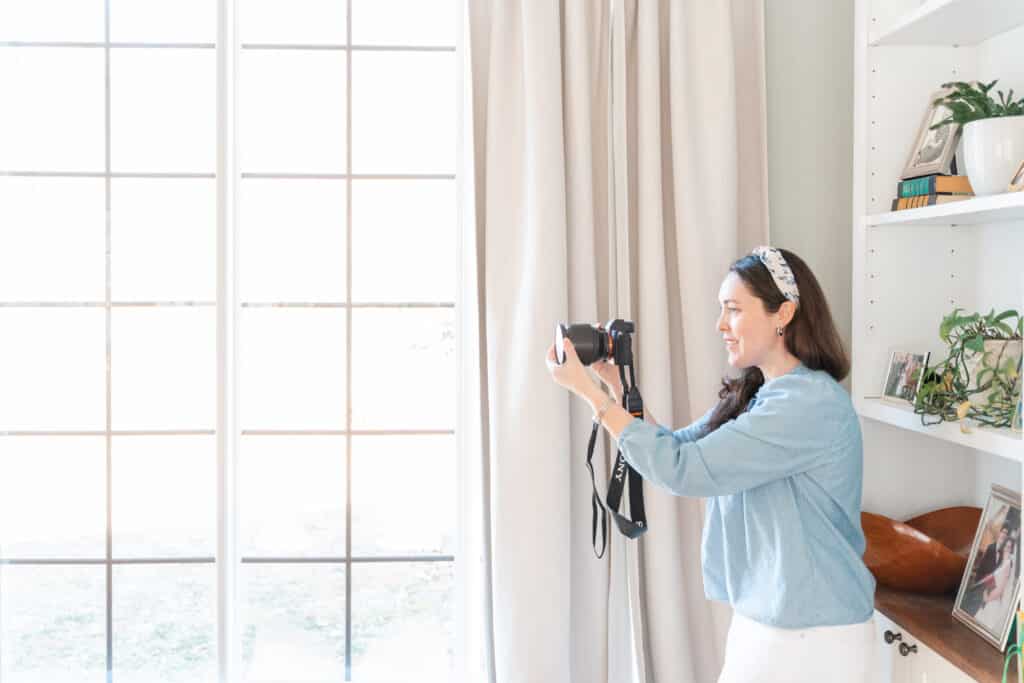
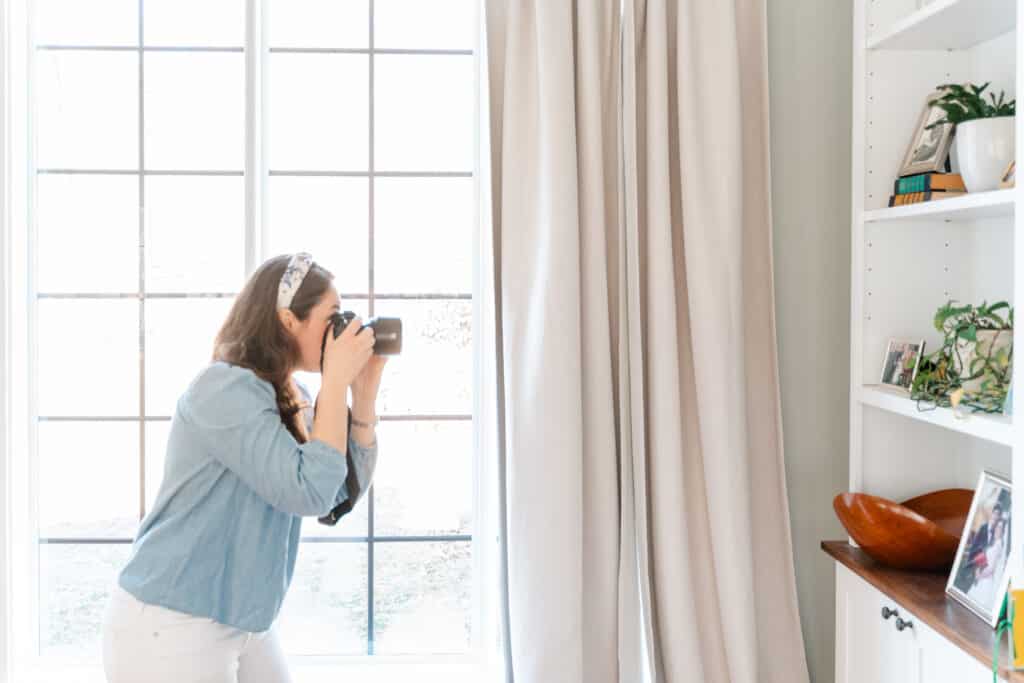
- Stand where your subject will be standing and point your camera back towards where you will be standing take the photo.
- Cover your lens fully with the ExpoDisc. You want the “honeycomb” side facing out and the smooth side against your lens.
- With your lens covered and pointed to where you will be standing to take the photo, dial in your exposure settings. Adjust your aperture, shutter speed, and ISO until the in camera light meter reads “0”.
- With your exposure set and lens still covered with the ExpoDisc, set a custom white balance. This is a little different on every camera model. On my Sony A7IV, I can press the “Fn” function button > white balance > scroll down to Custom 1, Custom 2, or Custom 3 > toggle right to “set” > press enter and then enter again. The shutter will open and close, setting the white balance. I also have the white balance menu set as a “C” button for quick access.
- Once exposure and white balance are set, return to where you want to take the photo and start shooting! You won’t need to touch your exposure or white balance settings unless the light changes.
- Meter and set your white balance again when moving to a new location.
Review of the New ExpoDisc V3 vs the ExpoDisc 2.0
Disclosure: I reached out to ExpoDisc about how much I love their product the 2.0. They sent me the new V3 to try out and asked me to share my thoughts. The opinions in this review of the ExpoDisc blog post are fully my own.
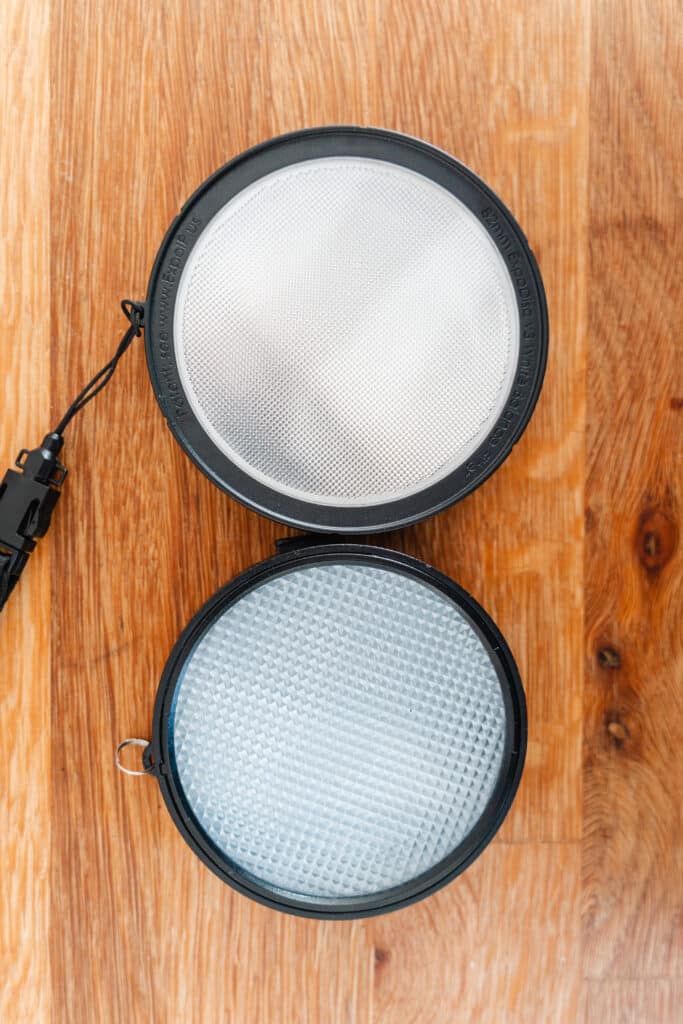
What I first noticed about the new model is that it is much slimmer. When you pack your camera bag as full as I do for some sessions, every bit of space counts! I like to wear mine on a lanyard around my neck in order to not accidentally misplace it. If you prefer to keep yours in your pocket, you’ll be pleased with the sleeker design.
The new design comes with an additional bayonet set ring that threads into your lens. The disc can then easily attach to the set ring. However, the old method of simply holding the ExpoDisc over your lens still works too!
Expodisc Review Test Shots
I’ve taken several test shots to compare and review the ExpoDisc 2.0 vs the ExpoDisc V3. I’ll include them below with details about the type of lighting, time of day, and camera settings used. I did receive the new model in the dead of winter. Winter is pretty ugly in my area, so I do hope to add some updated test photos with spring and summer greens once it warms up. Hopefully they will give you a fuller review of the ExpoDisc.
Overall, I find that I am getting fairly similar results between the two models with two slight exceptions:
- The V3 sets the white balance slightly warmer and more magenta than the 2.0 most of the time. And my slightly, I mean very slightly. I like warmth in my photos so this doesn’t really bother me. The preset I created does decrease the warmth a touch automatically.
- When metering with the V3 I tend to get a slightly lighter exposure. I typically increase my exposure in Lightroom, so this doesn’t really bother me. I just may need to adjust my preset to compensate. I will be curious to see if this difference holds true when I try it outside at golden hour this summer and spring.


Conclusion – ExpoDisc Reviews
I hope you have found this comparison and review of the ExpoDisc 2.0 and ExpoDisc V3 helpful! If you have been struggling to properly dial in your exposure settings or often find that your colors are “off” when shooting a digital camera, this may just be the tool for you! If you do end up getting one, let me know how it goes! You can find me on socials or leave a comment below.
Leave a Reply