Indoor Flash Photography Tips- ISO
During last week’s post of No Fear Flash, I explored the second component of the exposure triangle, shutter speed. In this week’s post of indoor flash photography tips, I’ll take a closer look at ISO. When learning indoor flash photography, it is vital that you have a foundational understanding of how each camera setting affects the overall exposure. If you take a test shot and don’t like the results, this knowledge will guide the problem solving process. This post will help dissect the relationship between ISO and flash.
This post contains affiliate links.
Get the $15 GUIDE!

ISO with Natural Light Photography
When taking a natural light photograph with a digital camera, ISO affects the camera sensor’s sensitivity to light. A lower ISO (i.e. 100 or 200) makes the camera less sensitive to light. A higher ISO (i.e. 1600 or 3600) makes the camera’s sensory more sensitive to light, increasing the overall exposure. As with each element of the exposure triangle, each setting change also affect a second quality of the photograph. With increased sensitivity to light comes increased grain or “noise” in the photograph. Therefore a photograph with an ISO of 1600 will have more grain or noise than a photograph with an ISO of 100.


ISO with Indoor Flash Photography
When adding flash into the scenario of achieving an ideal exposure, ISO is probably the least confusing component. As in natural light photography, ISO affects the overall exposure of the photograph, so how bright is your photo overall (subject and background). If you want to evenly increase the brightness of the subject and the environment overall, adjust your ISO.
When adjusting my ISO, my indoor flash photography tip is to consider the background of the image. We know that we can adust the brightness of the subject through the use of aperture (OR by adjusting the power and proximity of our flash since they are directly correlated). I personally like to rely on my ISO to control exposure of the background of my image.
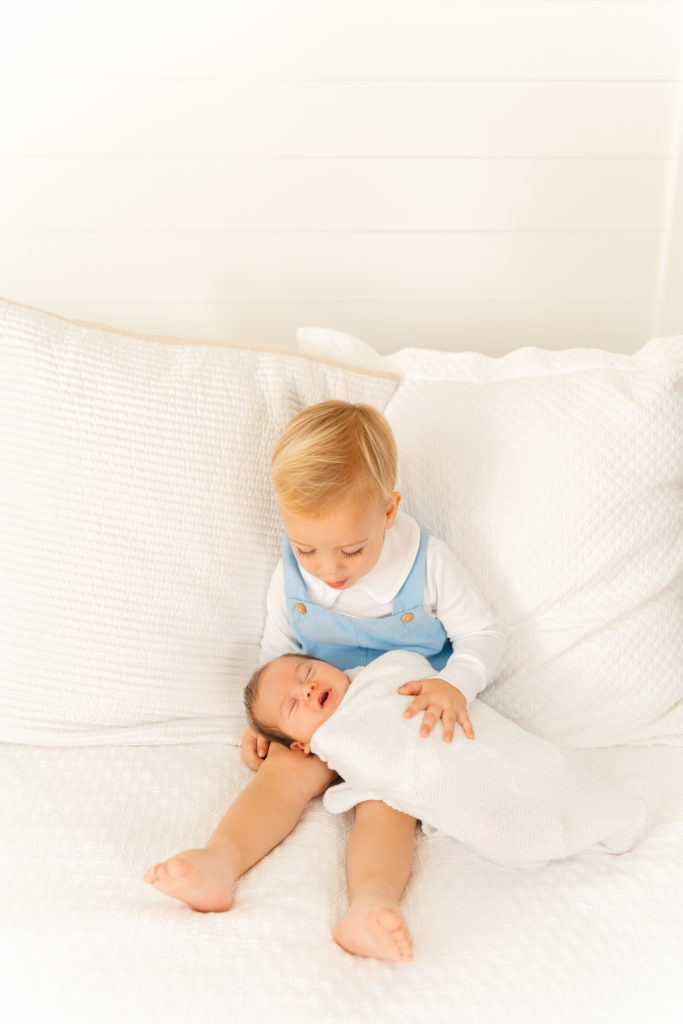
Let’s say that your subject in sitting in the middle of a long, narrow room, like maybe an open concept space where they are sitting on a couch in the middle of the room and there’s a whole kitchen stretched out and open behind them. In that situation, I would consider using a higher ISO that that the background is not underexposed and decreasing the flash power OR aperture to even out the overall exposure of the image. If my subject is sitting with their back up against a white wall, I’m going to use a much smaller ISO because the background is basically on the same plane as my subject and will receive the full power of the flash my subject receives.
Note:
I personally don’t like to have a lot of grain in my images in case my clients want a really large print. And honestly, moving into ISP (aka in-person sales style) of business, I’ve found myself feeling more invested in how crisp and clear my images are. I personally don’t really like to go above and ISO 800 and prefer to either add a 3rd flash to help illuminate a distant background or increase the exposure and shadows in post production.
Homework:
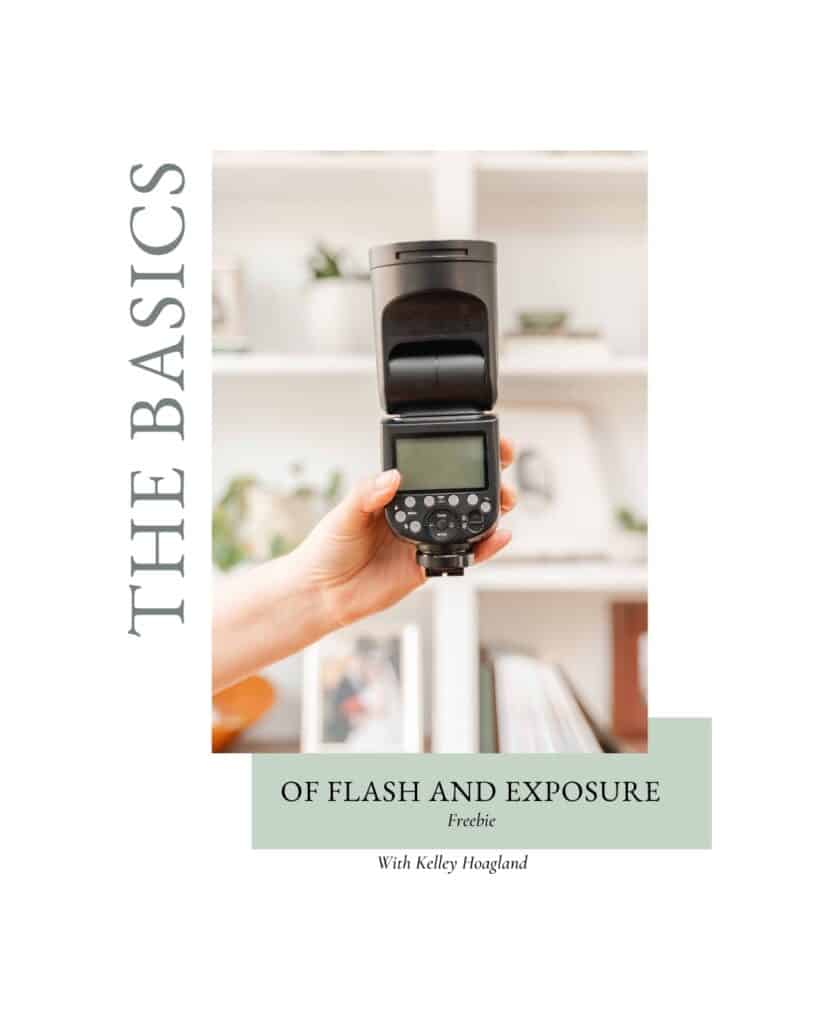
Surely by now you know the drill: “Practice makes proficient!” Put your flash in the hot shoe of your camera. (Here’s a link to my flash: https://amzn.to/3JPPvcq .) Dial in these settings: Aperture of f2.8, Shutterspeed of 1/200, and flash power of 1/32. (If this is overly exposed, try lowering your flash power to 1/64 or 1/128.) Start with an ISO of 100 and then increase it with each test shot. Note how the exposure of the entire photo is affected.
To get indoor flash photography tips and education sent straight to your inbox, subscribe below!